
Anyway, I was wrong. Between adjustment brushes and a few other tricks I read up on, I was able to revisit a portrait I did of my friend Linnea (one of the photos from this post) and make VAST improvements on the final product. See for yourself:
click to enlarge, or see it on Flickr
Aperture: f/4
Shutter Speed: 1/30
ISO: 100
Focal Length: 85mm
Tripod

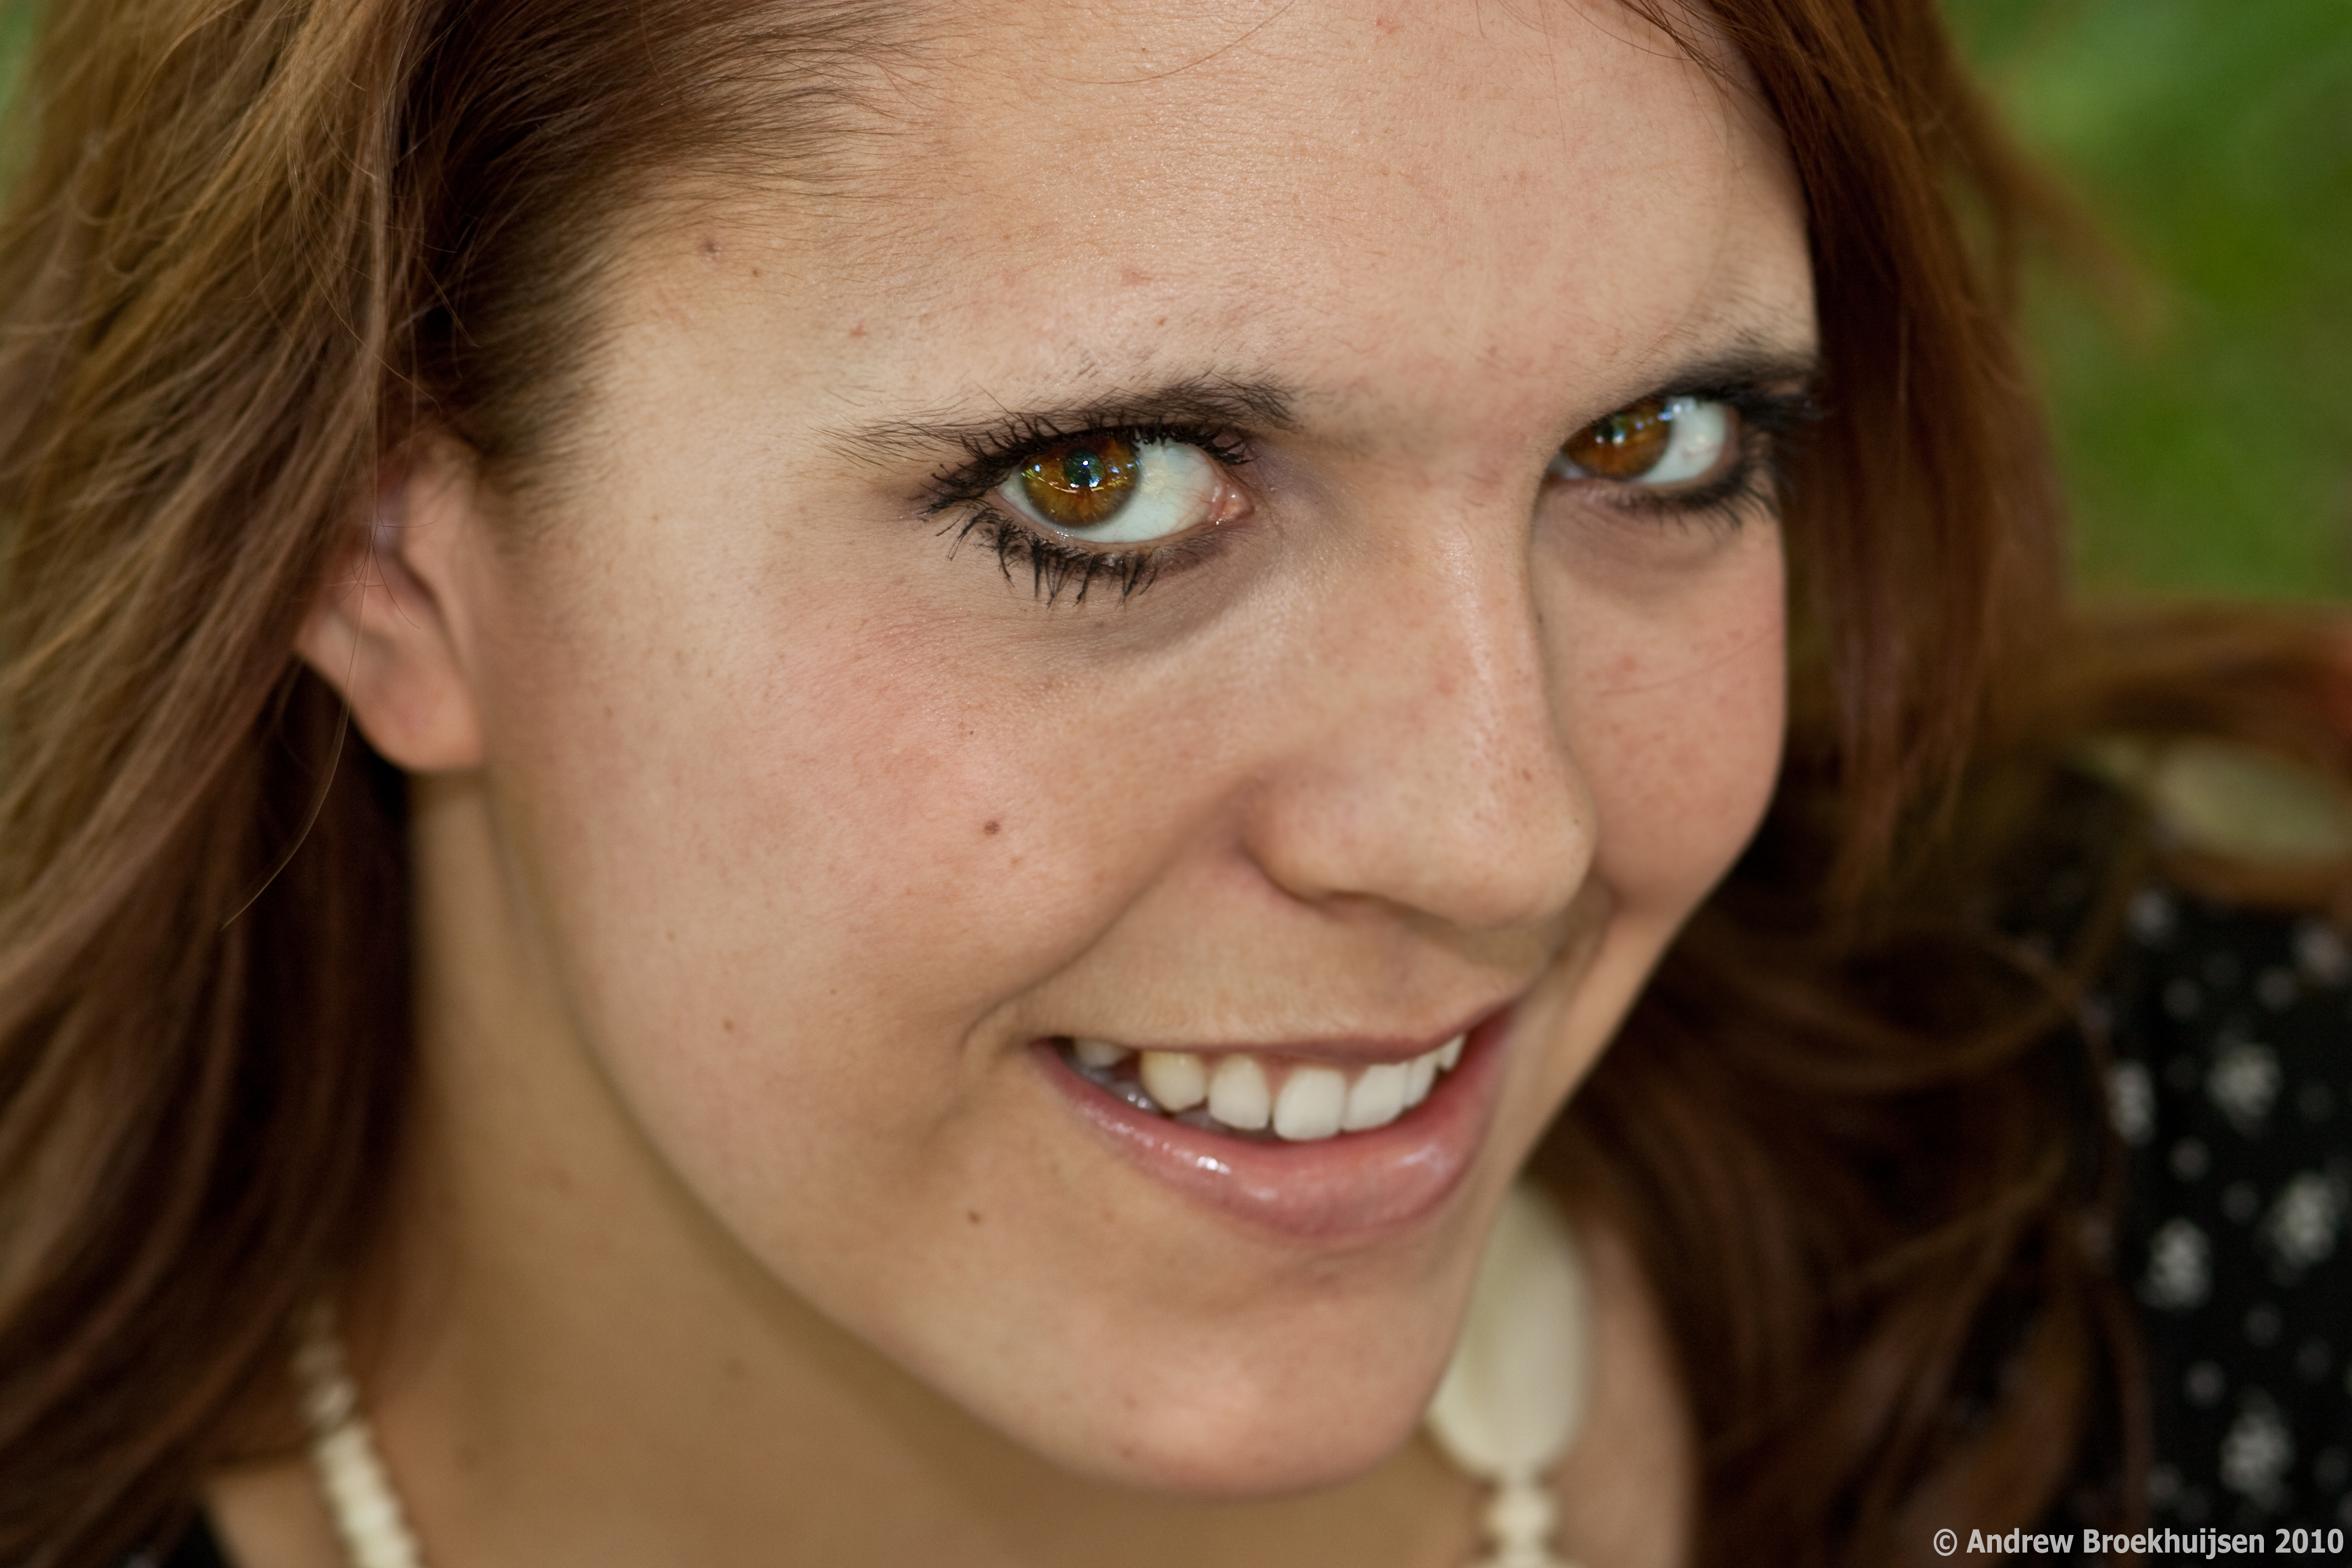
click to enlarge, or see it on Flickr
Shutter Speed: 1/30
ISO: 100
Focal Length: 85mm
Tripod
The first one looks good. But the second really crosses a few lines into looking more professional, in my opinion. The irises are more saturated, the whites of the eyes are brighter and cleaner, the overall exposure is more pleasant, the skin tones are just right, the browns in the hair are more pronounced, the portrait is sharper where it should be sharp and softer where it should be soft. I would like to take a moment and personally thank Adobe for making such delicious, relatively automatic skin retouching features that make everyone look like a model with perfect skin.

Yeah, I love the second one!! I actually look like I have decent skin! Woot sauce!
ReplyDelete