skip to main |
skip to sidebar
Remember when I used to post on this blog? Yeah, I know I've been awful. The worst part is that I don't even have any excuses. On the contrary. I have tons of free time. I've even been shooting a lot of photos. Just not posting.
Anyway, there's your sad excuse for an explanation. On to the photos. I've been going out and about, up various local canyons, etc. for a couple of weeks now, looking for those magical fall landscapes, especially waterscapes. I went a long way up American Fork canyon this morning/afternoon with my dad and finally got some good shots.
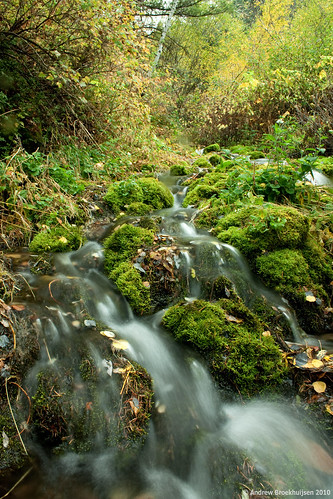
Aperture: f/16
Shutter Speed: 1.3 seconds
ISO: 100
Focal Length: 18mm
Tripod
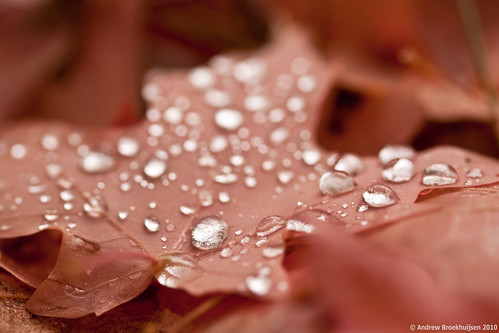
Aperture: f/3.2
Shutter Speed: 1/200
ISO: 200
Focal Length: 100mm
Handheld
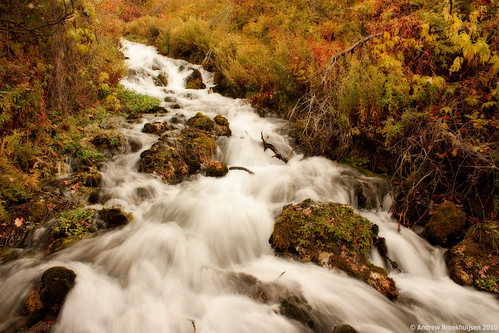
Aperture: f/11
Shutter Speed: 1/6
ISO: 100
Focal Length: 18mm
Tripod
On an unrelated note, Flickr stopped letting me get to the actual URL of where my images are hosted, because they had problems with people hotlinking without putting links back to Flickr. I proudly say I was never part of that problem. But regardless, my images will be a little differently sized now, and clicking on them leads to the Flickr page rather than a direct enlargement. If you want to see the photos bigger, you can do so from the Flickr page.
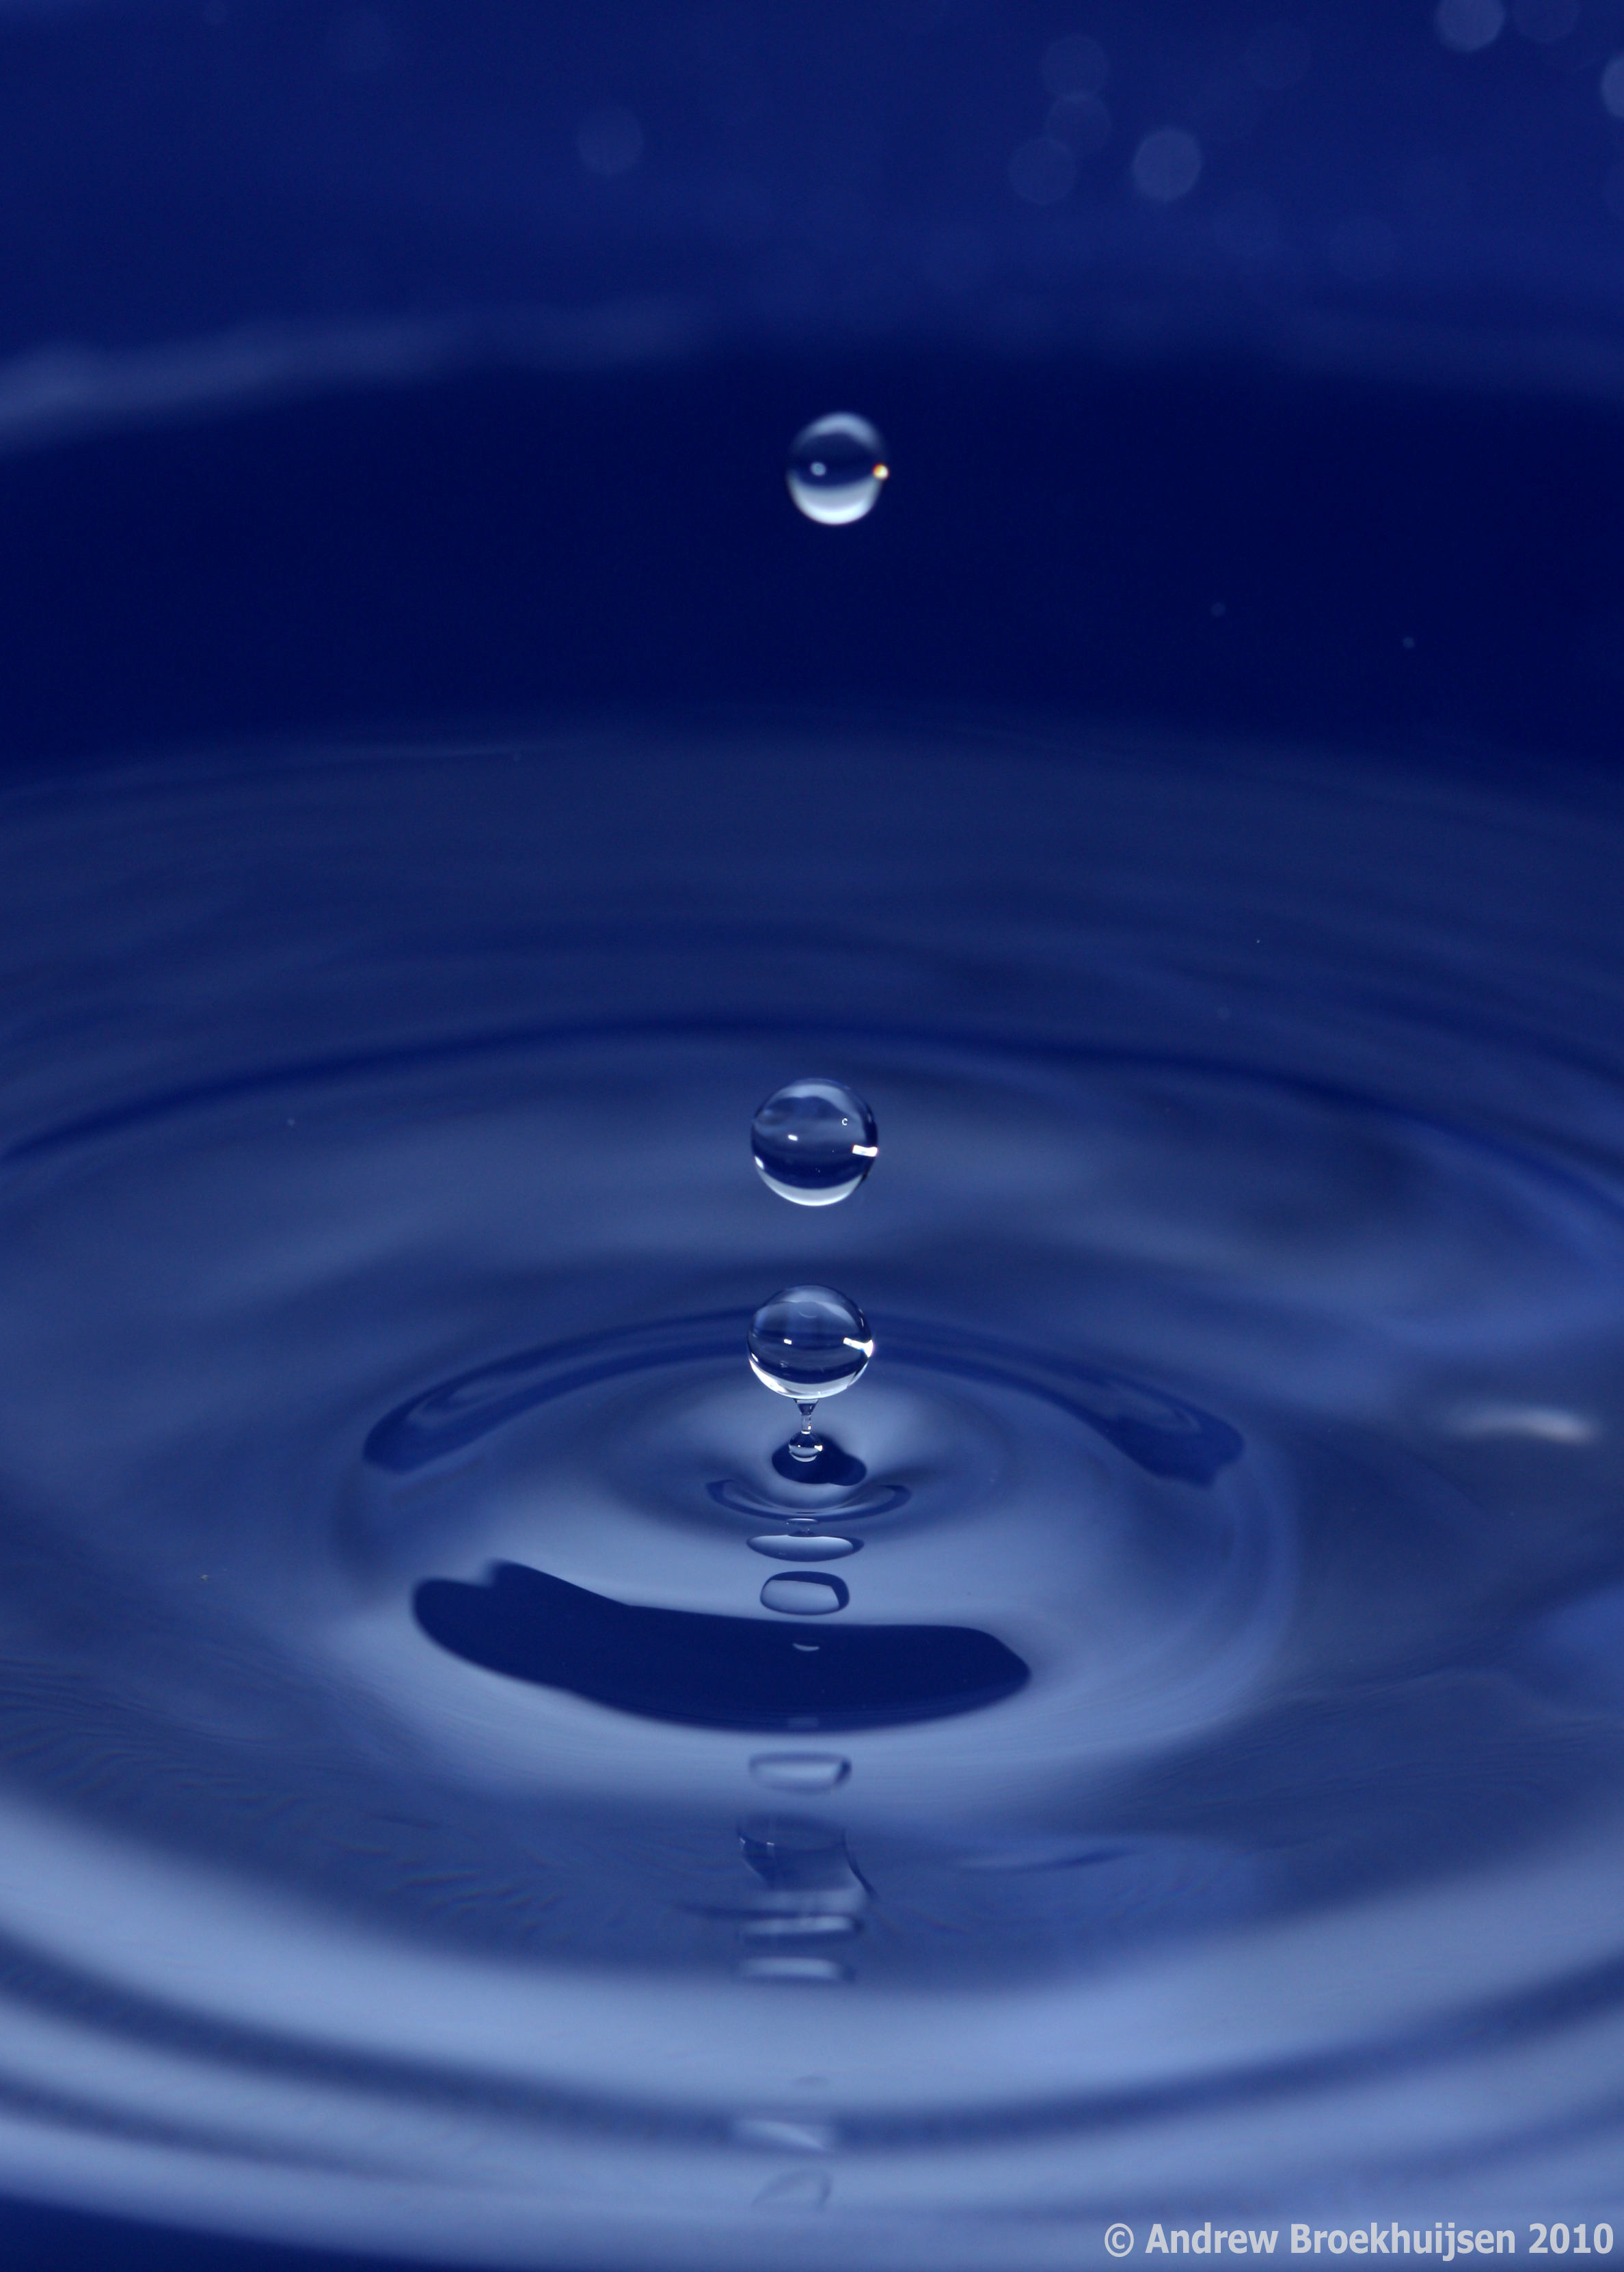
I did a little reading, and it turns out external flashes don't actually get brighter or dimmer. How a flash simulates getting brighter and dimmer (how it adjusts its "power" output) is actually by staying on for an infinitesimally longer or shorter period of time. So if the flash is your only effective light source (your shutter isn't letting in really any ambient light at ISO 100, inside, 1/200th of a second shutter, and f/10), your effective "shutter speed" is much faster than a camera is really capable of. So when my dad's 580EX Speedlite is set at 1/16th power, for instance, I have an effective shutter speed of 1/11000th of a second. Perfect for freezing REALLY fast-moving objects.
Like water droplets.

click to enlarge, or see it on Flickr
Aperture: f/7.1
Shutter Speed: 1/200 (effective: 1/11000)
ISO: 100
Focal Length: 100mm
Tripod
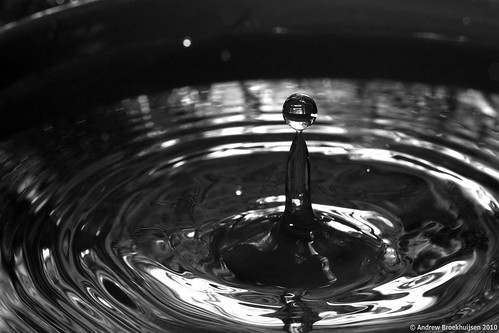
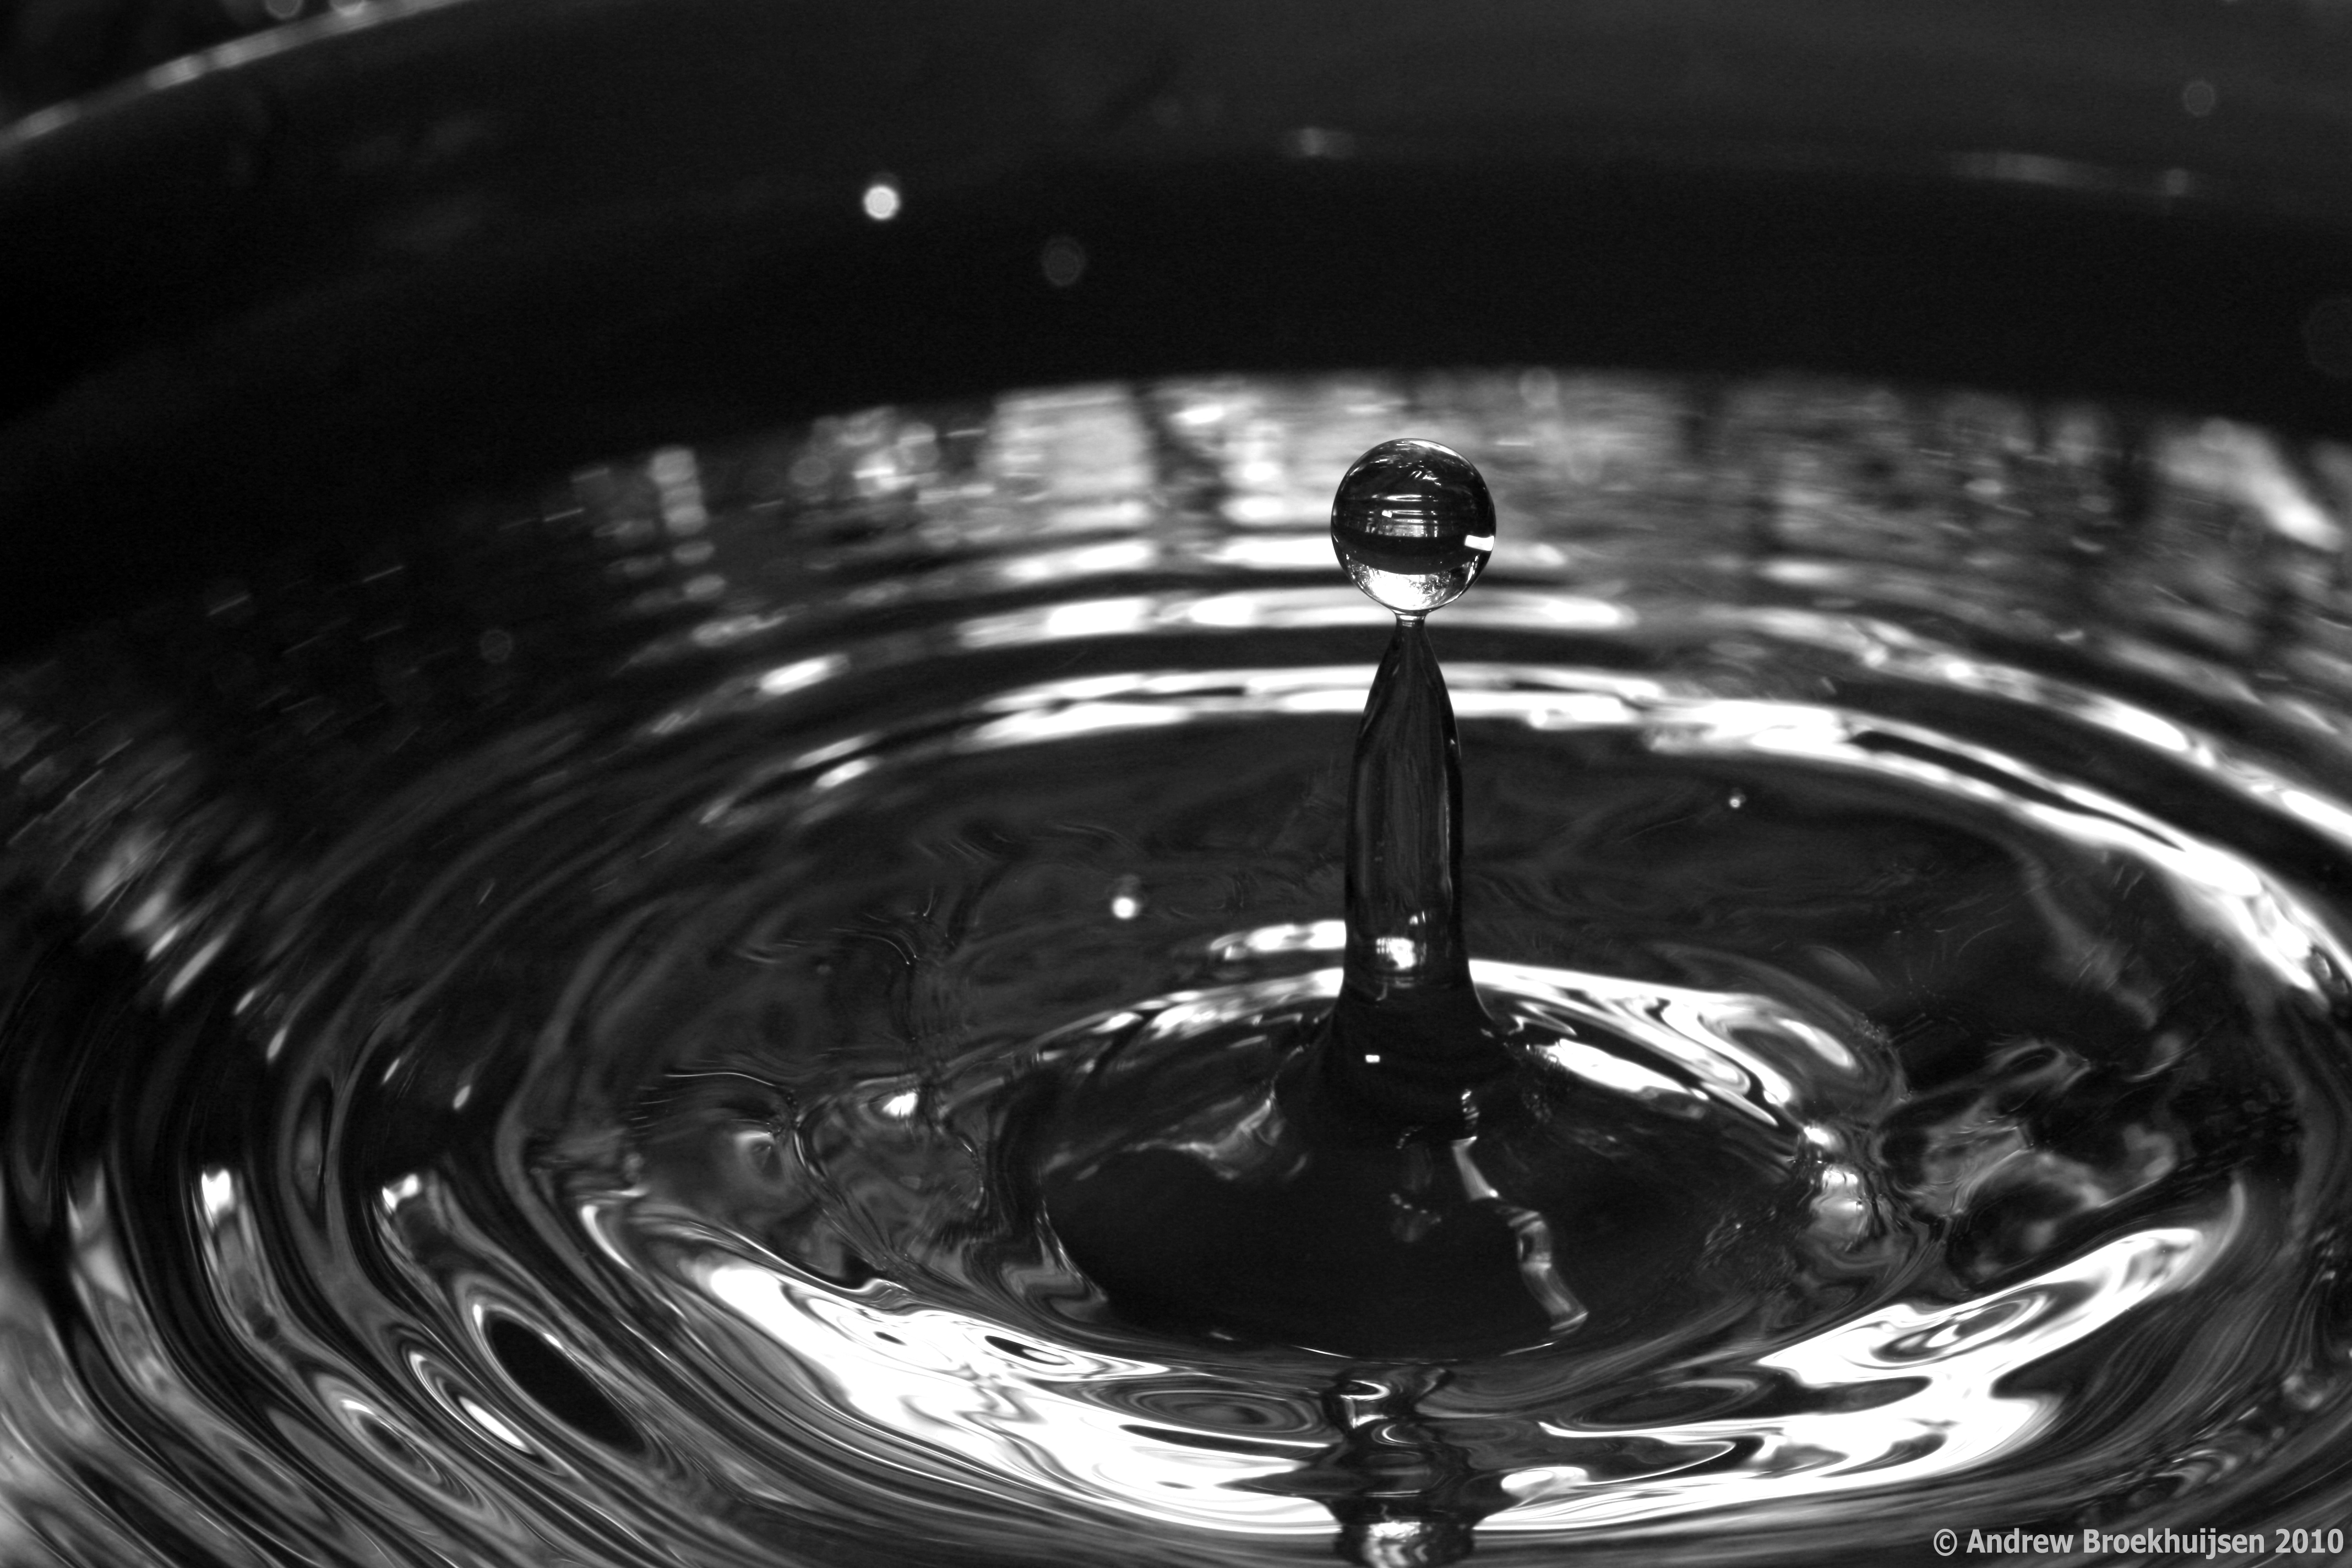
click to enlarge, or see it on Flickr
Aperture: f/13
Shutter Speed: 1/200 (effective: 1/11000)
ISO: 100
Focal Length: 100mm
Tripod

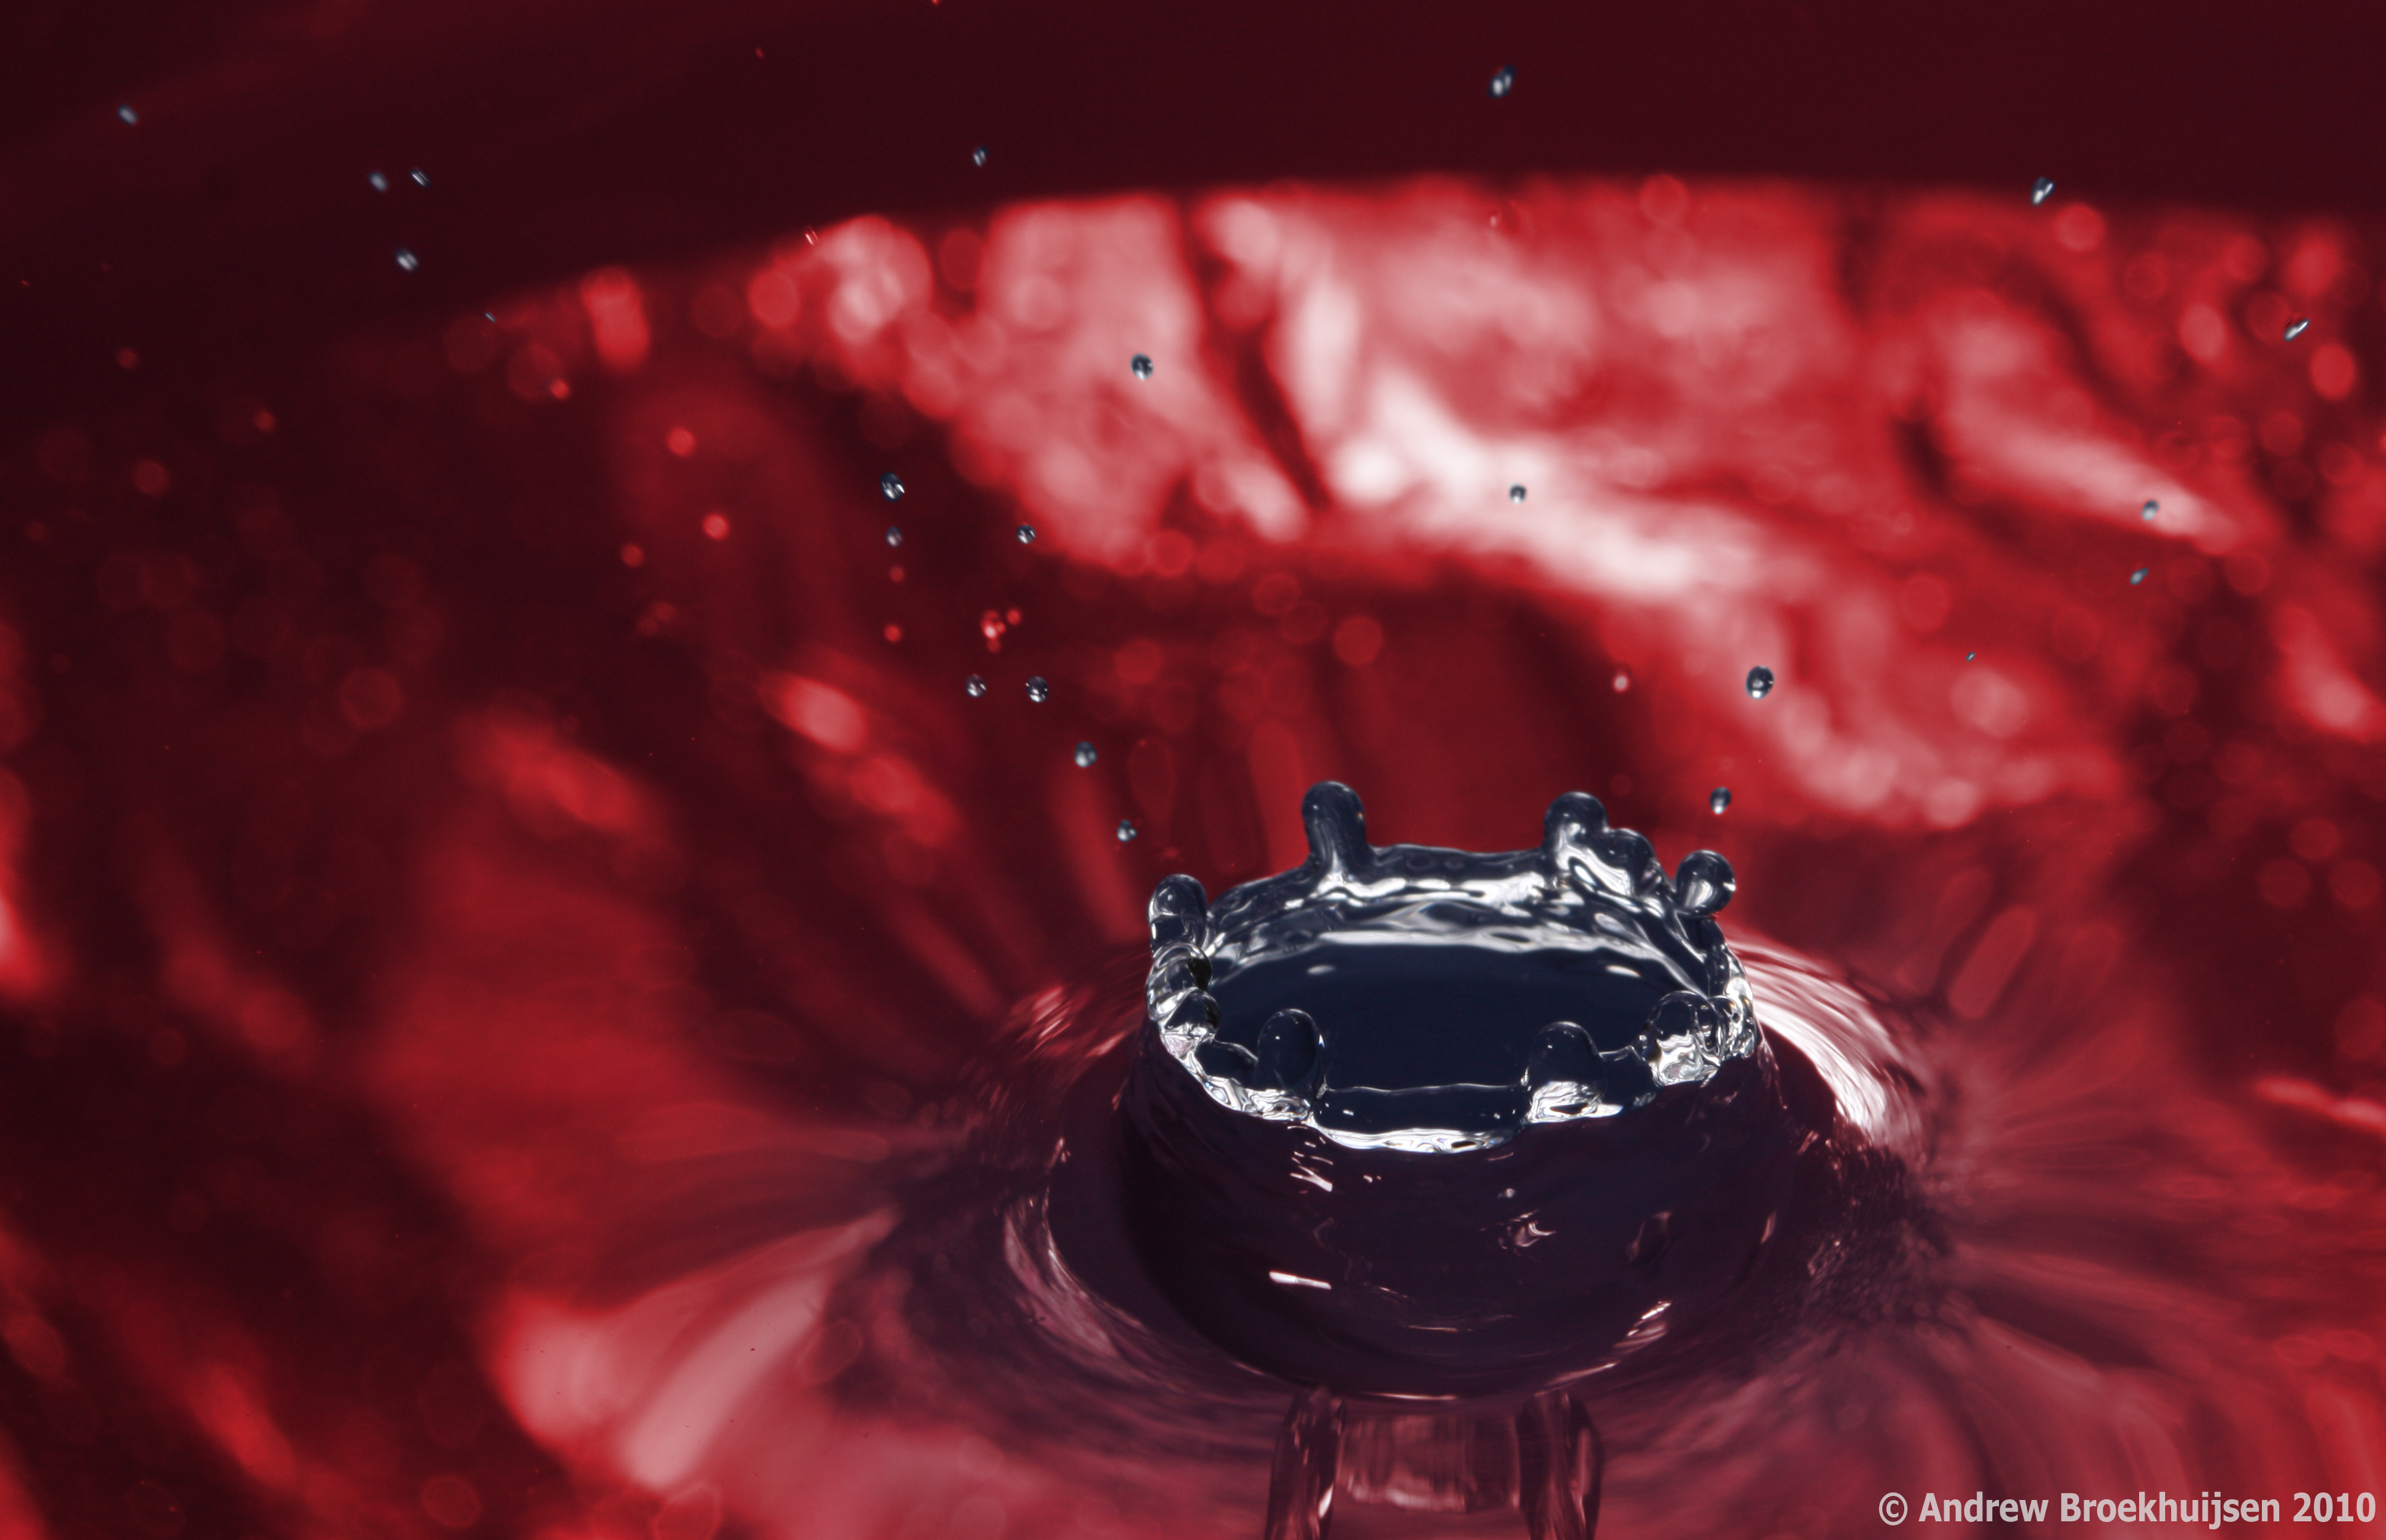
click to enlarge, or see it on Flickr
Aperture: f/13
Shutter Speed: 1/200 (effective: 1/11000)
ISO: 100
Focal Length: 100mm
Tripod
The first was shot in "Tungsten" white-balance, which casts it quite blue. The second was shot in "Sun" white-balance, which is pretty much irrelevant as I converted it to monochrome. The third was shot in "Sun" as well, but I played with it for fun in Photoshop using a few masks and recolor layers.
One thing I found interesting was that in the third one, you can see motion blur in the tiny specks of water zooming away from the splash zone. They must be moving incredibly quickly if 1/11000th of a second isn't freezing them.
The setup for this is quite simple; much more simple than for smoke photography. Just put your flash off-camera using a TTL cord or wireless system. I set mine to the left of the camera, at about a 45° angle, pointing at the same bowl of water as the lens. The bowl of water was directly in front of the lens. I varied the height of the camera on the tripod via the center column a few times during the shoot; it's not critical. Behind the bowl of water was first a sheet of white paper (in the first photo, the light was bounced off a plain white sheet of paper, giving it that smoother look), then a sheet of rather crumpled aluminum foil (as seen in the second and third photos). That's about it. Use any method to drip water steadily into the bowl. If possible, try to make the drops hit the same area of the water; this will make your focus end up better. Manually focus your camera (and re-focus every time you change angles or anything) by placing some object exactly where the drops are hitting, and focusing on that. A pencil works great. Then shoot a whole lot of photos.
You will quickly learn about the different stages a drop of water goes through. The drop of water hits the surface from above, causing a crater-like dent in the surface, quickly followed by a column of water rising from the center which launches one or more round droplets of water in the air; they then fall down and the surface returns to its original smoothness. So the first photo is near the end of the cycle. The second is at the apex of the column, and the third is just before the column begins to rise.
Experiment with various backdrops to bounce different colors, styles, etc. of light through your water. Also play with white-balance settings, flash and aperture settings, compositions, etc. Lots of trial-and-error. I imagine you can play with ISO as well, but I had no trouble leaving mine on 100, even with rather closed aperture settings for the deeper DoF, which is easier to work with. Keep in mind that you're halving the amount of light you let in every time you double your effective shutter speed, so use your aperture and/or ISO settings to compensate accordingly. And leave your shutter speed at 1/200th (or whatever your maximum sync speed is), it doesn't affect anything.
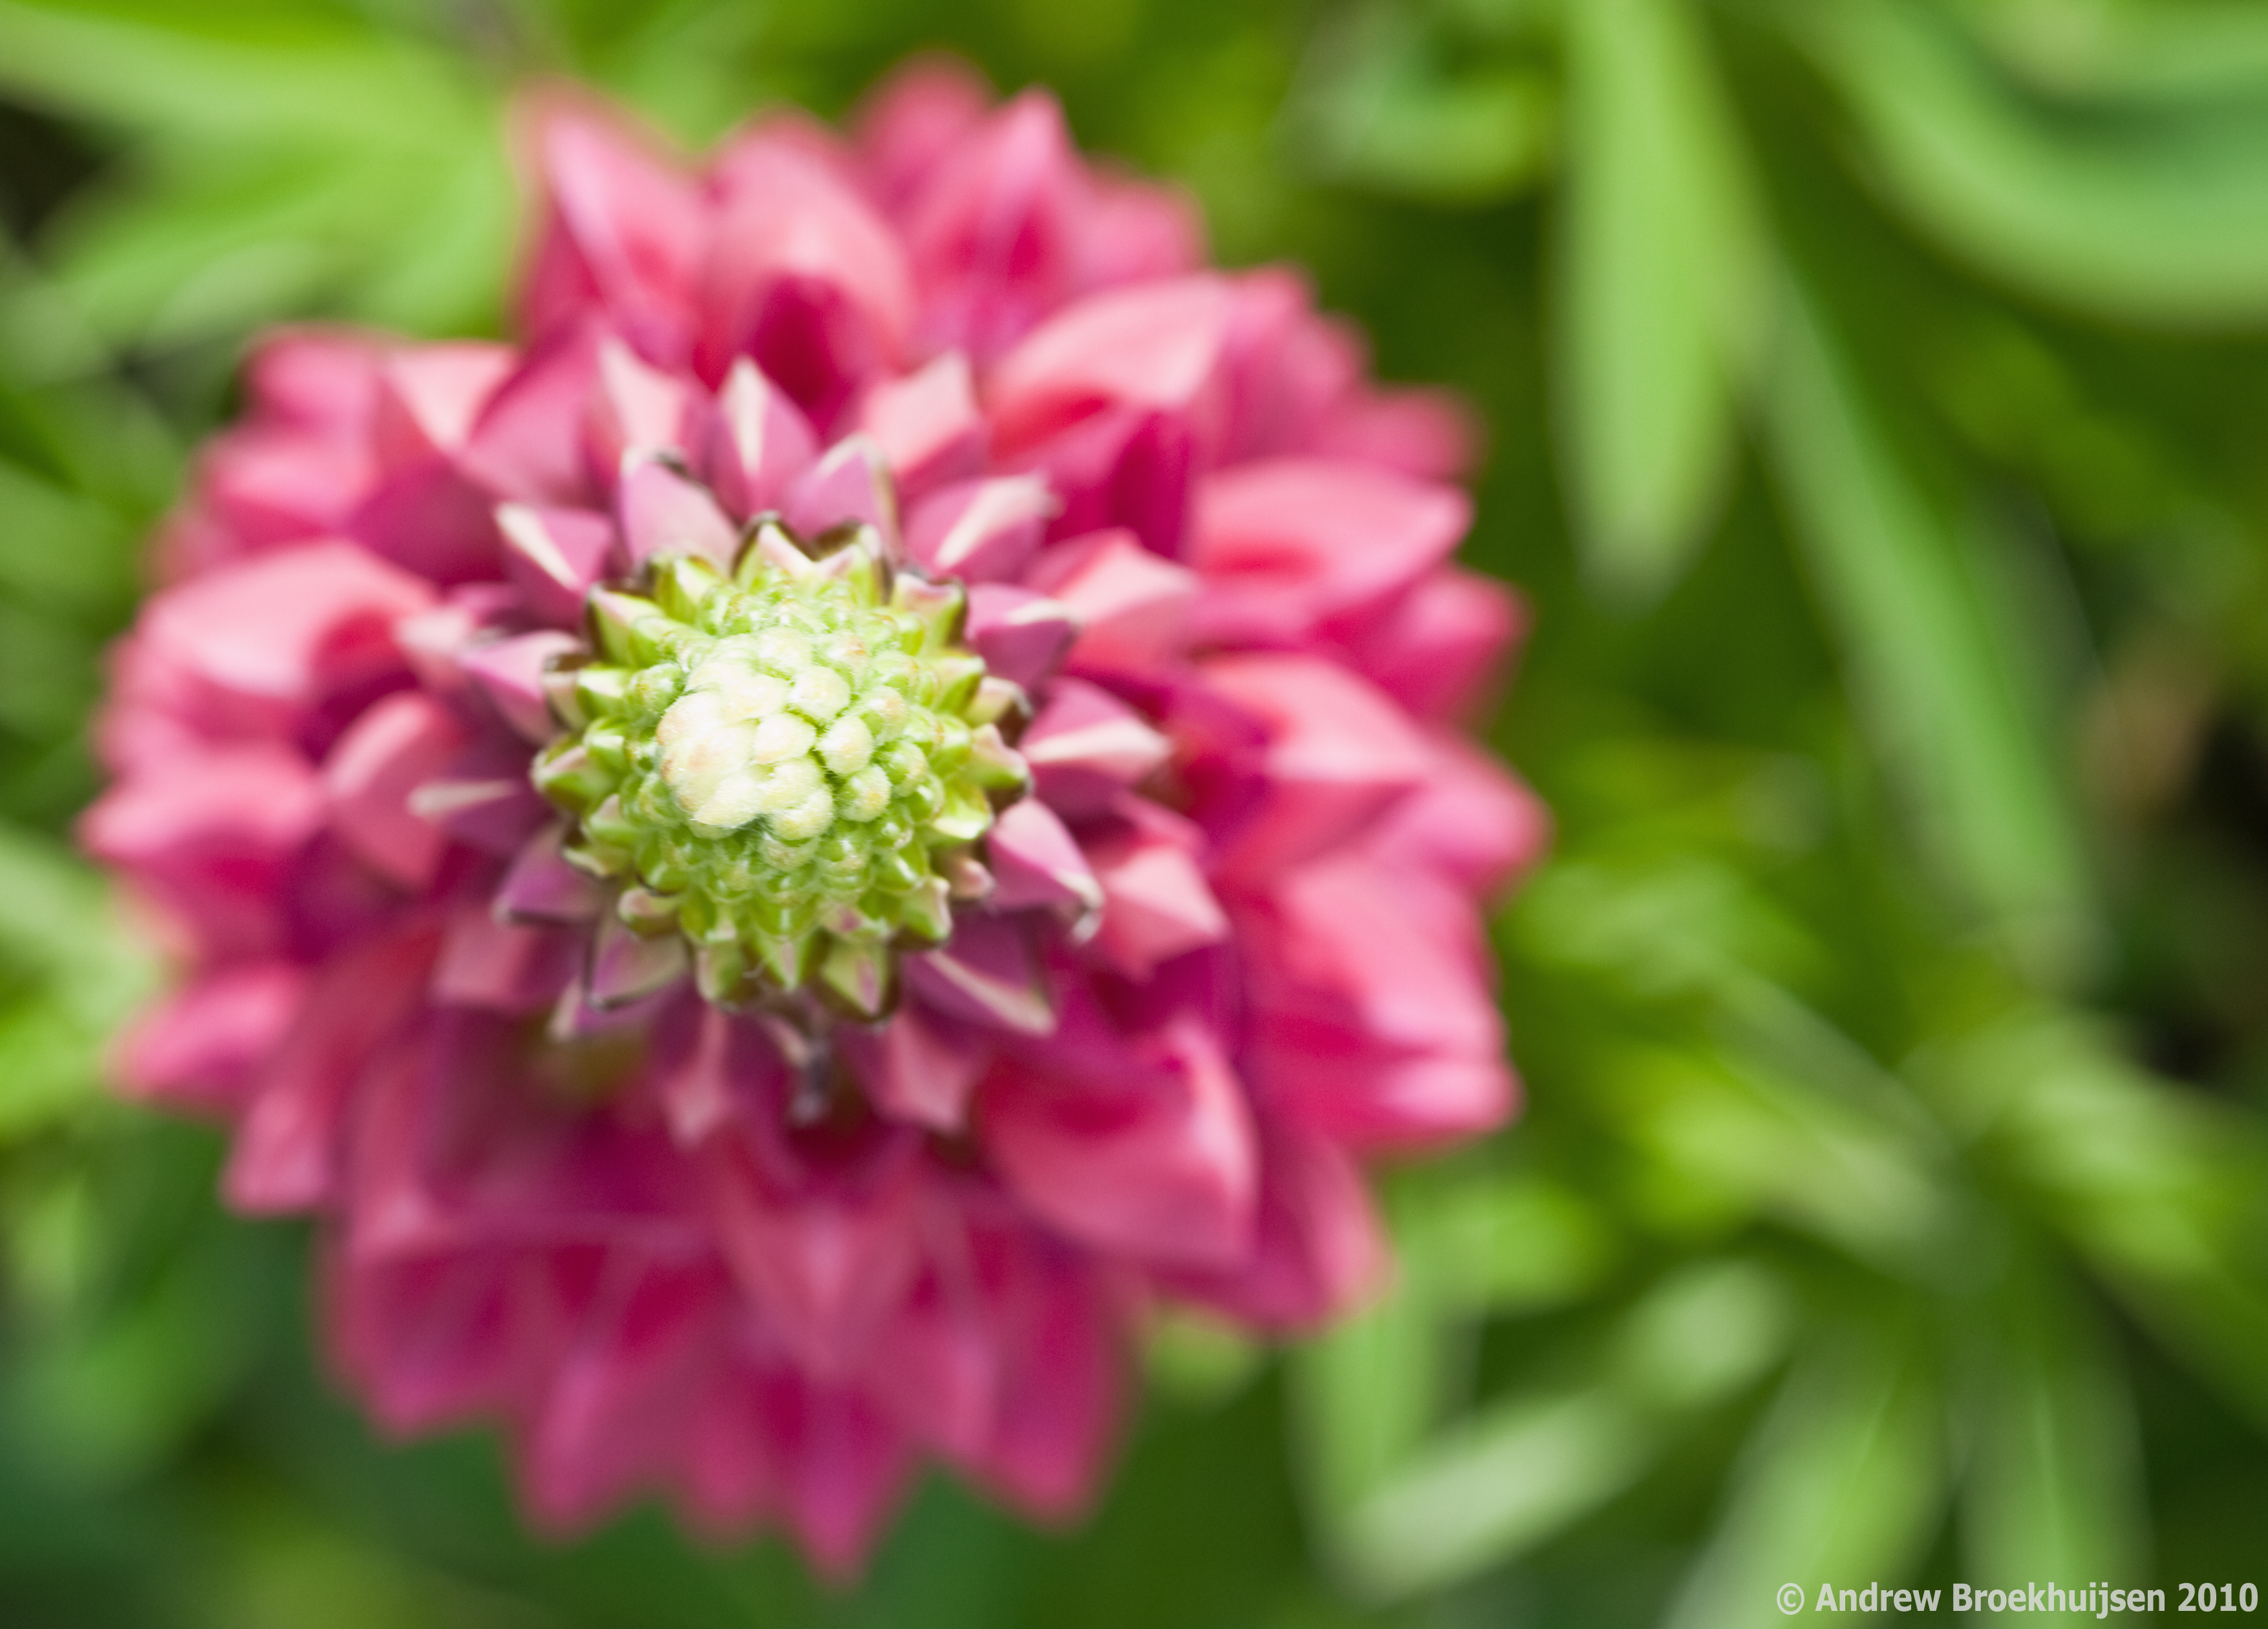
I noticed a cool-looking flower today while doing some yard work. It looked pretty symmetrical from the top, in an interesting way. So I decided to photograph it from that angle.

click to enlarge, or see it on Flickr
Aperture: f/8
Shutter Speed: 1/40
ISO: 100
Focal Length: 100mm
Tripod
Didn't turn out quite like I hoped. Though the angle is good and the DoF is okay, I think I want to be more careful on the focus for the very top part of the flower. Also, as the top of the flower is a definite highlight, the exposure was clipped to high for it. So I'll probably go back and re-shoot this one on a cloudy day (or using some sort of diffuser to block the sunlight).
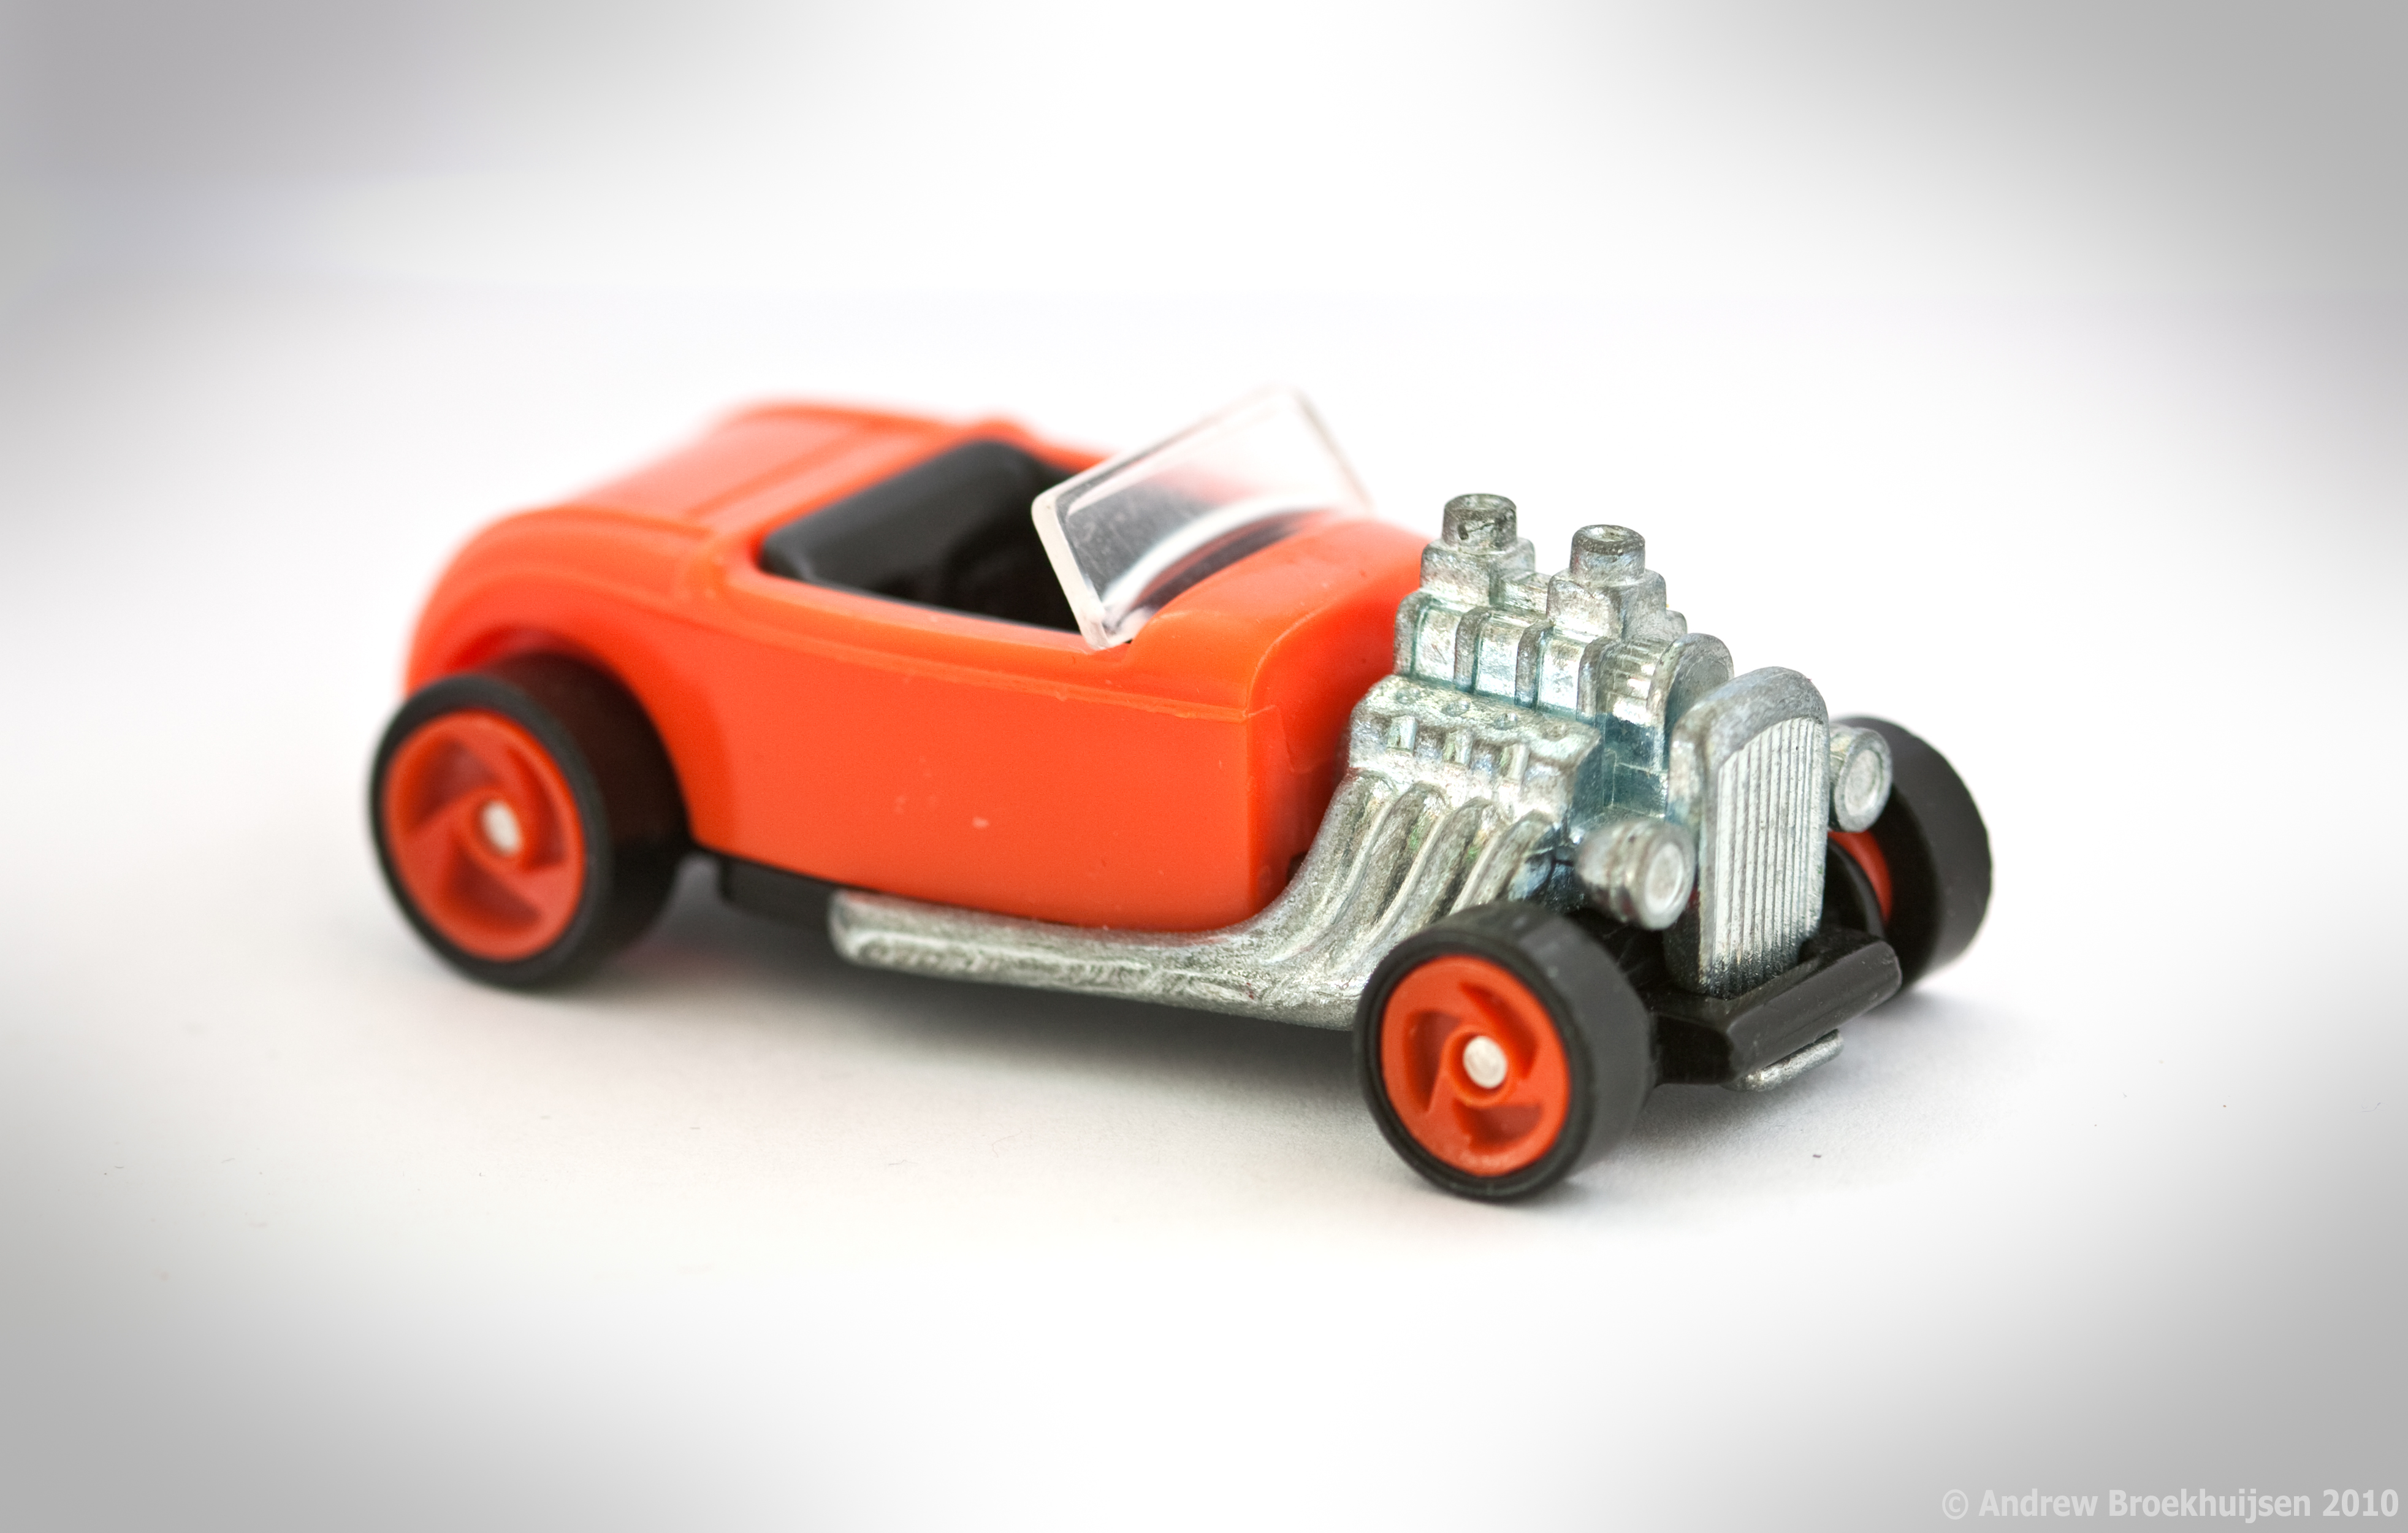
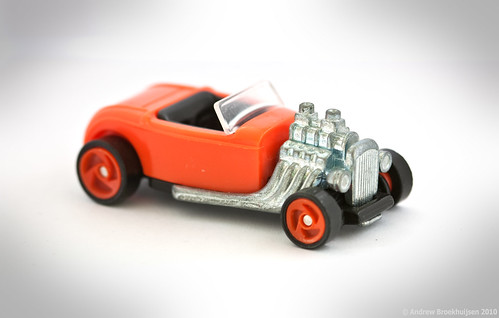
I haven't been feeling very inspired for the last few days. I know this happens to everyone, but it's a frustrating situation. Anyway, here's today's shot: a toy Rolls Royce in a DIY softbox. I was going to process it to go in the Motionless set, but it didn't seem to fit the theme very well.
click to enlarge, or see it on Flickr
Aperture: f/4
Shutter Speed: 0.3 seconds
ISO: 100
Focal Length: 100mm
Tripod
I kind of liked the color here, although it's not my first choice for a multi-million dollar car. Yeah. Hopefully something more interesting will enter my head soon.
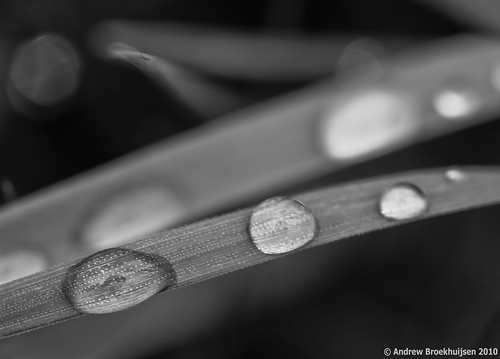
I try to use a tripod for macro shooting whenever possible, but sometimes I see an opportunity and I don't have mine handy. This is what happened today. There were a few problems with this; first of all I was using a 100mm macro lens, which is quite a long focal length to be shooting with handheld anyway, but especially for a close subject. Second, it was windy, and therefore the subject was moving. And third, various clutter around the subject was confusing my autofocus enough that I switched to manual—something I usually hate to do when I don't have a tripod.
click to enlarge, or see it on Flickr
Aperture: f/3.2
Shutter Speed: 1/125
ISO: 100
Focal Length: 100mm
Handheld
I shot anyway. Considering all the factors involved, I think I got a pretty good result for a 1/125 shutter speed, handheld, with manual focus. But the sharpness issues (caused both by motion blur and slight positioning adjustments after focusing) become quite apparent when you view the full-size image.
Either way, there will be a redux of this sometime when I have my tripod and a spray bottle handy to create water droplets.
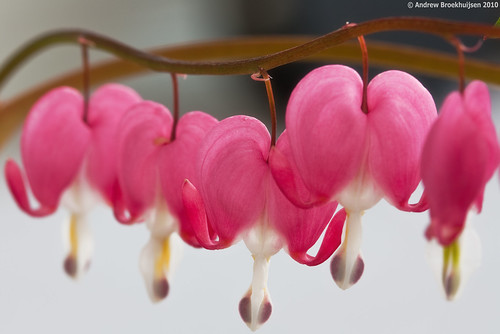
I know that title sounds ridiculously corny. But it's the name of the plant featured in this post, and I must say it's pretty accurate. Once again, I shot this indoors, so I didn't have to deal with wind. I love that.
click to enlarge, or see it on Flickr
Aperture: f/8
Shutter Speed: 1/2
ISO: 100
Focal Length: 100mm
Tripod
I liked the lines from this shot, although the angle wasn't super creative. That being said, my original idea of having the line start closer to the lens and go further away from it, and at a slight angle to create more depth, didn't work out. Even at f/32, I had too much blur.
To compensate a little for the boring angle, I added a tiny bit of Orton effect. I had to try a lot of adjustments and stuff before I was happy with it... too much Orton looks bad; I've found myself getting more and more subtle about it with each time I apply it.
I shot it on a very windy day, handheld. Recipe for blur, even at f/2.8, because it was a cloudy day with limited light.

click to enlarge, or see it on Flickr
Aperture: f/4
Shutter Speed: 1/60
ISO: 100
Focal Length: 100mm
Handheld
So in an attempt to cover up for the motion blur, I applied a light Orton Effect. See! It's blurry, but on purpose.
Also, I just looked at the EXIF, and I guess I shot this at f/4. But even that was kind of pushing it... the DoF is almost too shallow anyway.
I love shooting plants indoors because I never have to worry about wind. And I love shooting plants outside on a cloudy day because the lighting is perfect. So naturally, when I get the chance to take the best of both worlds, I go for it.

click to enlarge, or see it on Flickr
Aperture: f/5.6
Shutter Speed: 1/8
ISO: 100
Focal Length: 100mm
Tripod
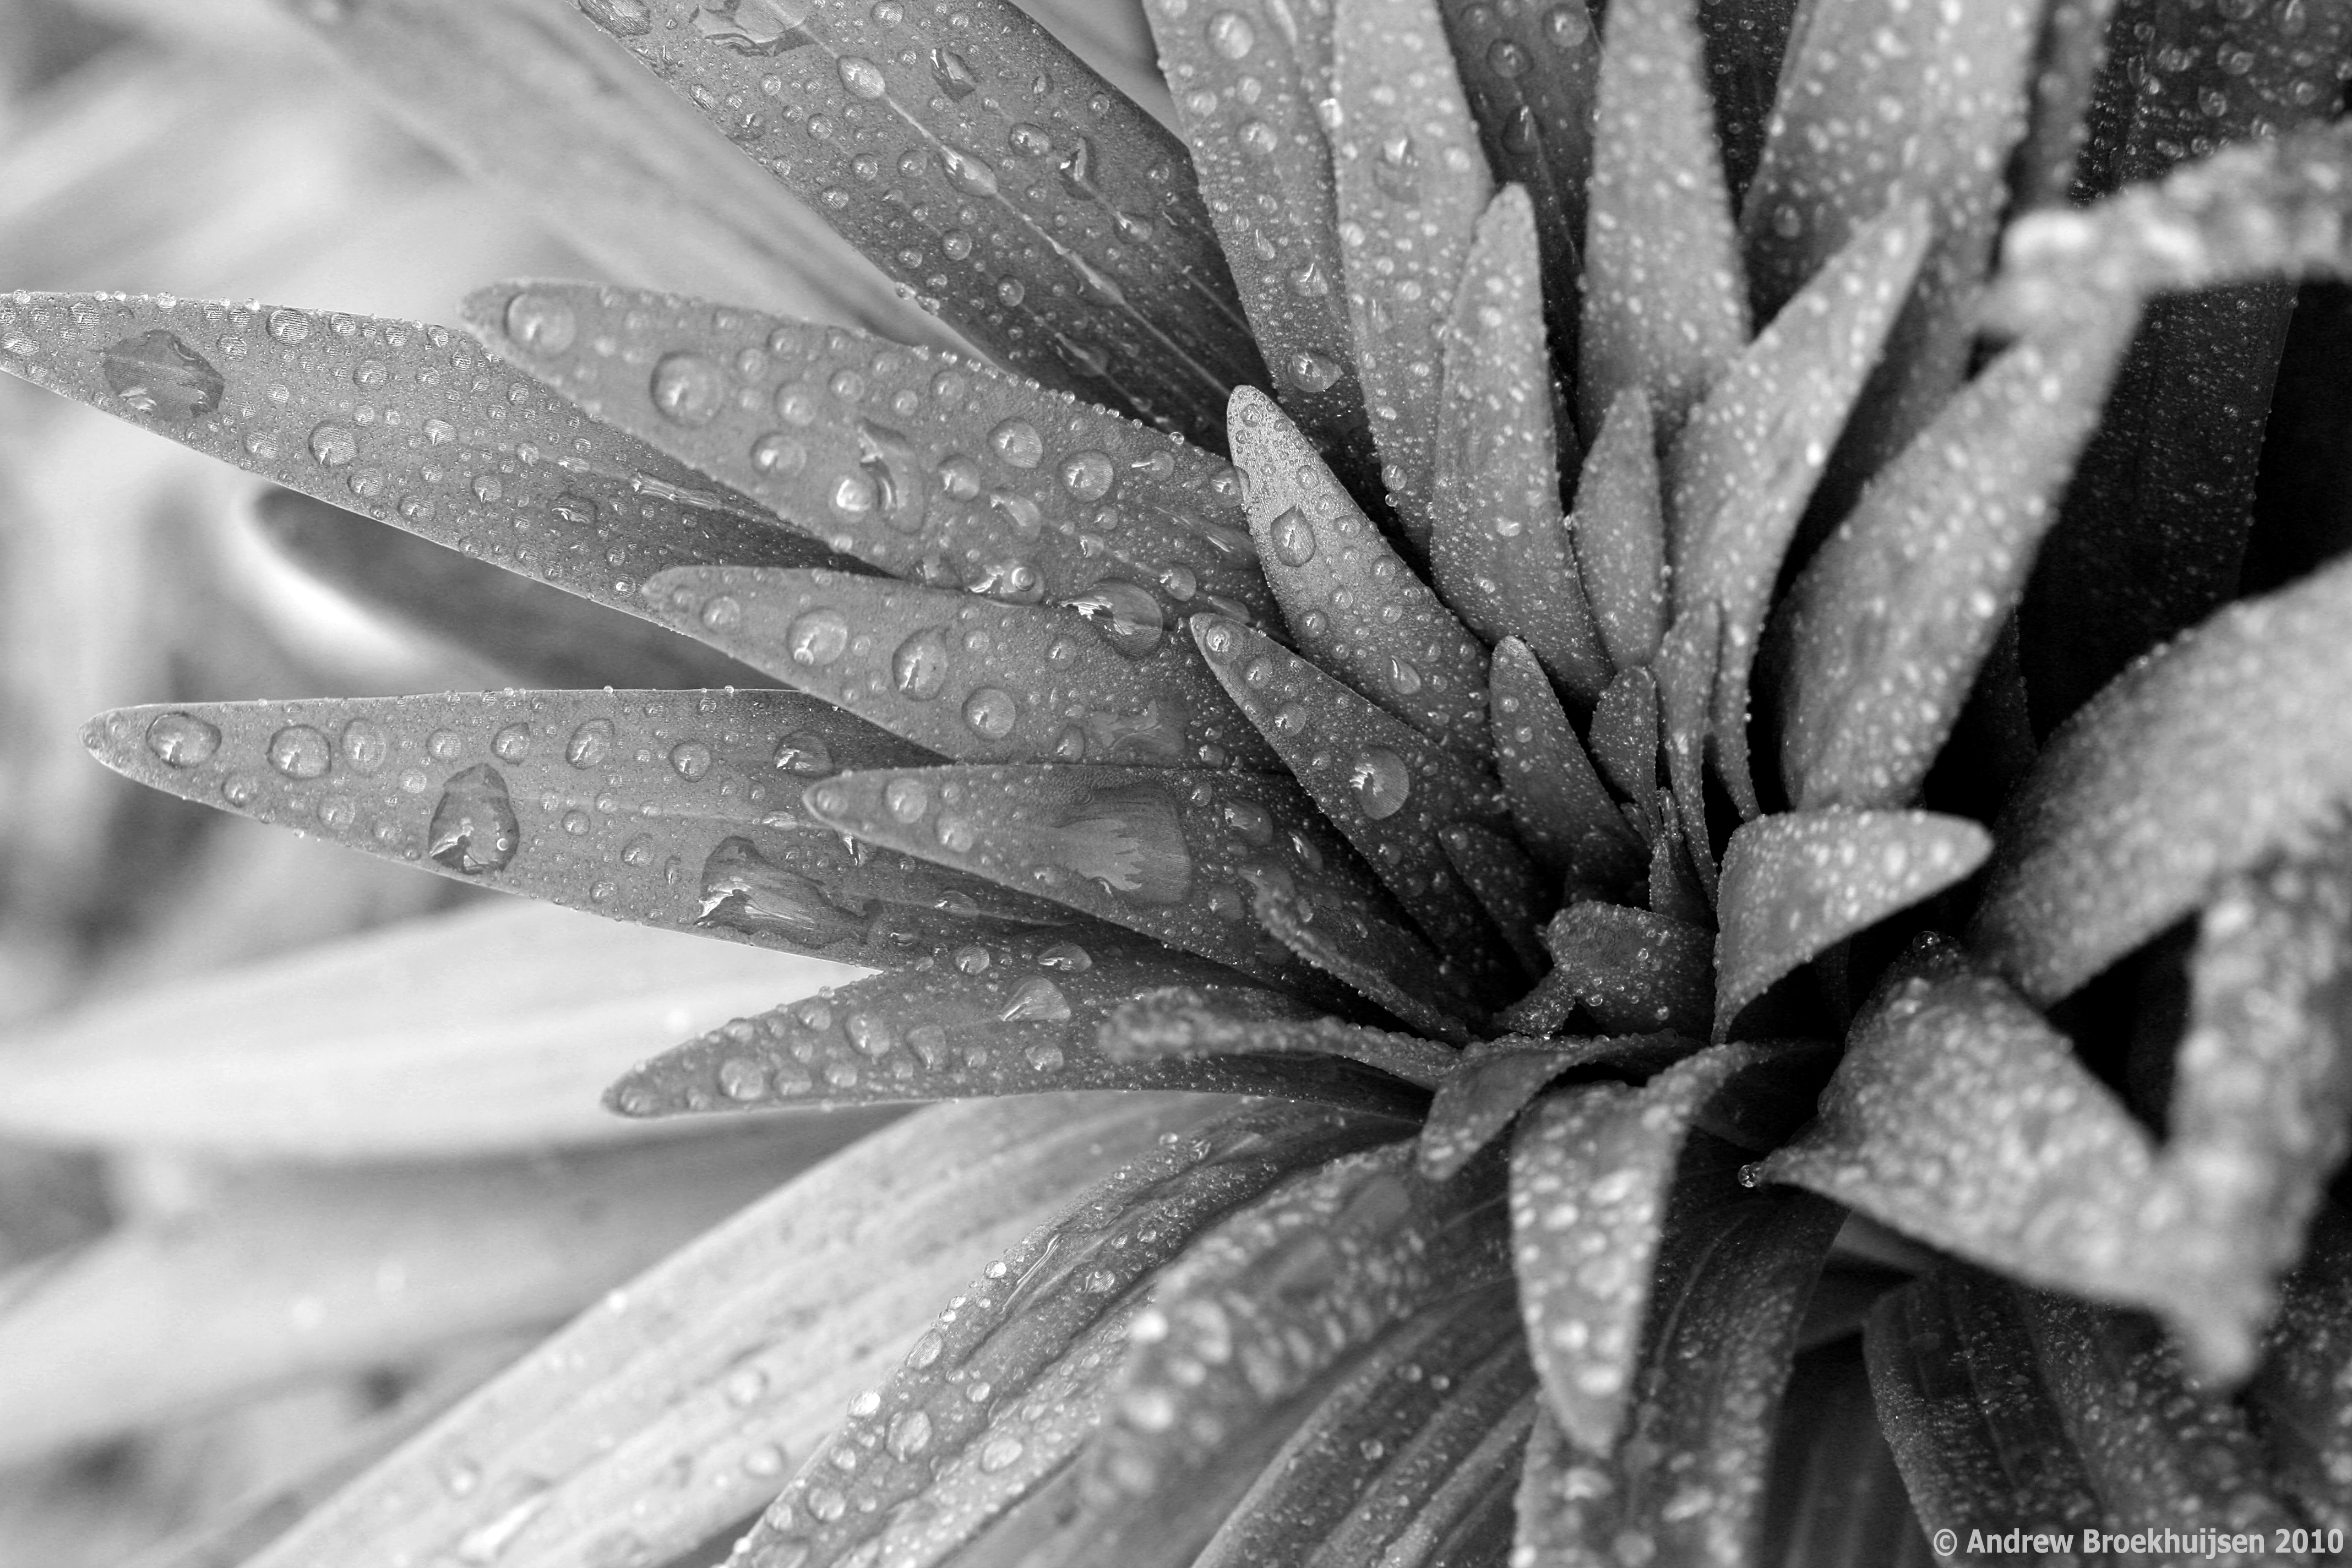
I'm not sure what this plant is called; it's some sort of succulent my mom is growing on a windowsill. And after I took a few shots like this one, I busted out my friend the spray bottle and tried some water ones... they didn't turn out. I don't think it was the water, just other things went wrong. So I may revisit this one with the water droplets again sometime.
Other than being maybe a little bit too busy, I'm pretty happy with this. At least I can say it was composed pretty well and there's a definite point of interest. The the lighting. Oh, the lighting.
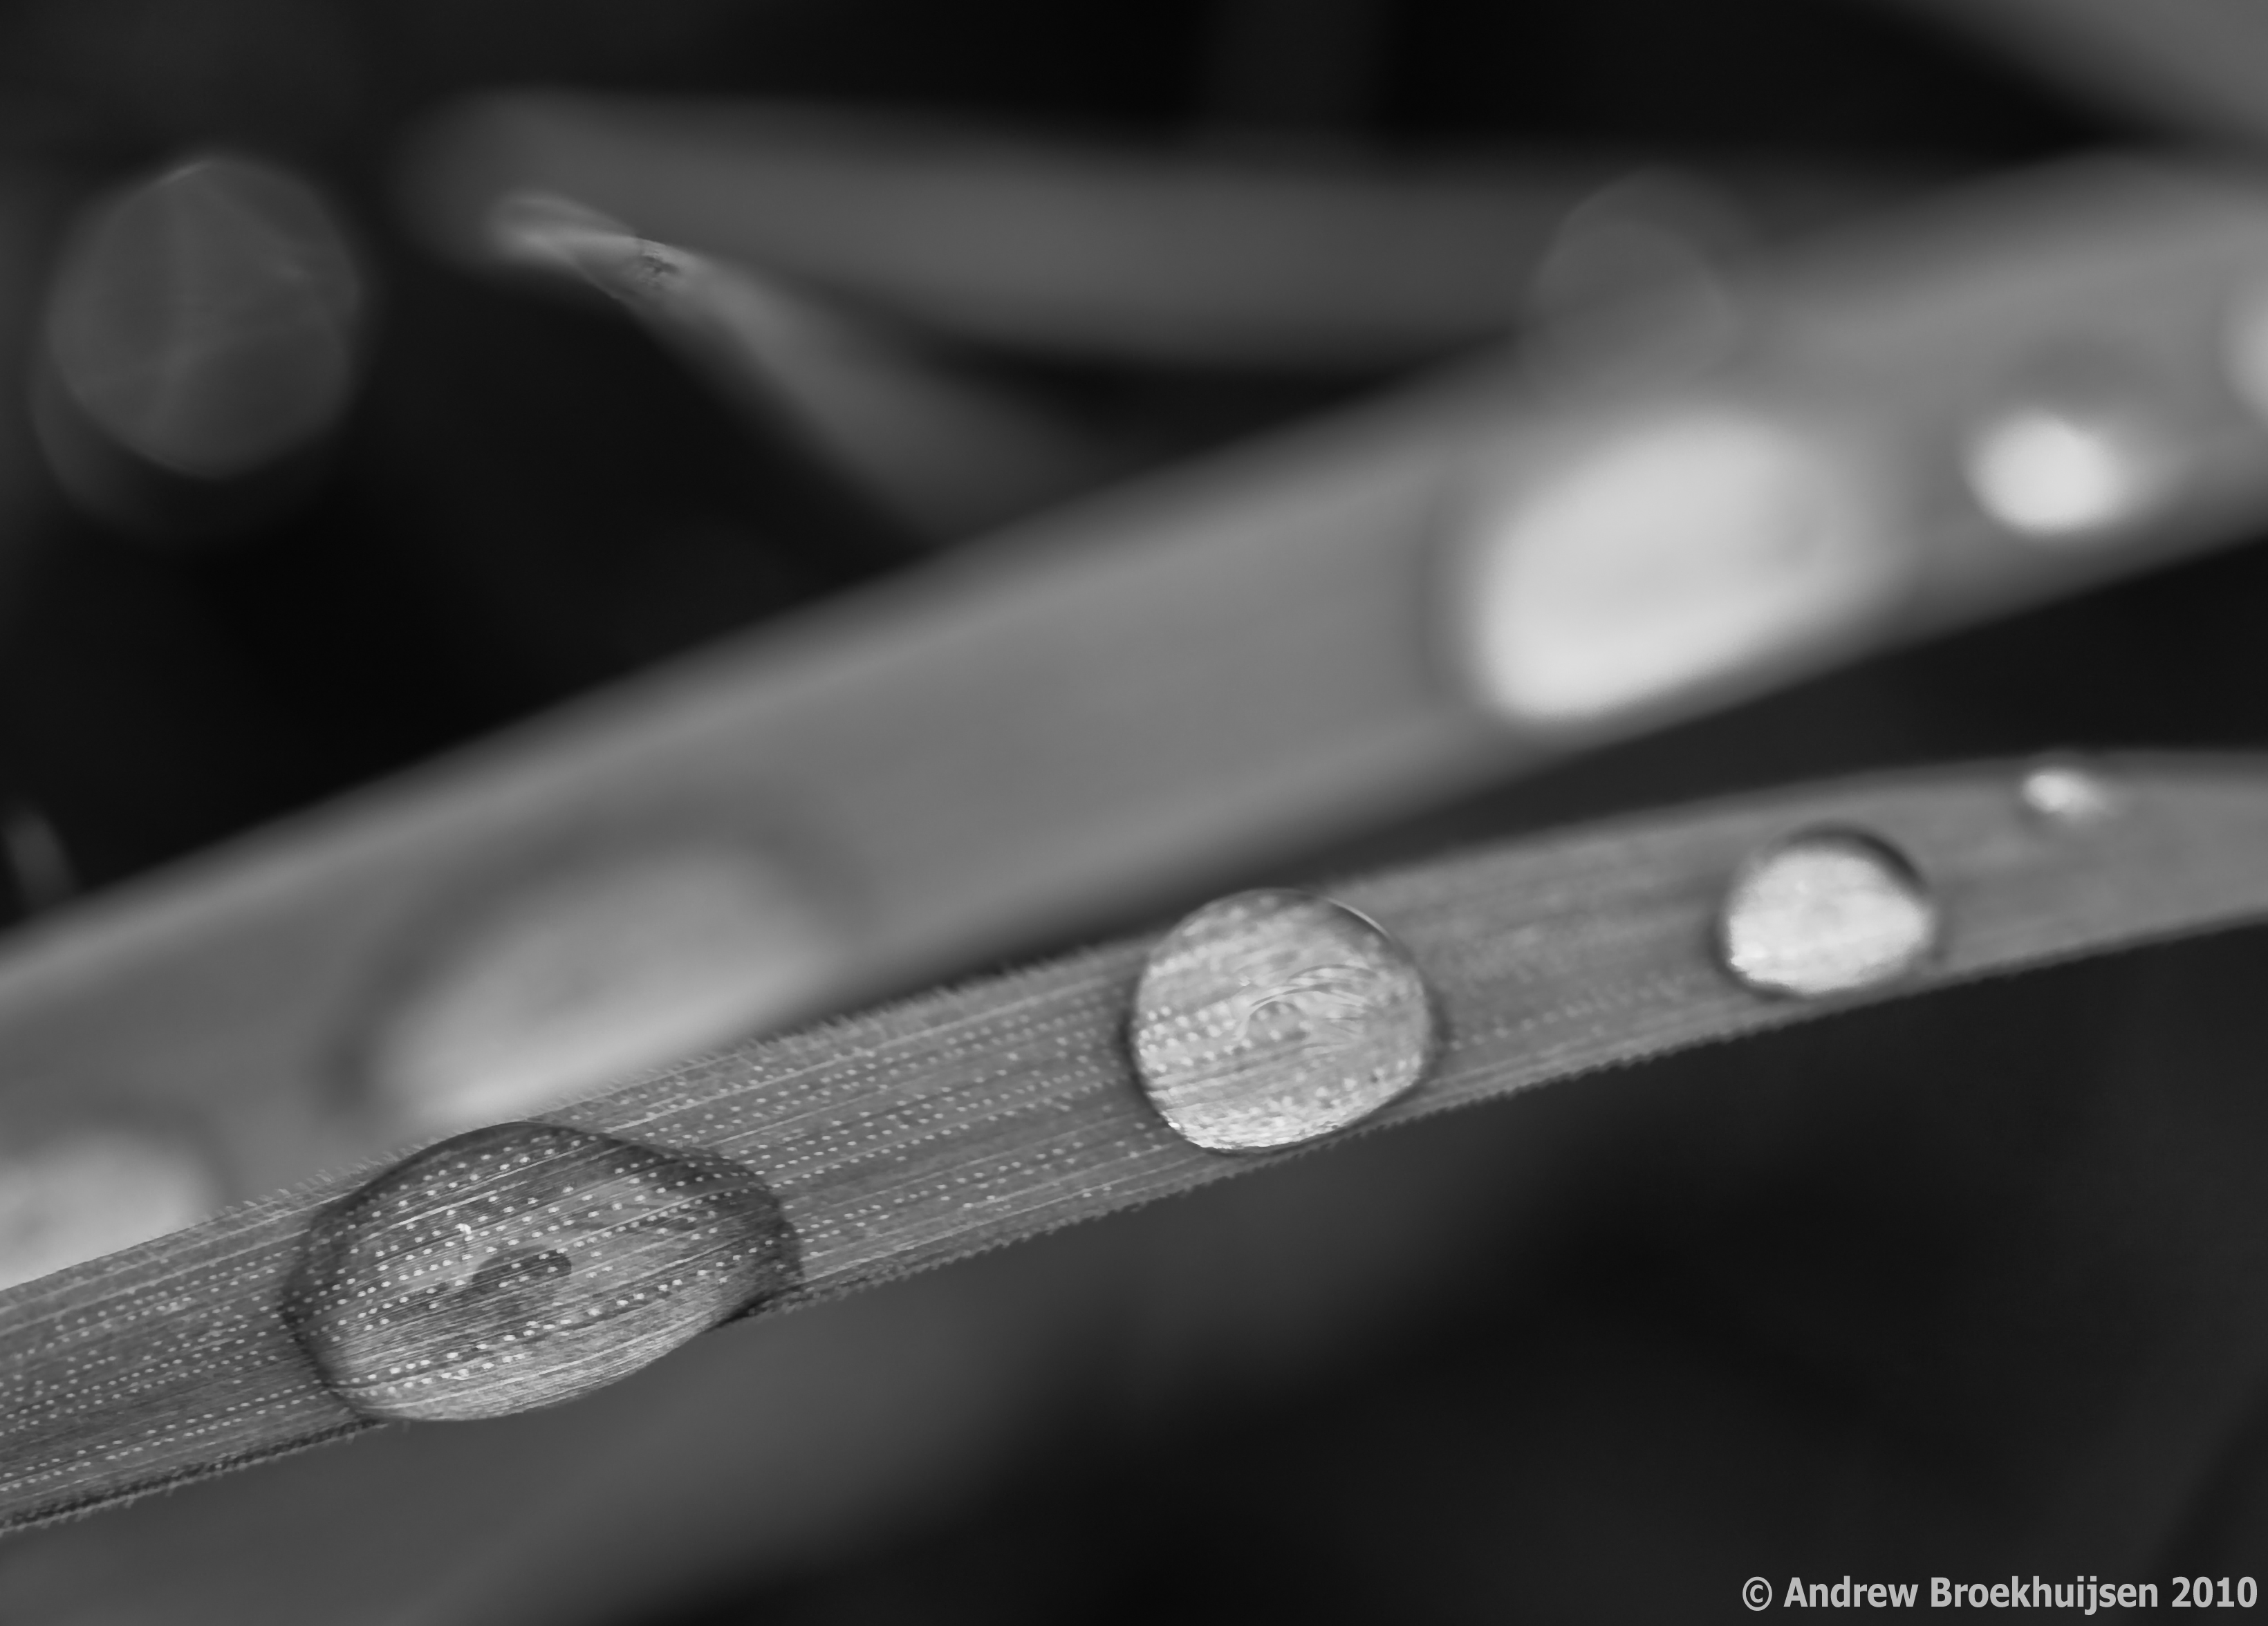
In celebration of Earth Day, I went way out of my comfort zone and took a nature macro photograph. Sadly, I forgot to shoot in RAW as I had left my settings on JPG last time I used the camera. Bummer, especially since this was a planned B&W conversion.

click to enlarge, or see it on Flickr
Aperture: f/8
Shutter Speed: 1/10
ISO: 100
Focal Length: 100mm
Tripod
I'm still pretty happy with how it turned out though. Not as much contrast as I like due to the JPG format, but I'm okay with that. Since I used my newest friend, the spray bottle, to take this, I should have no problem going for a redux later on.
One really interesting thing to do is zoom in to 100% on the full-res image by clicking the photo itself. Check out individual droplets. A lot of them have silhouettes of the tripod, me, the camera, etc. in them.
Ahh, new card reader got here today and I was finally able to unload about 2 gigs of RAW files from my card. Not only that, I was able to finally EDIT some RAW files on my computer and get the best results I'm capable of again.

click to enlarge, or see it on Flickr
Aperture: f/8
Shutter Speed: 1/20
ISO: 100
Focal Length: 100mm
Tripod
I hadn't realized just how dependent I've grown on using RAW whenever possible. I love it. Anyway, we have a flowering plum tree in my front yard that will probably be cut down this summer, so I wanted some photos. Besides, it looks really good this time of year. Once again I can thank my dad and his macro lens.
Also, I'm pretty proud to say that the thought of cropping this photo didn't even cross my mind during editing. I think I'm finally starting to get better at framing things. The more things I can get right in-camera, the better.
Turns out that with my transfer cable, I can't actually move RAW files onto my computer. Which is rough. I had to dig through the few JPGs I shot yesterday and pick the best one, which still isn't all that good.

click to enlarge, or see it on Flickr
Aperture: f/2.8
Shutter Speed: 1/320
ISO: 100
Focal Length: 100mm
Handheld
It probably looks like some astounding close-up, but I cropped that shot majorly. The light is awful, although it's hard to be picky when photographing something like a wasp.
So, bottom line: I can't wait for my new card reader to get here.
After yesterday's train wreck of a photo, I did a little research on the theory behind the Orton Effect. That, combined with a little practice and a new method of applying the effect digitally gave me much more satisfactory results.

click to enlarge, or see it on Flickr
Aperture: f/4.5
Shutter Speed: 1/50
ISO: 100
Focal Length: 37 mmHandheld
Still not perfect, but I have a much firmer grasp on how it works now. Furthermore, I learned how to do it film-style, which I think can be closely reproduced digitally. More on that tomorrow.
I was gone most of the day, but the lighting was pretty good for flower photography when I got back. I snapped a few crocuses again (I know, original). In an attempt to make the pictures stand out a little more, I applied the Orton Effect... and was reminded of how either rusty I am, or how I was never very good at it in the first place. I may have just gotten lucky with this photo. Either way, I pretty much ruined this photo.

click to enlarge, or see it on Flickr
Aperture: f/4.5
Shutter Speed: 1/50
ISO: 100
Focal Length: 37 mm
Handheld
It looks fake, and too contrasty, and frankly, like a prime example of this. So. I put this up here to show you that sometimes my photography sucks pretty bad. I'll try again though. When applied correctly, the Orton Effect is really pretty beautiful.
Yesterday after school, I headed down to a little park near the school. I went on a fairly successful photo walk, which was fun. I had two keepers from the shoot, but I think I like this one better.

click to enlarge, or see it on Flickr
Aperture: f/11
Shutter Speed: 1/13
ISO: 100
Focal Length: 100 mm
Tripod
Once again, my dad's macro lens saves the day. I'm continually astounded at how close I can get with it.
Anyway, the exposure on this was a little wonky. The sky was washed out, but it was so gray that it looks, well, gray. The edge of the acorn is closer to blending in with the sky than I want, but I got it as separated as I could by increasing contrast and toying with exposure and stuff. The bottom-right hand corner was too sharp, so it looked terrible when the acorn was at a nice level of contrast, so I just used a layer mask and the blur tool to take the edge off. It's not an important area to the picture anyway.
I've enjoyed looking at some of the insect macros I've seen, but never really been super interested in doing my own.
Yesterday, I went outside around 6:00 to do some past-due flower macros, now that our purple and white crocuses have started poking up. I couldn't help but notice that there were bees swarming all over them. Since I was already armed with my dad's macro lens and my monopod, I quickly switched into TV, then set for burst shooting and servo AF based off the middle AF point (the sharpest). About 150 pictures later, I had a couple of keepers. This one is my favorite.

click to enlarge, or see it on Flickr
Aperture: f/3.2
Shutter Speed: 1/200
ISO: 100
Focal Length: 100 mm
Monopod
I like it because the bee is in an interesting position, the composition on the flower isn't compromised, and the main interest points are acceptably sharp. I apologize for the boring center composition of the subject, but I was using the sharpest AF point on camera, which is the center, and I couldn't find a crop that I liked very much, so I just left it as-is.
So, long story short, I covet my dad's macro lens like, five million.
I'm not exactly sure what I'm doing wrong here yet. But I'll fix it when I figure it out.

click to enlarge, or see it on Flickr
Aperture: f/7.1
Shutter Speed: 1/50
ISO: 100
Focal Length: 100 mm
Tripod
The color looks kind of sickly to me. I think I shot at a rather uncreative angle. On the other hand, the focus is good, and the glass in the macro lens I used is excellent. I need to keep experimenting, but I need to do it on a day when I don't have 100% direct sunlight beating down on me and the flower.
On the bright side, some purple ones started coming up today. I have a feeling they'll be more cooperative subjects.
Finally, spring is arriving. We have a few crocuses poking out of the ground now, so I figured I'd start up the old nature macro habit again. As I've said before, the kit lens does a reasonably good job with macros... though not so well that I don't want to get a macro lens. :)

click to enlarge, or see it on Flickr
Aperture: f/6.3
Shutter Speed: 1/400
ISO: 100
Focal Length: 55 mm
Tripod
I'm pretty unsatisfied with this shot, actually. I used the screw on the bottom of my tripod column to mount the pan head. This gets me in a really good position to do macro work, though at the cost of a little ease-of-use. Oh, well. Worth it. That's not really the problem. The problem was the intense, direct sunlight. I really should have brought something out to diffuse that. An 8.5x11 sheet of printer paper would have done the job with a subject this small. Also, it's a bit overexposed. The white-balance is off in this shot, because I had left it on Tungsten and forgotten to change it. I corrected it afterward shooting this one, but that messed up my focus, something I didn't realize until I had packed up. Which brings me to another point: I should have shot in RAW. Oh, and I should have used Mirror Lockup. And been more careful with the manual focus.
Anyway, I'm being pretty hard on myself here, because I know I can just head out later and try again for a much better result. In fact, I think I'll do just that. But not right now. Some other time.
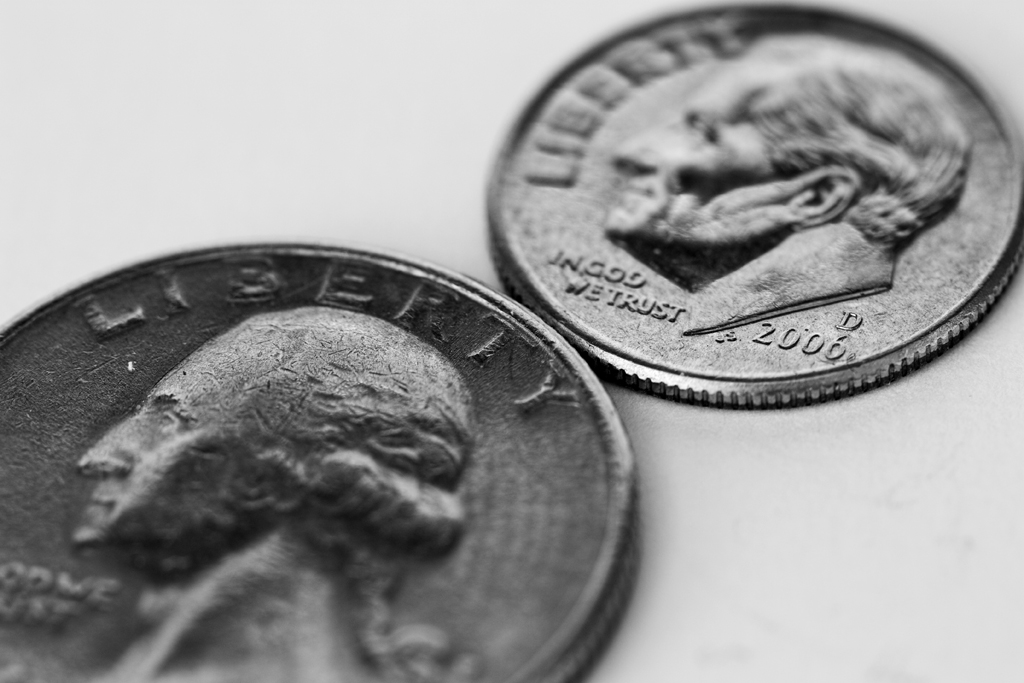
Oh, boy. I borrowed my dad's 100mm macro lens yesterday, and it reminded my why I love macro so much. With a combination of live view, careful and fine-tuned manual focusing, the amazing macro lens, careful lighting, my tripod, and shooting in RAW, I was able to get this shot:
click to enlarge, or see it on Flickr
Aperture: f/5
Shutter Speed: 6 seconds
ISO: 100
Focal Length: 100 mm
Tripod
The lens is beautifully sharp. When zoomed in to 100% magnification on the full-res image, I could not detect any blur at all. RAW, as usual, gave me optimal control over my tones in B&W. I kind of wish I had been more creative with the lighting, but oh, well. At least I got some nice depth.
This makes me even more excited to get my own macro lens. The one I'm looking at is the f/2.8 50 mm made by Canon, and I'll probably pick up an extension tube with it to get closer focusing distances.
A while ago, I read a post on how to improvise a soft box from four pieces of paper and three paper clips or binder clips. Soon after, a friend needed me to take a picture of a strawberry so he could print a poster of it as a gift to his friend (she loves strawberries, and hates when they're out of season). I figured I would test it out.

click to enlarge, or see it on Flickr
Aperture: f/8
Shutter Speed: 0.3 seconds
ISO: 100
Focal Length: 55 mm
Tripod
I'm really pretty happy with how it turned out. Very high-key, and the colors are saturated without my needing to tweak much. The only improvement I wish I could make is the focus. The AF did a good job, but I took this before I discovered Mirror Lockup or Live View zoom MF, which does a slightly better job. But I got the DoF just right in my eyes.
Edit: At the suggestion of a commenter, here's the link to the tutorial on how to build it. You can use artificial lighting, but I just set it next to a window on a cloudy day, as I didn't have any portable lighting with me.
Yesterday, I took my camera down to a ravine near my house. Though I only really got one good shot from the trip, I was pretty happy with it. There are some features on my camera that I didn't think I would ever use, but have proven invaluable. This is the first color photo I've ever shot in RAW.

click to enlarge, or see it on Flickr
Aperture: f/5.6
Shutter Speed: 1/200
ISO: 100
Focal Length: 55 mm
Tripod
I think the difference is much more noticeable in monochrome, although, granted, this photo has a pretty limited color palette. This photo is one that is better viewed in full-res, but 1024 pixels wide will certainly be an improvement over 400.
The real cool parts about this photo are Mirror Lockup and Live View. Live View was something I was trying to get away from by upgrading to a DSLR. I thought manual focus could never be as good on a screen with a limited amount of pixels as it is through a real optical viewfinder. Well it turns out in Live View mode, I'm able to zoom into the photo all the way to 100% view, at any area in the frame I want. Because of this, I learned that auto focus does a great job, and manual focus does a better job when the subject isn't moving.
Also, Mirror Lockup has really impressed me. I never thought it would make that much of a difference with camera shake to get the mirror out of the way first. But when you're in really close, or going for maximum sharpness, it makes a world of difference. I was very surprised. Whenever I'm on a tripod and my subject isn't moving (at all... like an inanimate object, not just a person who is holding still), I use both Mirror Lockup and Live View MF now. Together, they work wonders.