skip to main |
skip to sidebar
I shot it on a very windy day, handheld. Recipe for blur, even at f/2.8, because it was a cloudy day with limited light.

click to enlarge, or see it on Flickr
Aperture: f/4
Shutter Speed: 1/60
ISO: 100
Focal Length: 100mm
Handheld
So in an attempt to cover up for the motion blur, I applied a light Orton Effect. See! It's blurry, but on purpose.
Also, I just looked at the EXIF, and I guess I shot this at f/4. But even that was kind of pushing it... the DoF is almost too shallow anyway.
After yesterday's train wreck of a photo, I did a little research on the theory behind the Orton Effect. That, combined with a little practice and a new method of applying the effect digitally gave me much more satisfactory results.

click to enlarge, or see it on Flickr
Aperture: f/4.5
Shutter Speed: 1/50
ISO: 100
Focal Length: 37 mmHandheld
Still not perfect, but I have a much firmer grasp on how it works now. Furthermore, I learned how to do it film-style, which I think can be closely reproduced digitally. More on that tomorrow.
I was gone most of the day, but the lighting was pretty good for flower photography when I got back. I snapped a few crocuses again (I know, original). In an attempt to make the pictures stand out a little more, I applied the Orton Effect... and was reminded of how either rusty I am, or how I was never very good at it in the first place. I may have just gotten lucky with this photo. Either way, I pretty much ruined this photo.

click to enlarge, or see it on Flickr
Aperture: f/4.5
Shutter Speed: 1/50
ISO: 100
Focal Length: 37 mm
Handheld
It looks fake, and too contrasty, and frankly, like a prime example of this. So. I put this up here to show you that sometimes my photography sucks pretty bad. I'll try again though. When applied correctly, the Orton Effect is really pretty beautiful.
First off, Merry Christmas (or happy Hanukkah, Kwanzaa, or whatever thing you celebrate this time of year) to everyone! Hope your holidays are lovely.
Anyway, this picture was taken the same day as yesterday's picture. It's an indoor macro shot right up against the window out into the lovely cloudy light. This gave the flower some cool back lighting, but I had to overexpose the background to avoid silhouetting the subject.
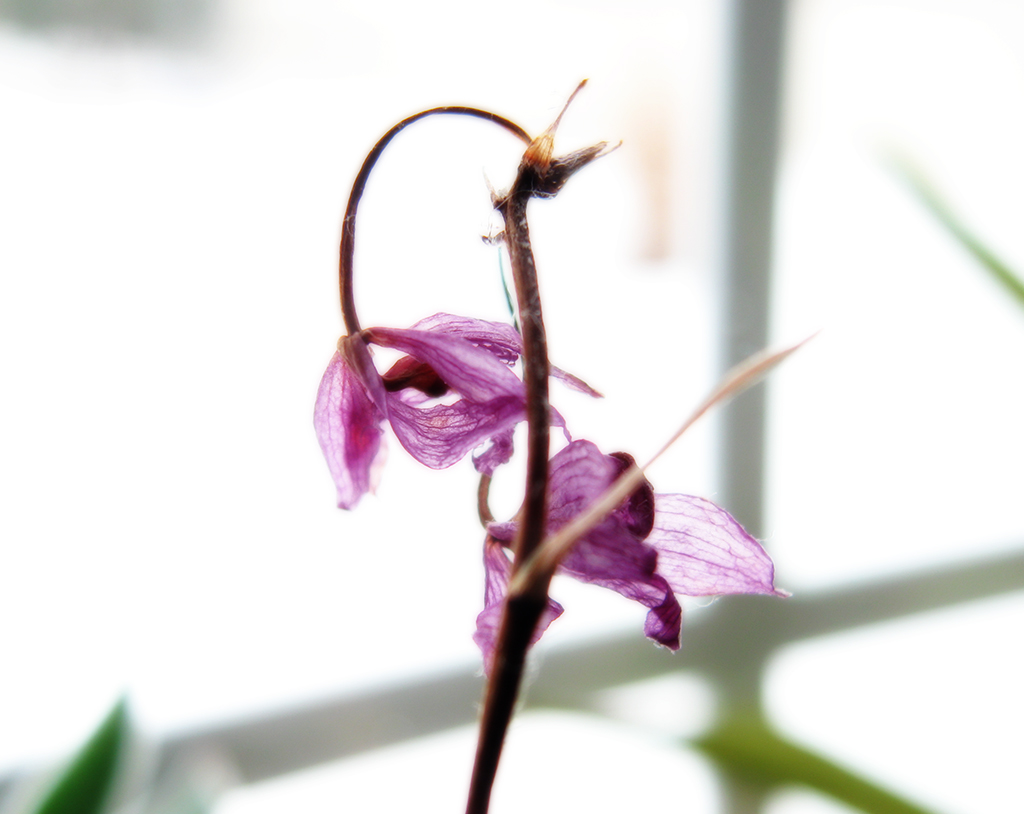
click to enlarge, or see it on Flickr
Aperture: f/2.6
Shutter Speed: 1/80
ISO: 80
Handheld
I'm actually pretty happy with the lighting in the background—it makes the photo look almost like it was shot in a light box. I wish I could have done something about the leaves and window thingies cluttering up the background, but I don't think they're too terribly distracting.
As you may have guessed from the title, a subtle Orton Effect was applied. I'm liking this effect more and more the more familiar and comfortable I become with it, especially for flowers. As this was taken handheld, it wasn't as perfectly clear as my macros with tripod usually end up, so the Orton Effect also helped hide the minute amounts of camera shake.
Remember the rose from this post? I figured since it wasn't as sharp as I generally like my macro photos to be, it would be a good one to try the Orton Effect on. I'm very happy with the results.
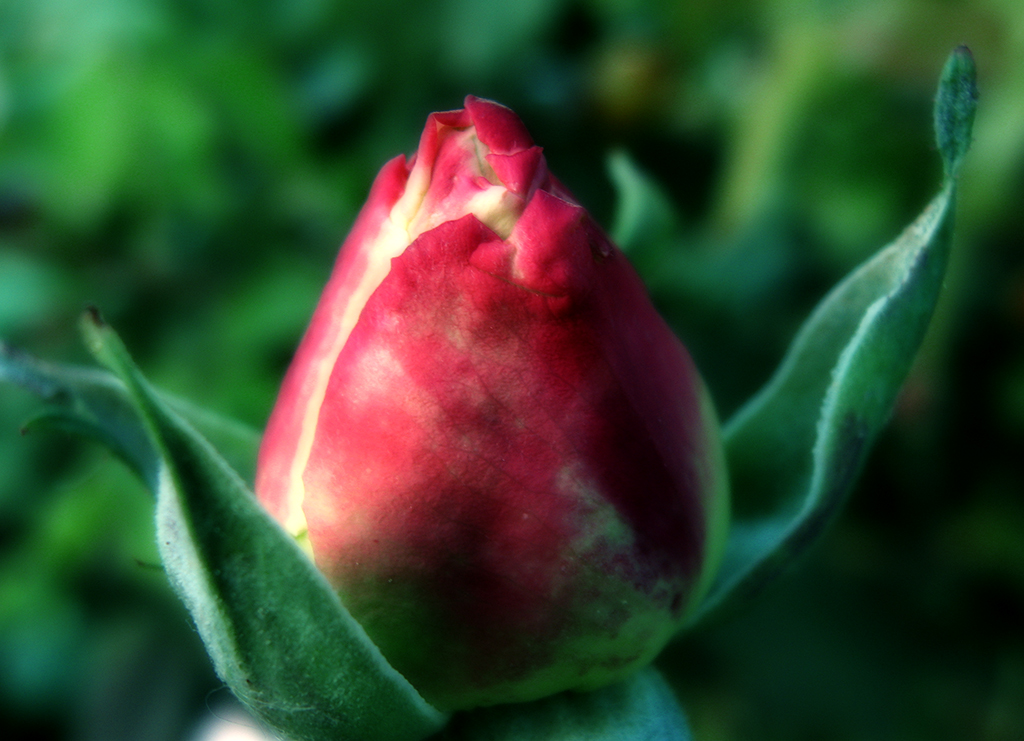
click to enlarge, or see it on Flickr
I've refined my Orton technique somewhat since my last post. Here's the process I used for this photo:
1. Finish any pre-Orton Effect editing you want to do (color corrections, curves, cropping, etc.)
2. Duplicate the Background layer. Name this layer "Screen."
3. Change the blending mode of the "Screen" layer to, you guessed it, "Screen."
4. Merge the two layers again. It should look overexposed—don't worry, this is not a mistake.
5. Duplicate the Background layer again. Name this layer "Blur."
6. Apply a Gaussian blur to the "Blur" layer. It should be strong enough to erase the details without erasing the general shape. This is one step where you can have some artistic license--more blur will result in a more impressionistic image.
7. Change the blending mode of the "Blur" layer to "Multiply."
8. Flatten your image.
9. Go back and re-adjust brightness and contrast as desired.
Again, this is a pretty subjective effect—one person might love what another person hates. So play around with layer opacity, blending modes, etc. I'd love to see your results in the comments!
Yet another weapon I have added to my arsenal of "tools to make kind of boring shots more interesting" is called the Orton Effect, named after photographer Michael Orton. Apparently, it was originally done with film cameras, using two images exposed on slide film—one overexposed by two stops, and one overexposed by one shot, and out of focus.
Luckily, everything is easier with digital cameras. This is the first post I've done about the Orton Effect, and I'm not super experienced with it, so I'll hold off a step-by-step tutorial until I've found a good general recipe. Essentially, you duplicate your image into a new layer, and apply a Gaussian blur, eventually merging them back together. That's the rundown; obviously there are a lot of tweaks and stuff you can use to get each image "right."
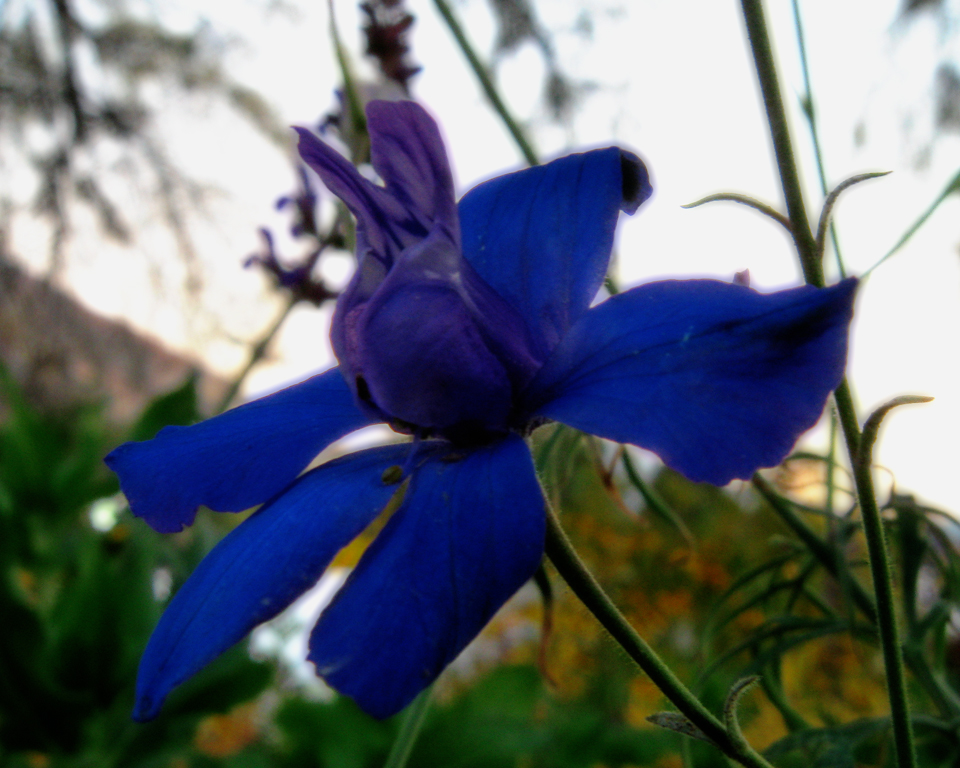
click to enlarge, or see it on Flickr
I didn't want to overdo it in the above photo, so the effect isn't super strong. But hopefully, there's a pretty noticeable impressionistic vibe. My original photo was rather underexposed, and quite frankly, just not a very good photo. I had to do a lot of playing around in Photoshop to make it look any good at all. The Orton Effect improved it, but it's still not great. I guess what I'm trying to say is, if you want a more accurate idea of what the Orton Effect looks like, Google it—this isn't a very good example.


