
Luckily, everything is easier with digital cameras. This is the first post I've done about the Orton Effect, and I'm not super experienced with it, so I'll hold off a step-by-step tutorial until I've found a good general recipe. Essentially, you duplicate your image into a new layer, and apply a Gaussian blur, eventually merging them back together. That's the rundown; obviously there are a lot of tweaks and stuff you can use to get each image "right."
click to enlarge, or see it on Flickr
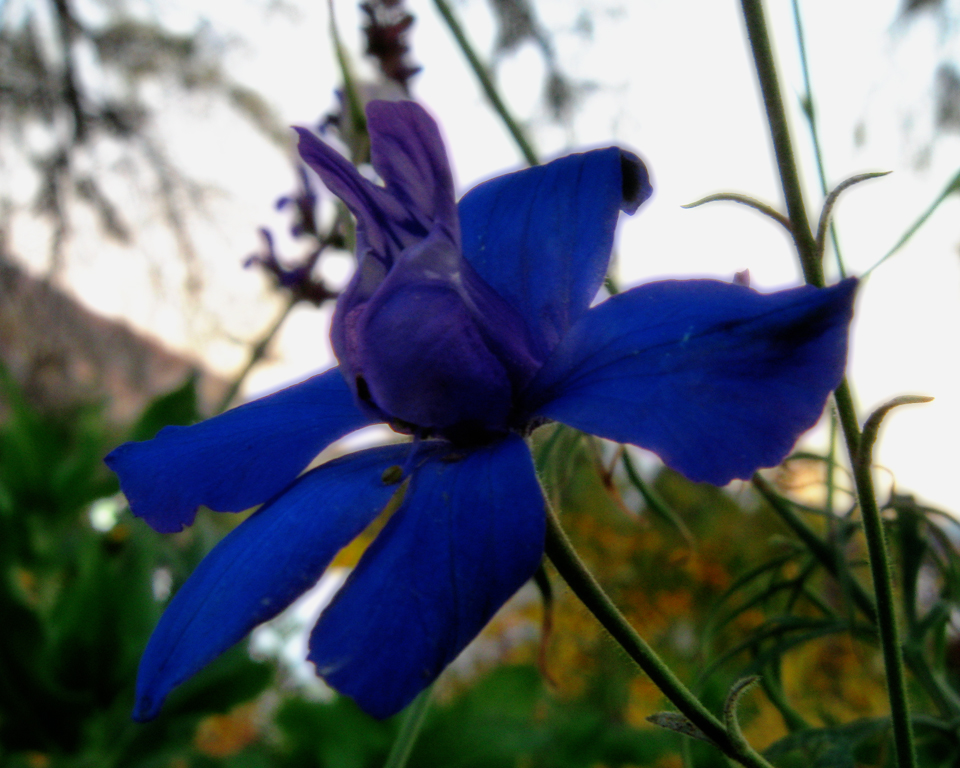
I didn't want to overdo it in the above photo, so the effect isn't super strong. But hopefully, there's a pretty noticeable impressionistic vibe. My original photo was rather underexposed, and quite frankly, just not a very good photo. I had to do a lot of playing around in Photoshop to make it look any good at all. The Orton Effect improved it, but it's still not great. I guess what I'm trying to say is, if you want a more accurate idea of what the Orton Effect looks like, Google it—this isn't a very good example.

No comments:
Post a Comment
Like what you see? Have a question? Leave me a comment!