
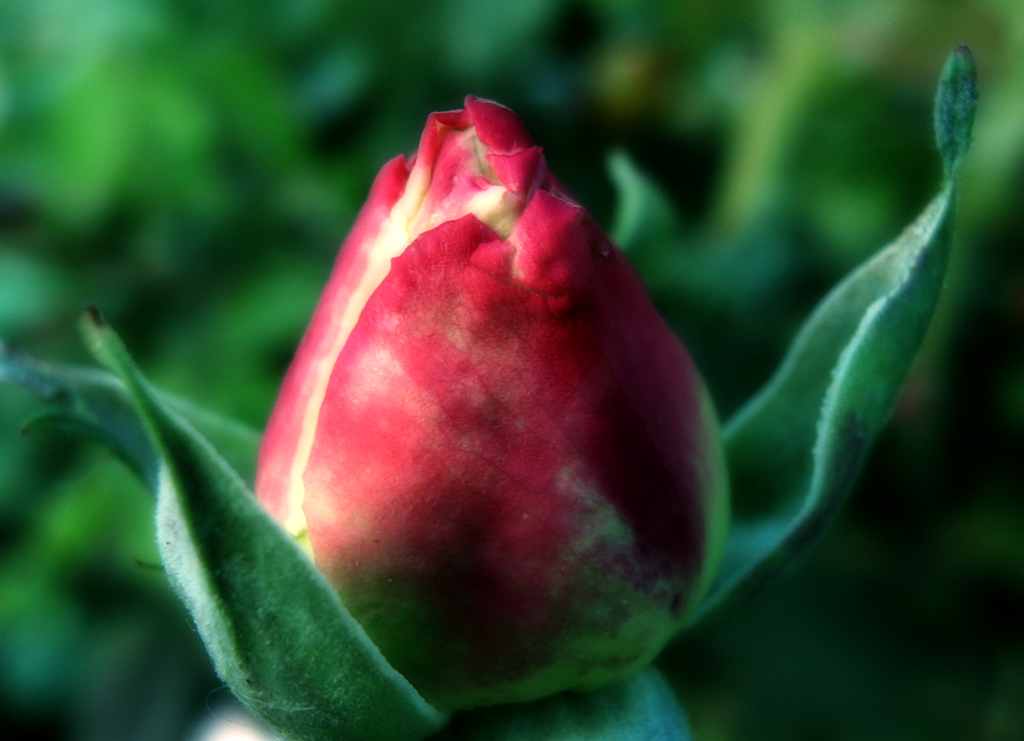
click to enlarge, or see it on Flickr
I've refined my Orton technique somewhat since my last post. Here's the process I used for this photo:
1. Finish any pre-Orton Effect editing you want to do (color corrections, curves, cropping, etc.)
2. Duplicate the Background layer. Name this layer "Screen."
3. Change the blending mode of the "Screen" layer to, you guessed it, "Screen."
4. Merge the two layers again. It should look overexposed—don't worry, this is not a mistake.
5. Duplicate the Background layer again. Name this layer "Blur."
6. Apply a Gaussian blur to the "Blur" layer. It should be strong enough to erase the details without erasing the general shape. This is one step where you can have some artistic license--more blur will result in a more impressionistic image.
7. Change the blending mode of the "Blur" layer to "Multiply."
8. Flatten your image.
9. Go back and re-adjust brightness and contrast as desired.
Again, this is a pretty subjective effect—one person might love what another person hates. So play around with layer opacity, blending modes, etc. I'd love to see your results in the comments!

I tried a similar thing only with photos.
ReplyDeleteI like the effect, but I wasn't sure when I first tried it.
http://gallow-photo-year.blogspot.com/2009/10/week-25-day-178-october-20-2009.html