
The basic technique involved is to set up some smoking object against a black background (I used a black posterboard this time instead of just shooting in a pitch black room). You have to make sure light hits it from the side without spilling onto your background (which you want to remain totally black with no detail). In order to do this, I made a crappy snoot out of another piece of black posterboard. It wasn't pretty, but it got the job done. Since you want a wide depth-of-field to capture the smoke throughout all the planes it wafts through, a small aperture is required. To avoid any image noise, you must have a fast shutter speed (which also freezes the action) and a low ISO. So to counteract all of your settings that tend not to let in a lot of light, it's necessary to introduce a vast amount of light from your side light source. I cranked the flash brightness REALLY high. It worked.
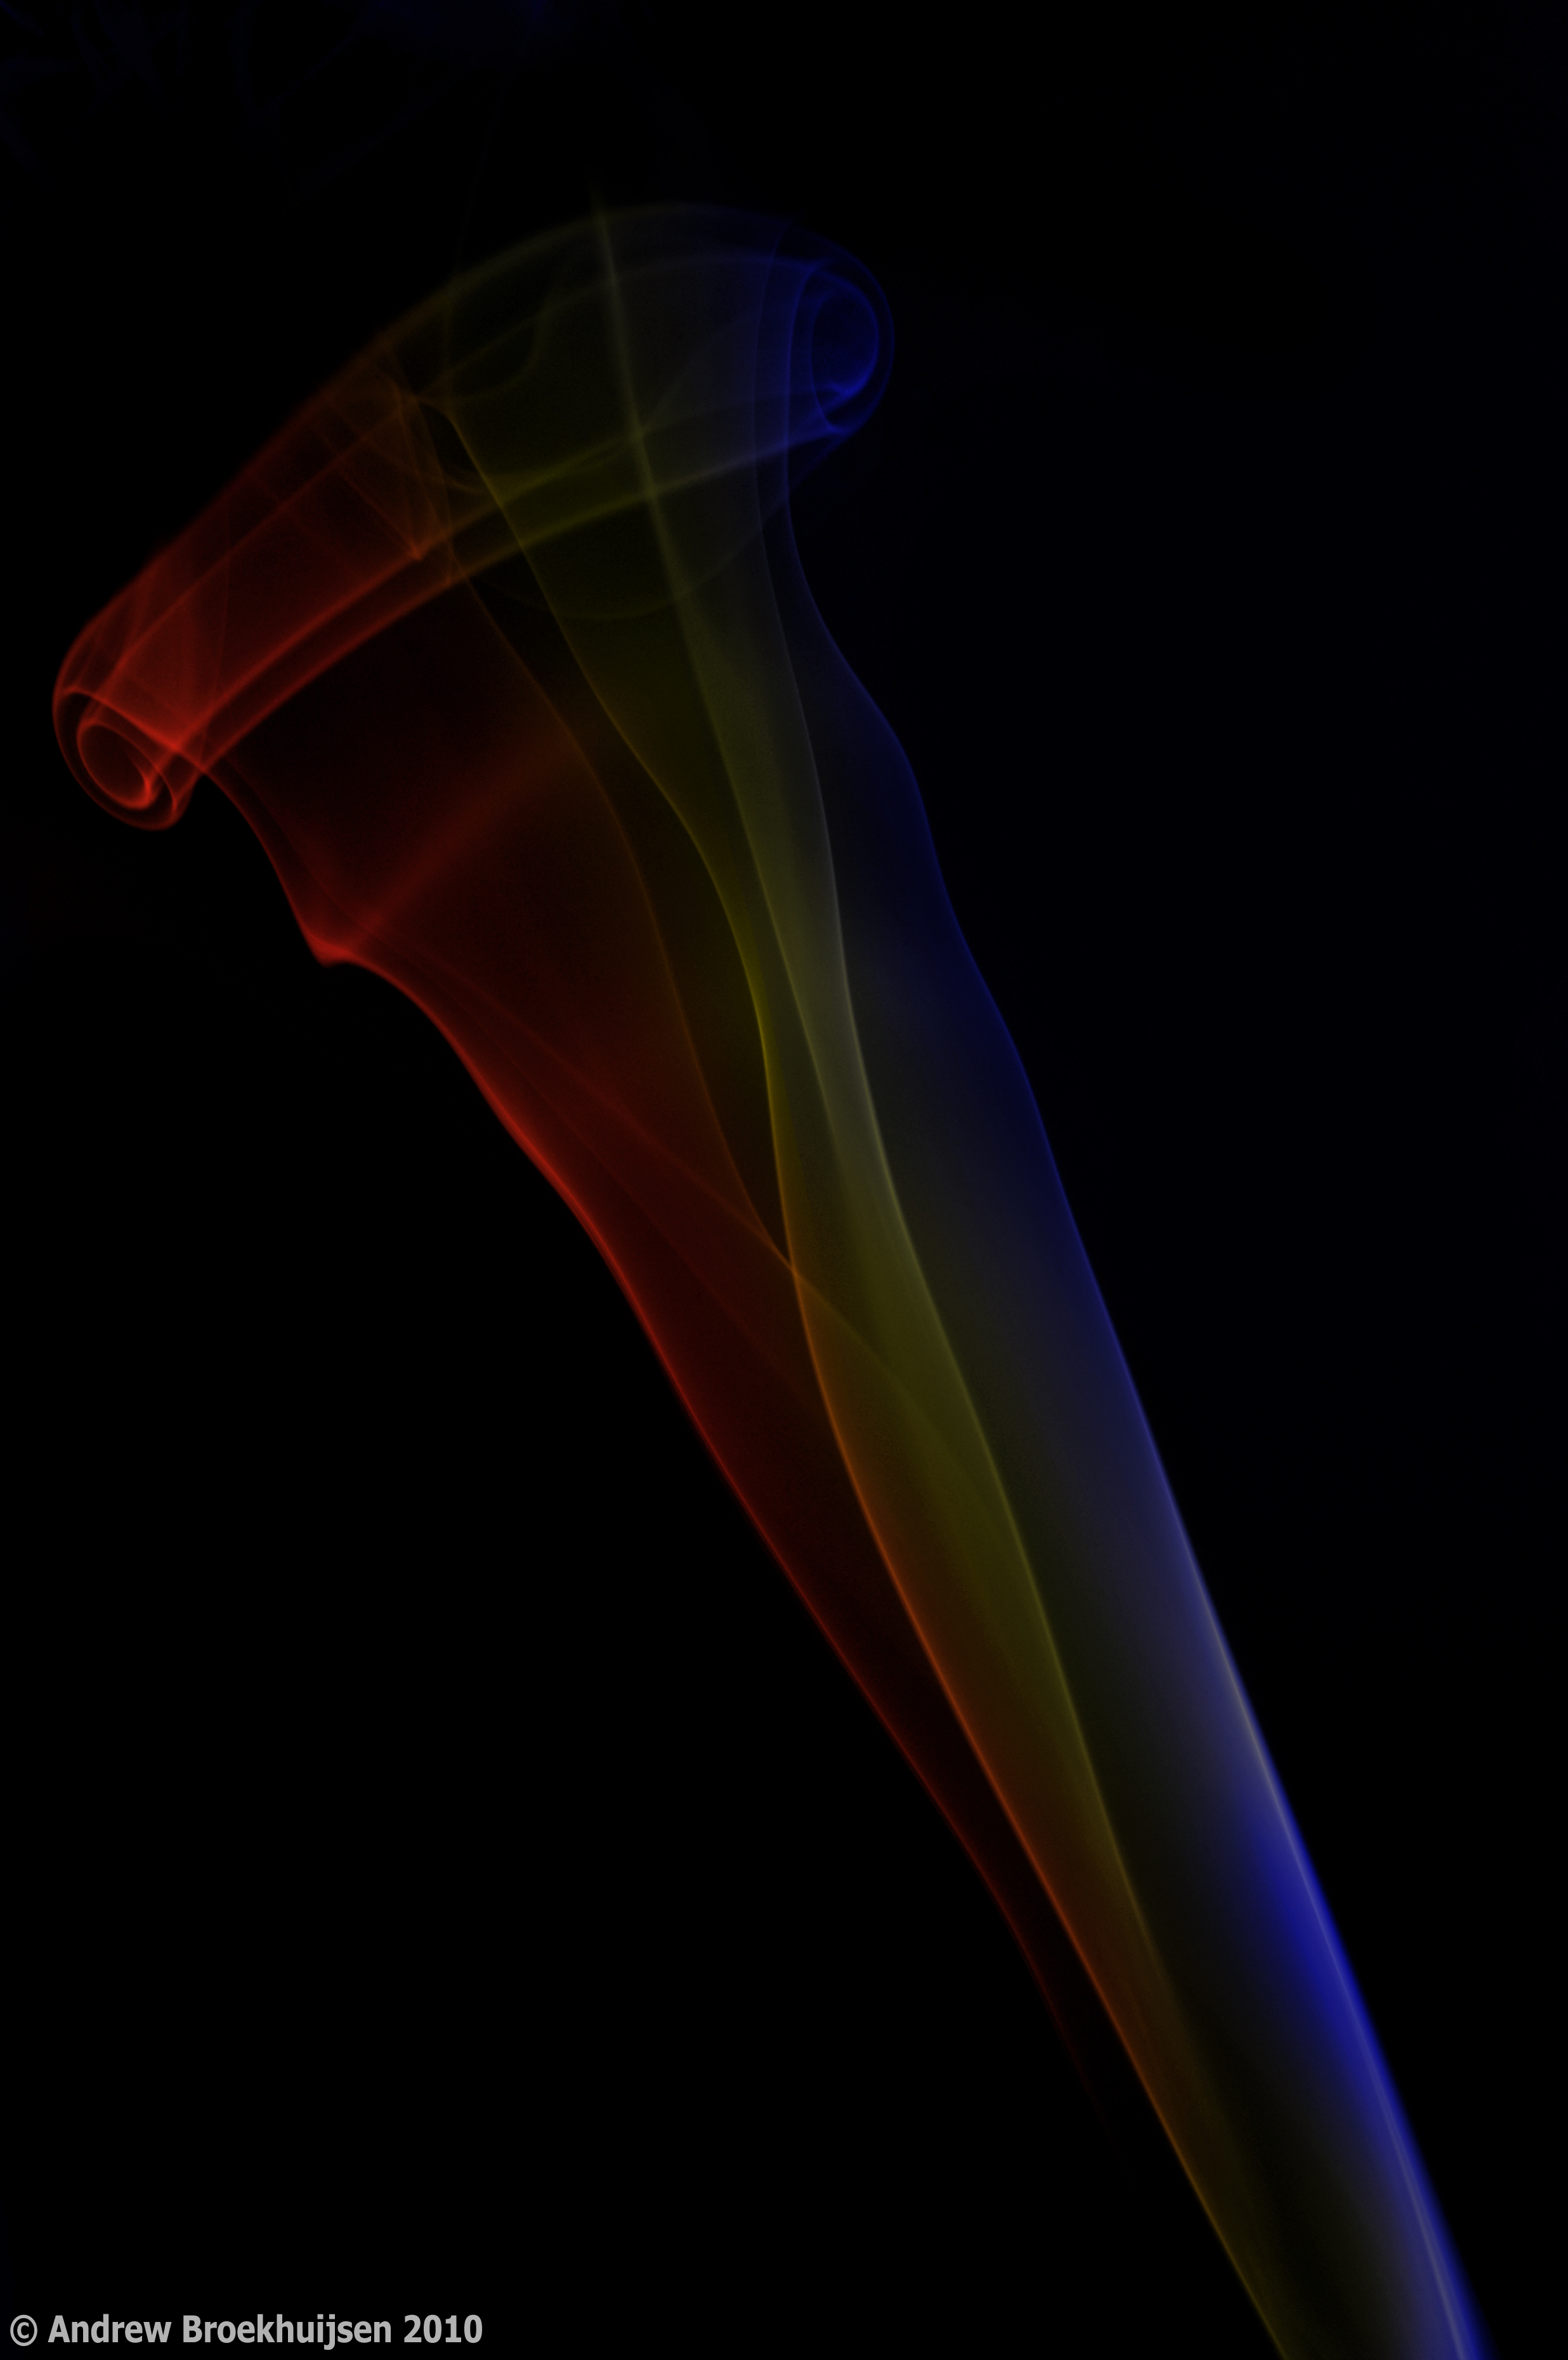
click to enlarge, or see it on Flickr
Aperture: f/14
Shutter Speed: 1/250
ISO: 100
Focal Length: 48mm
Tripod
From there, you just light something on fire. I used paper because the incense I bought for this purpose freaking smells like someone died. It's that bad. So paper got the job done. Once that something burns out, smoke plumes start going up. Generally if you're in a ventilated room (which I highly recommend), the smoke will go smoothly up in a nearly straight or straight plume. To disrupt it and make a slightly more interesting picture, you can block the smoke's path with an object, fan it lightly, blow on it, etc.
Once you have your shots, take them into Photoshop and adjust the levels to make sure your background is true black. You may also have to use a black brush to flatten a few areas and remove distracting pieces of smoke from others. Many people choose to invert their image at this point to put the smoke on a white background. I felt the colors I used looked better on black. You can then use any method you want to colorize the smoke if you so desire. I like to make multiple layers of different colors and then blend them with masks so the smoke is multicolored.
As a last step, you can add some contrast or adjust levels further. Be careful with adding contrast or saturation; this tends to cause posterization very quickly. The blacker you get your background in-camera and the better you separate your smoke (hint: more light), the less contrast you will be tempted to add, and the smoother your smoke will turn out. The above example is actually posterized pretty badly.

Oooooh! Pretty! I SO want to try this when I have the time! Thanks for the clear tutorial as well - it makes sense and sounds like something I could actually attempt.
ReplyDeleteI especially like the scroll like effect at the top of the smoke plumes. Very cool.
What a great photo! This is so awesome! Thanks for the details and the "how to's" - sound like it's a lot of work to set this up, and looks pretty complicated. I'm a bit scurred... but one of these days I will try this!!
ReplyDelete