skip to main |
skip to sidebar
Right from the get-go, I have to bump Maurice Ribble, the inventor and creator of the Camera Axe system. He single-handedly designed, acquired parts for, and began distributing this system online. Check out the Camera Axe site for more details. What it is is a controller with a number of sensors and cables that can be attached to it. I personally just got the projectile sensor, which allows you to precisely place a projectile of any kind in your frame. Just hook up the sensor to the Camera Axe, hook up a flash to the Camera Axe as well, align the barrel of your projectile-launcher (I use a pellet gun from Walmart) so the pellet will pass through the sensor, and fire. The Camera Axe receives its information from the sensor and triggers the flash at exactly the right time, freezing your projectile and exposing your picture.
After receiving my Camera Axe in the mail today, I had my electronics-whiz little brother assemble it for me and then experimented with a friend and my brother for a couple of hours. Here's the best of our results from tonight:

Aperture: f/8
Shutter Speed: 3.2 seconds (1/50,000th effective)
ISO: 400
Focal Length: 50mm
Tripod

Aperture: f/4
Shutter Speed: 4 seconds (1/50,000th effective)
ISO: 200
Focal Length: 50mm
Tripod
Pretty rad. I'm particularly happy with the card shot. Looking forwards to taking pictures of shooting all sorts of stuff in the future.
I know that first part sounded like a commercial. Don't worry, Maurice Ribble isn't paying me. The Camera Axe really just is that awesome. Go buy one.
I did a little reading, and it turns out external flashes don't actually get brighter or dimmer. How a flash simulates getting brighter and dimmer (how it adjusts its "power" output) is actually by staying on for an infinitesimally longer or shorter period of time. So if the flash is your only effective light source (your shutter isn't letting in really any ambient light at ISO 100, inside, 1/200th of a second shutter, and f/10), your effective "shutter speed" is much faster than a camera is really capable of. So when my dad's 580EX Speedlite is set at 1/16th power, for instance, I have an effective shutter speed of 1/11000th of a second. Perfect for freezing REALLY fast-moving objects.
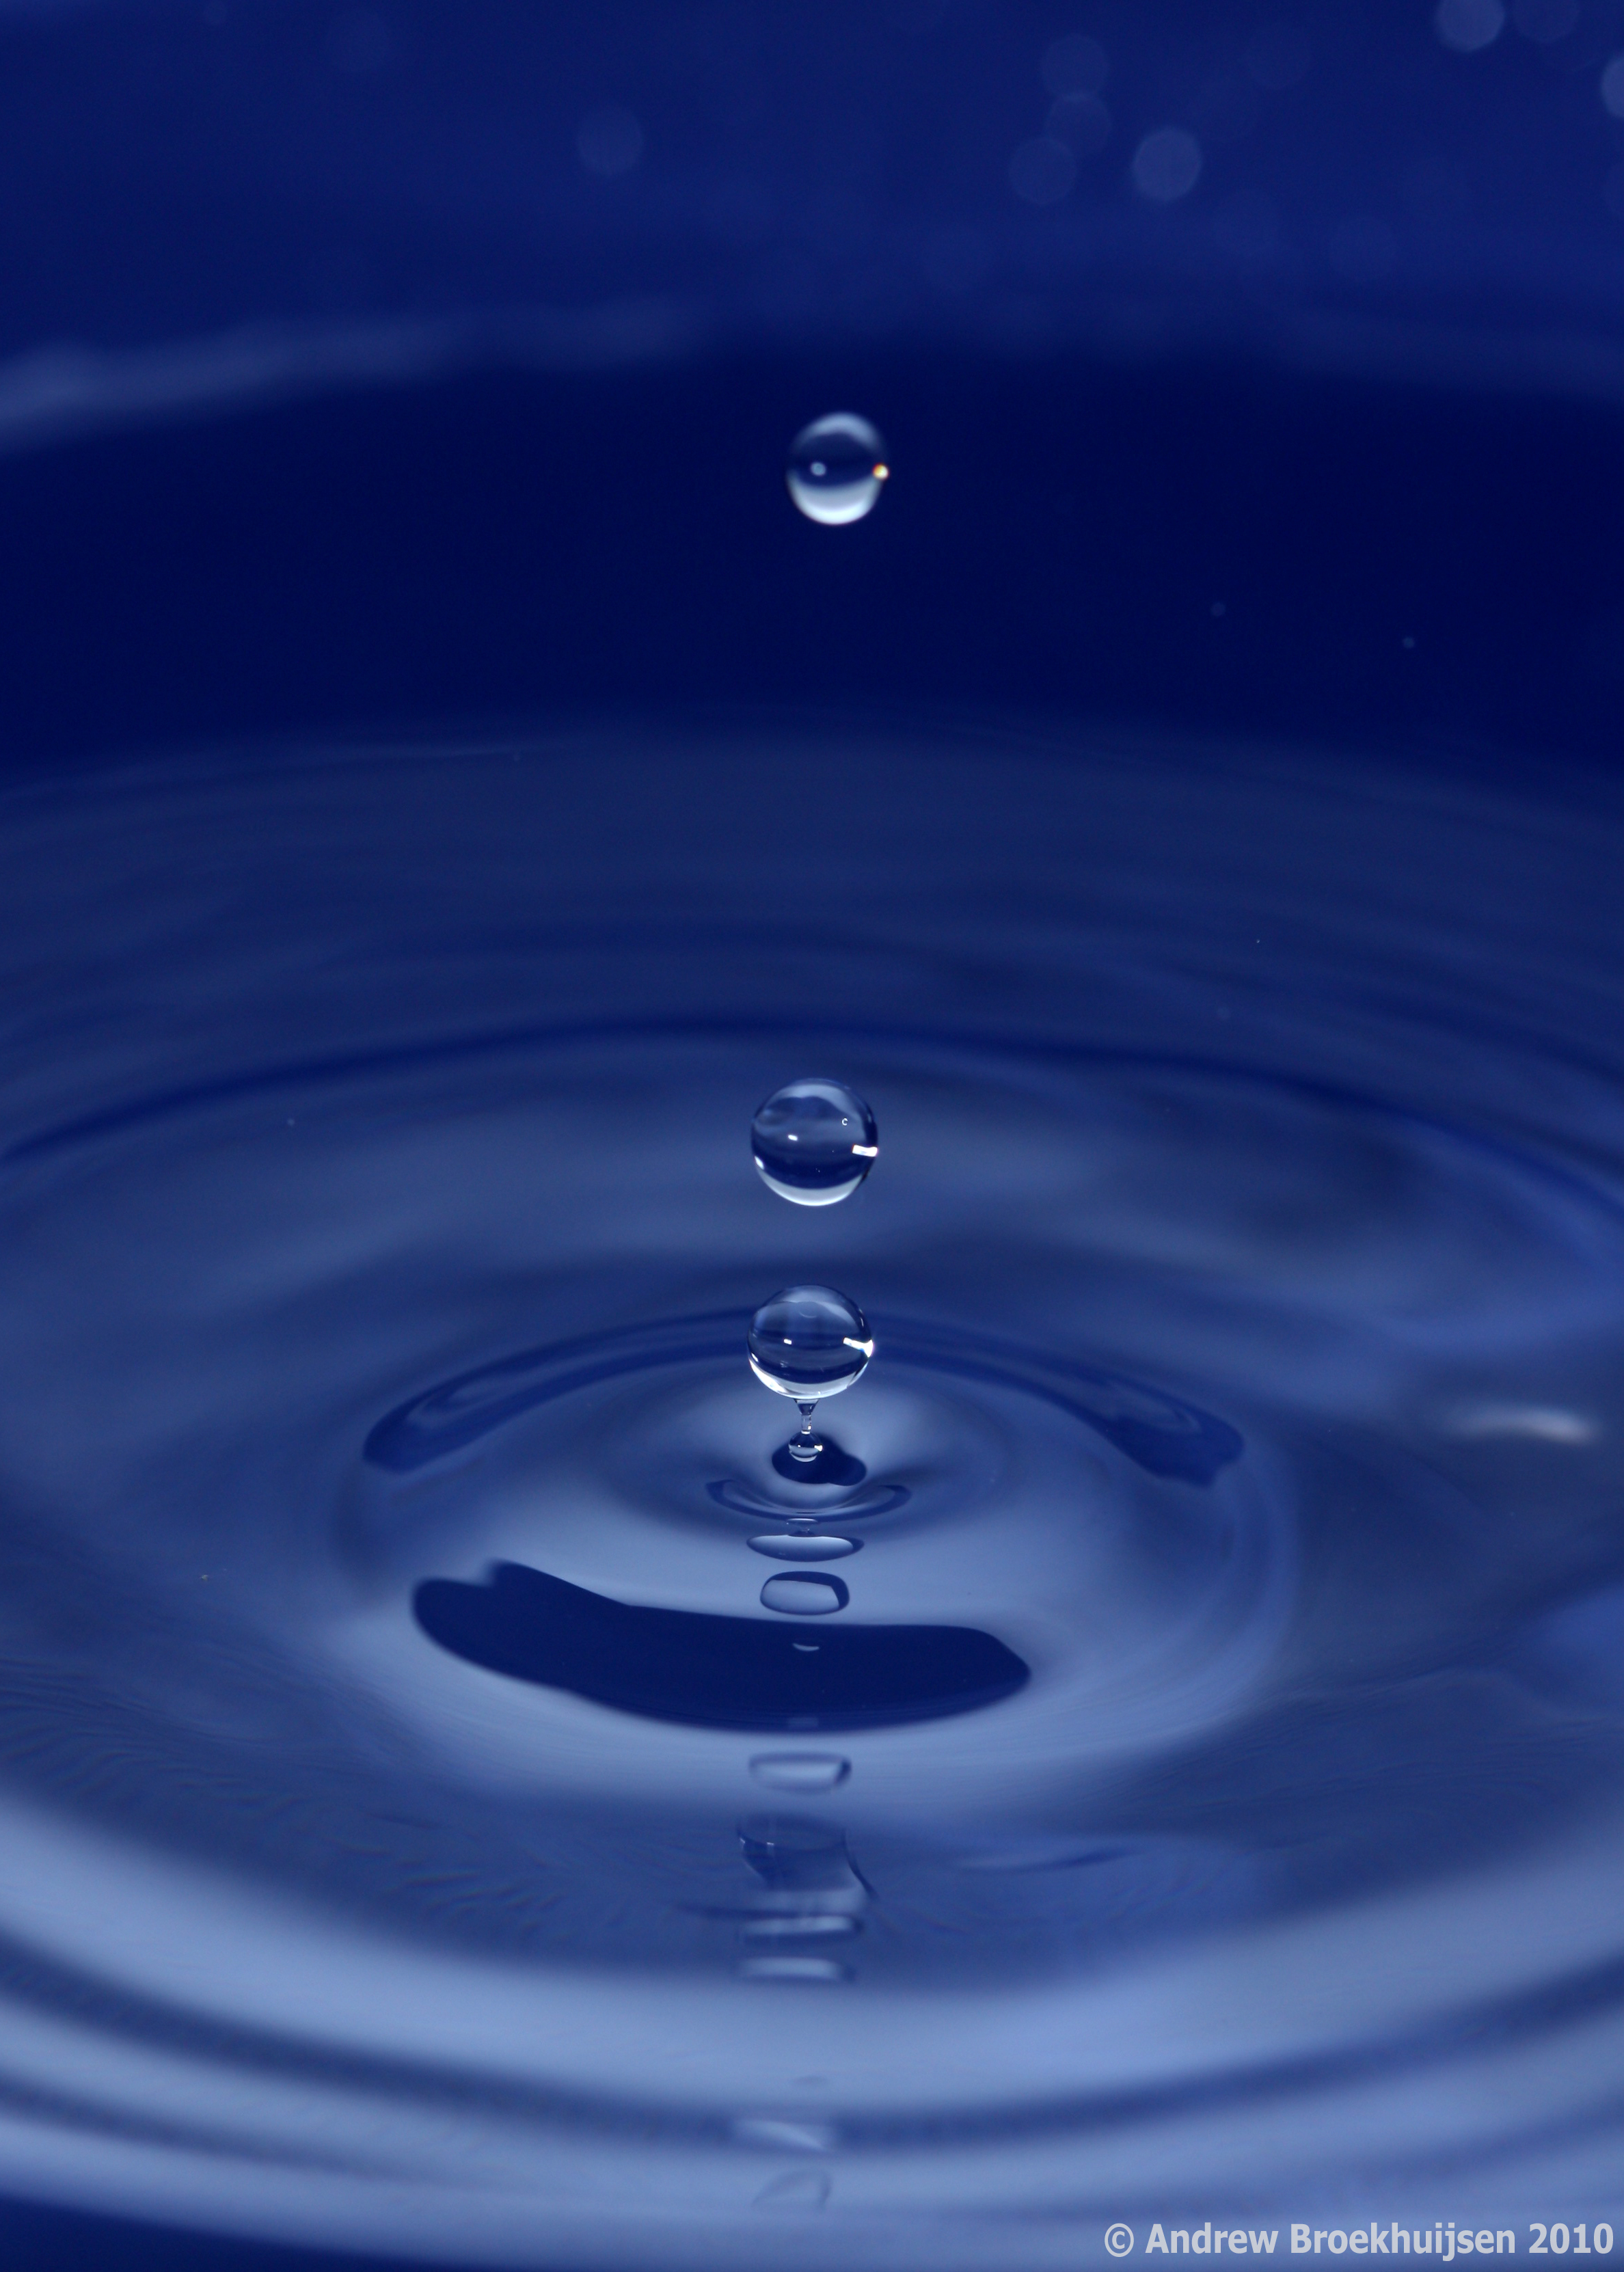
Like water droplets.

click to enlarge, or see it on Flickr
Aperture: f/7.1
Shutter Speed: 1/200 (effective: 1/11000)
ISO: 100
Focal Length: 100mm
Tripod

click to enlarge, or see it on Flickr
Aperture: f/13
Shutter Speed: 1/200 (effective: 1/11000)
ISO: 100
Focal Length: 100mm
Tripod

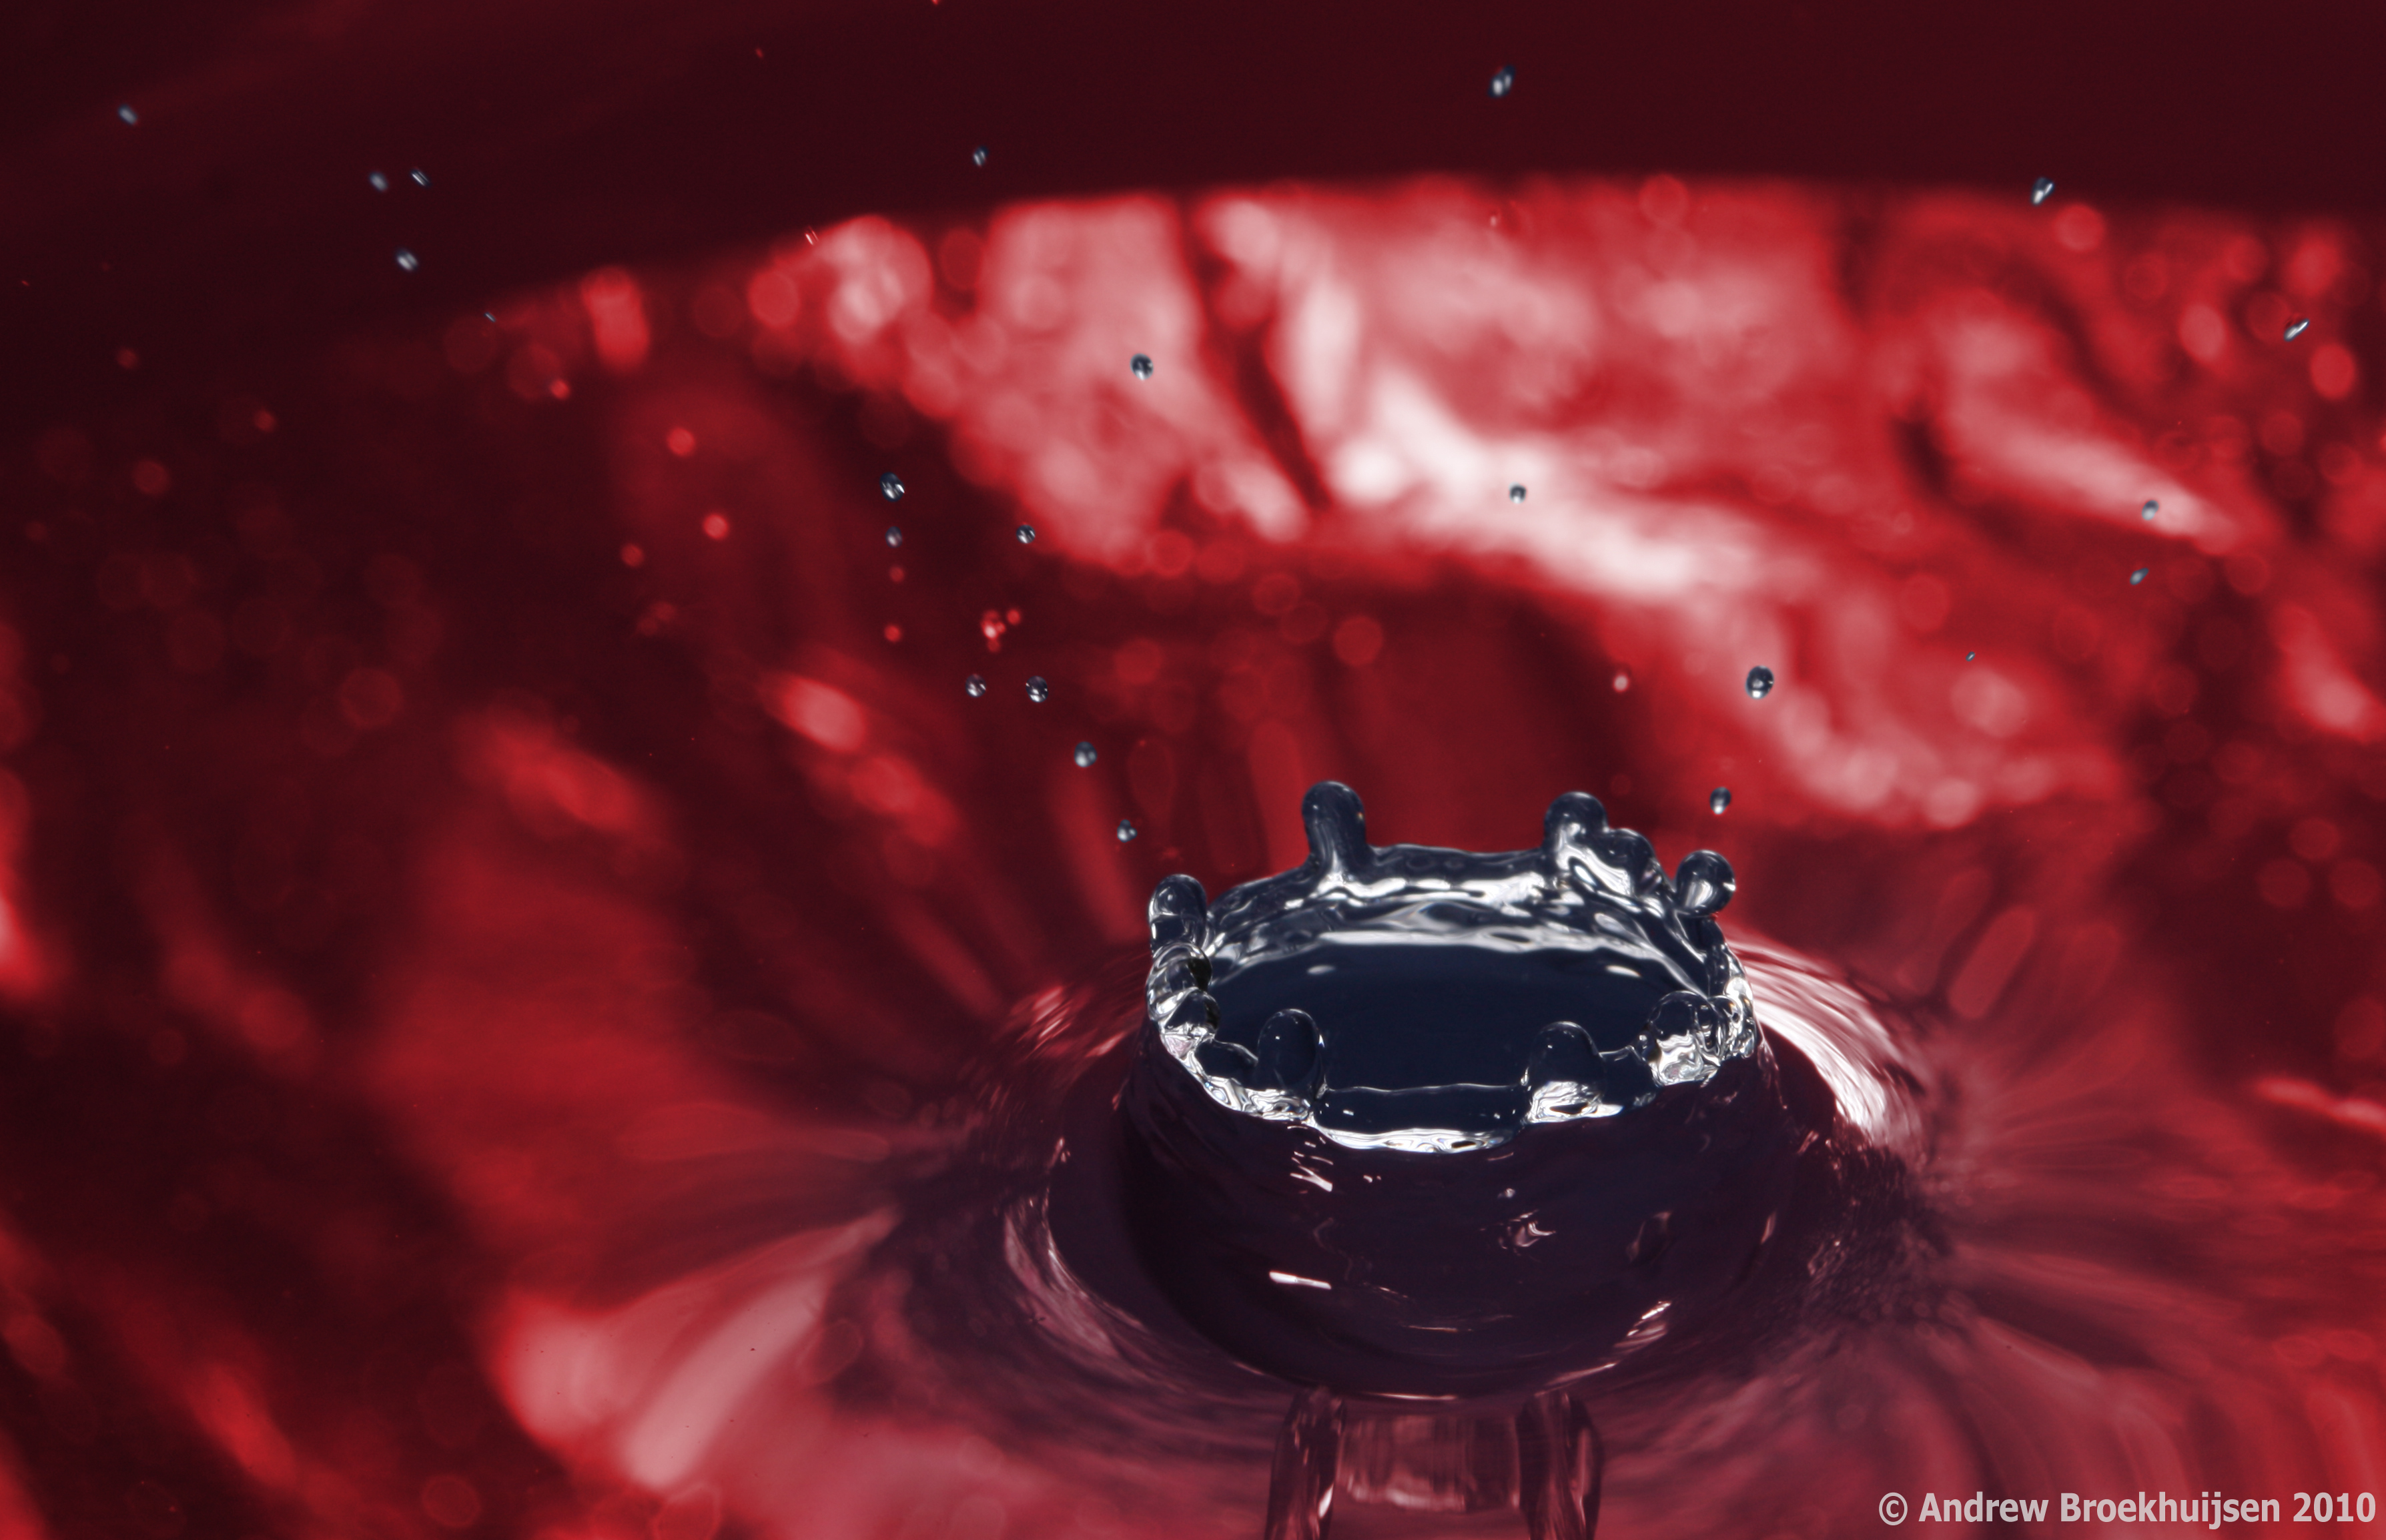
click to enlarge, or see it on Flickr
Aperture: f/13
Shutter Speed: 1/200 (effective: 1/11000)
ISO: 100
Focal Length: 100mm
Tripod
The first was shot in "Tungsten" white-balance, which casts it quite blue. The second was shot in "Sun" white-balance, which is pretty much irrelevant as I converted it to monochrome. The third was shot in "Sun" as well, but I played with it for fun in Photoshop using a few masks and recolor layers.
One thing I found interesting was that in the third one, you can see motion blur in the tiny specks of water zooming away from the splash zone. They must be moving incredibly quickly if 1/11000th of a second isn't freezing them.
The setup for this is quite simple; much more simple than for smoke photography. Just put your flash off-camera using a TTL cord or wireless system. I set mine to the left of the camera, at about a 45° angle, pointing at the same bowl of water as the lens. The bowl of water was directly in front of the lens. I varied the height of the camera on the tripod via the center column a few times during the shoot; it's not critical. Behind the bowl of water was first a sheet of white paper (in the first photo, the light was bounced off a plain white sheet of paper, giving it that smoother look), then a sheet of rather crumpled aluminum foil (as seen in the second and third photos). That's about it. Use any method to drip water steadily into the bowl. If possible, try to make the drops hit the same area of the water; this will make your focus end up better. Manually focus your camera (and re-focus every time you change angles or anything) by placing some object exactly where the drops are hitting, and focusing on that. A pencil works great. Then shoot a whole lot of photos.
You will quickly learn about the different stages a drop of water goes through. The drop of water hits the surface from above, causing a crater-like dent in the surface, quickly followed by a column of water rising from the center which launches one or more round droplets of water in the air; they then fall down and the surface returns to its original smoothness. So the first photo is near the end of the cycle. The second is at the apex of the column, and the third is just before the column begins to rise.
Experiment with various backdrops to bounce different colors, styles, etc. of light through your water. Also play with white-balance settings, flash and aperture settings, compositions, etc. Lots of trial-and-error. I imagine you can play with ISO as well, but I had no trouble leaving mine on 100, even with rather closed aperture settings for the deeper DoF, which is easier to work with. Keep in mind that you're halving the amount of light you let in every time you double your effective shutter speed, so use your aperture and/or ISO settings to compensate accordingly. And leave your shutter speed at 1/200th (or whatever your maximum sync speed is), it doesn't affect anything.
Last night, I went and shot Prom photos for a group of my friends. I used my dad's 50mm and his speedlight with a diffuser for fill flash.
It's amazing how much better portraits turn out when you have a good focal length and some fill flash. I kept thinking back on these. Not that they were bad, I just didn't have the equipment to make them as good. Especially as I was paid for this job, etc. I felt that it was extremely important to deliver great results.

click to enlarge, or see it on Flickr
Aperture: f/4
Shutter Speed: 1/125
ISO: 100
Focal Length: 50 mm
Tripod
I'm happy with how they turned out. The backdrop could have been better, but it was the only area around the house I could find that had suitable lighting. But the colors, skin tones, and faces turned out great.
I guess this means if I'm planning on doing any kind of paid portrait work in the future, I need to pick up my own speed light and diffuser.