skip to main |
skip to sidebar
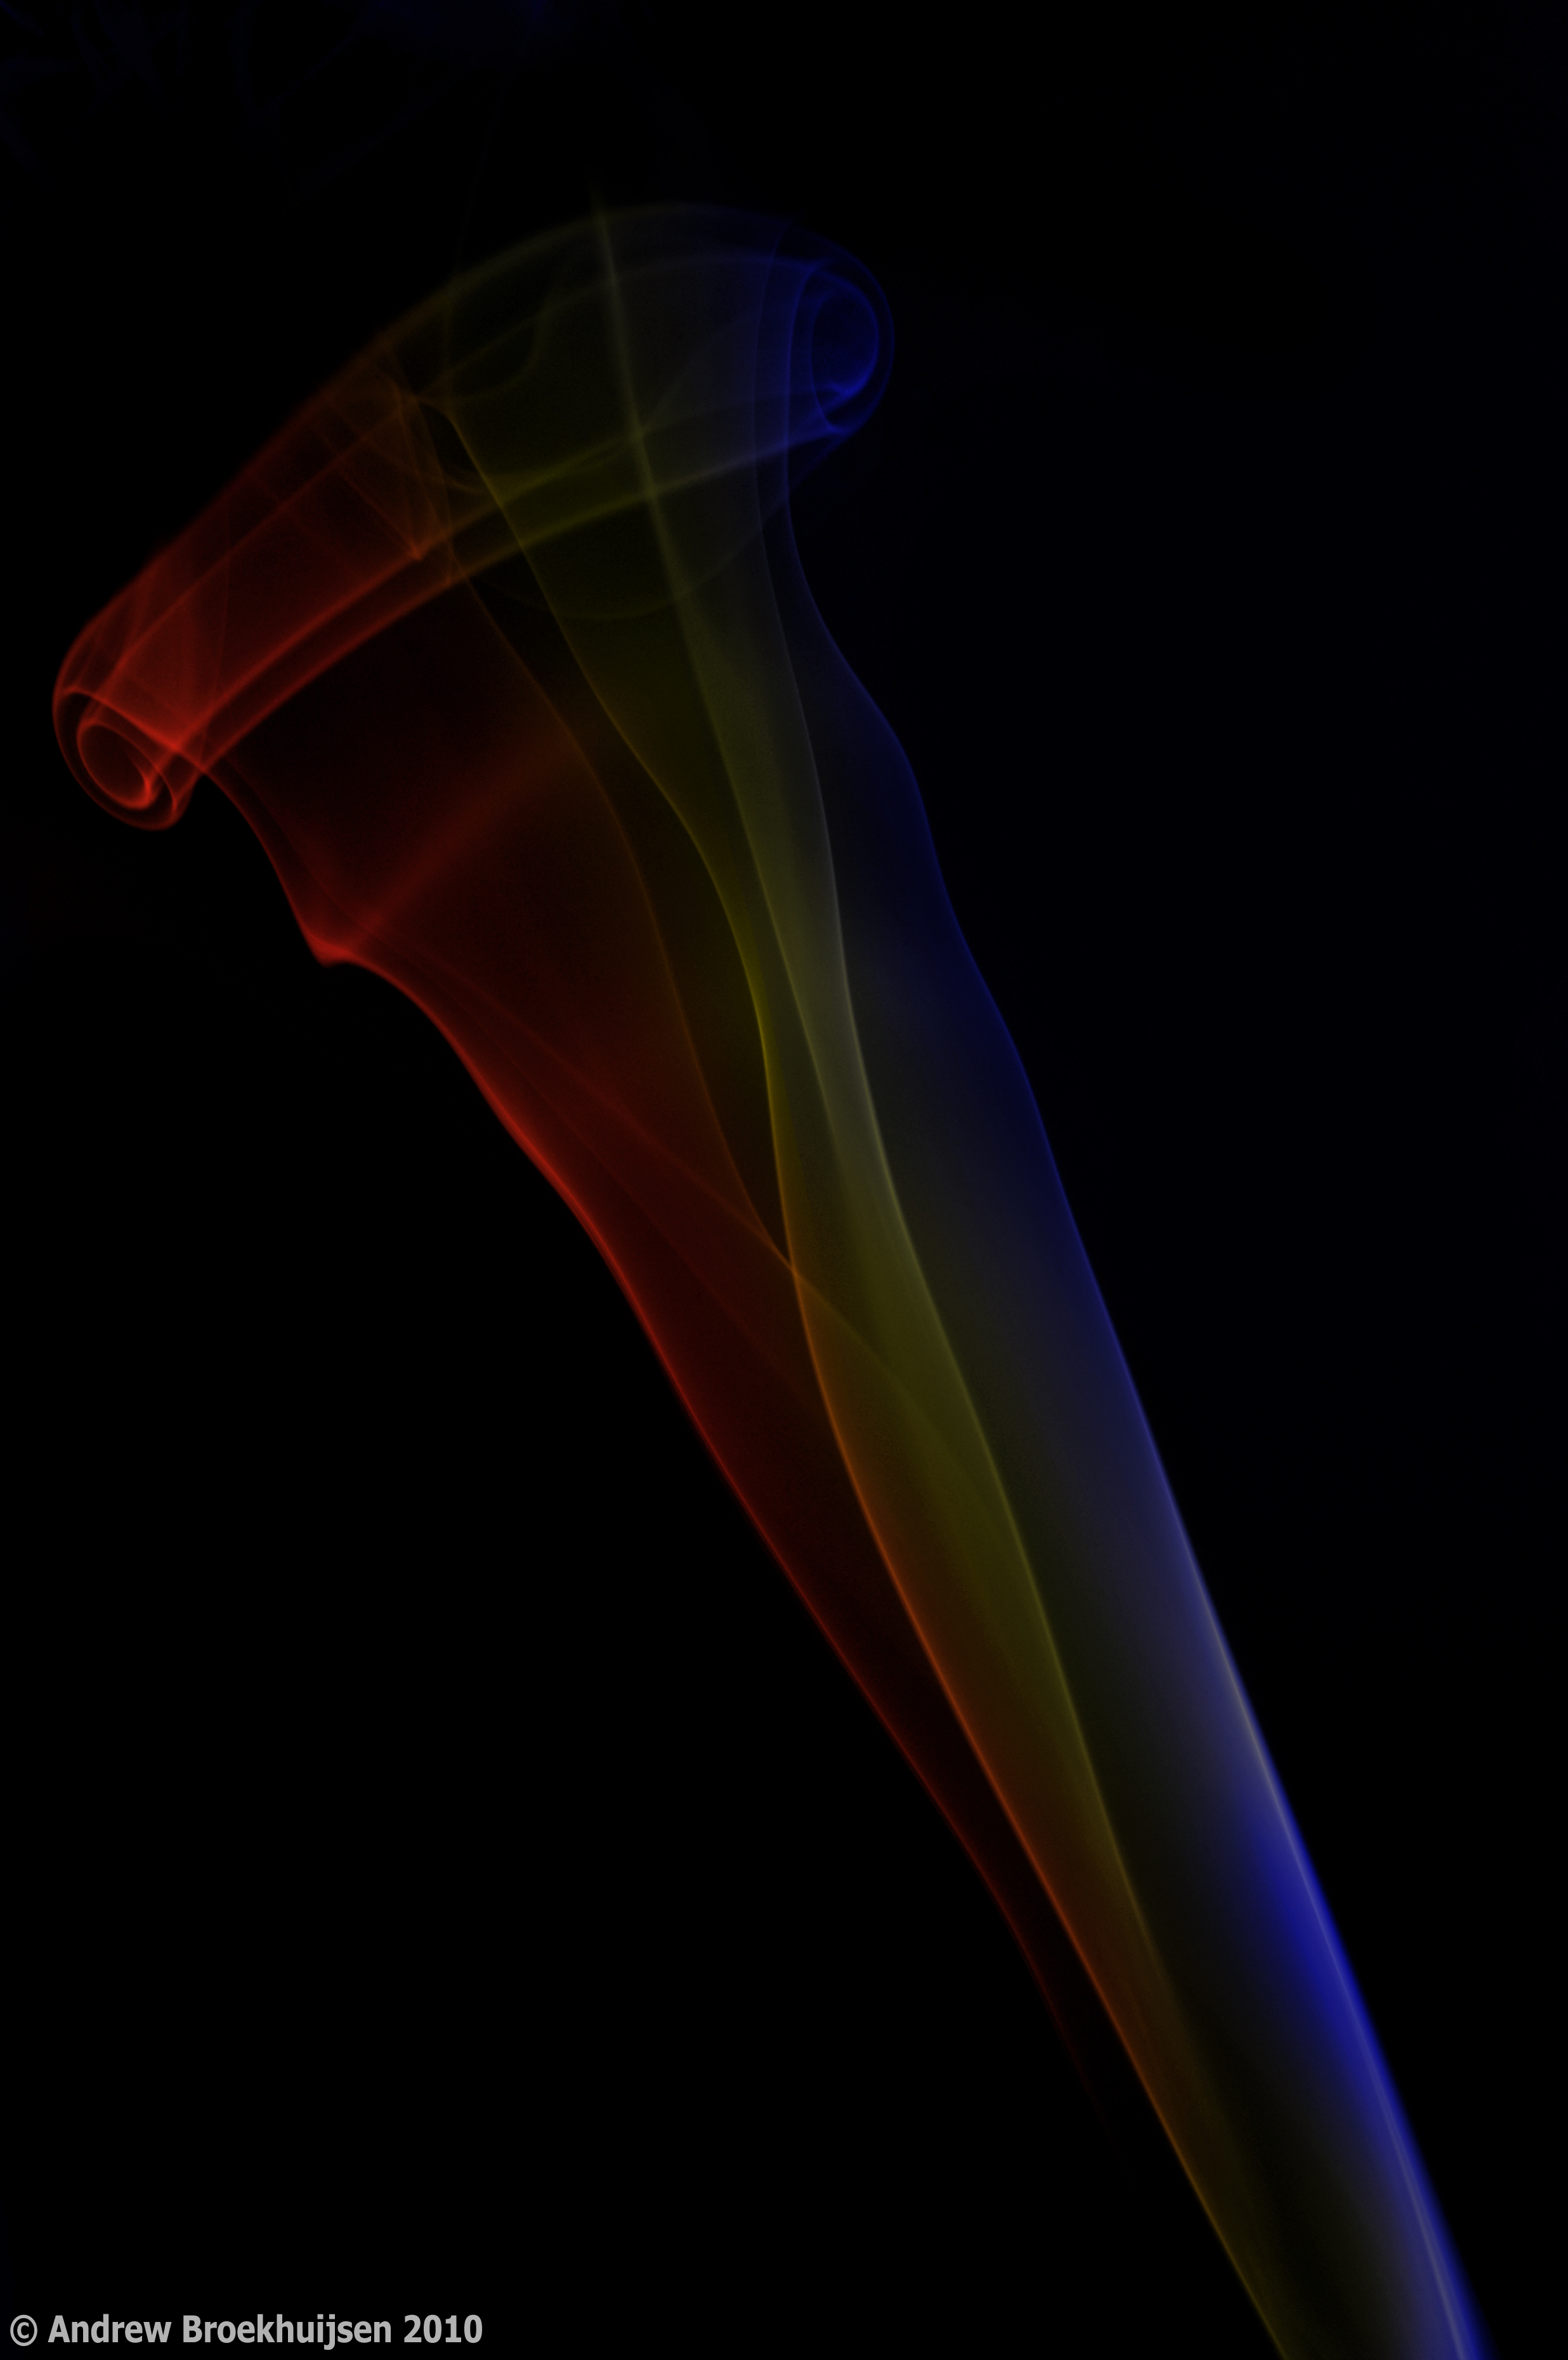
If you remember a while back, I was playing around with smoke photography. Due to the fact that I didn't have a DSLR, or an external flash, I had to use a bit of a workaround. Now that I've upgraded my camera, and have access to my dad's 580EX Speedlite, I was able to do the "correct" setup this time.
The basic technique involved is to set up some smoking object against a black background (I used a black posterboard this time instead of just shooting in a pitch black room). You have to make sure light hits it from the side without spilling onto your background (which you want to remain totally black with no detail). In order to do this, I made a crappy snoot out of another piece of black posterboard. It wasn't pretty, but it got the job done. Since you want a wide depth-of-field to capture the smoke throughout all the planes it wafts through, a small aperture is required. To avoid any image noise, you must have a fast shutter speed (which also freezes the action) and a low ISO. So to counteract all of your settings that tend not to let in a lot of light, it's necessary to introduce a vast amount of light from your side light source. I cranked the flash brightness REALLY high. It worked.

click to enlarge, or see it on Flickr
Aperture: f/14
Shutter Speed: 1/250
ISO: 100
Focal Length: 48mm
Tripod
From there, you just light something on fire. I used paper because the incense I bought for this purpose freaking smells like someone died. It's that bad. So paper got the job done. Once that something burns out, smoke plumes start going up. Generally if you're in a ventilated room (which I highly recommend), the smoke will go smoothly up in a nearly straight or straight plume. To disrupt it and make a slightly more interesting picture, you can block the smoke's path with an object, fan it lightly, blow on it, etc.
Once you have your shots, take them into Photoshop and adjust the levels to make sure your background is true black. You may also have to use a black brush to flatten a few areas and remove distracting pieces of smoke from others. Many people choose to invert their image at this point to put the smoke on a white background. I felt the colors I used looked better on black. You can then use any method you want to colorize the smoke if you so desire. I like to make multiple layers of different colors and then blend them with masks so the smoke is multicolored.
As a last step, you can add some contrast or adjust levels further. Be careful with adding contrast or saturation; this tends to cause posterization very quickly. The blacker you get your background in-camera and the better you separate your smoke (hint: more light), the less contrast you will be tempted to add, and the smoother your smoke will turn out. The above example is actually posterized pretty badly.
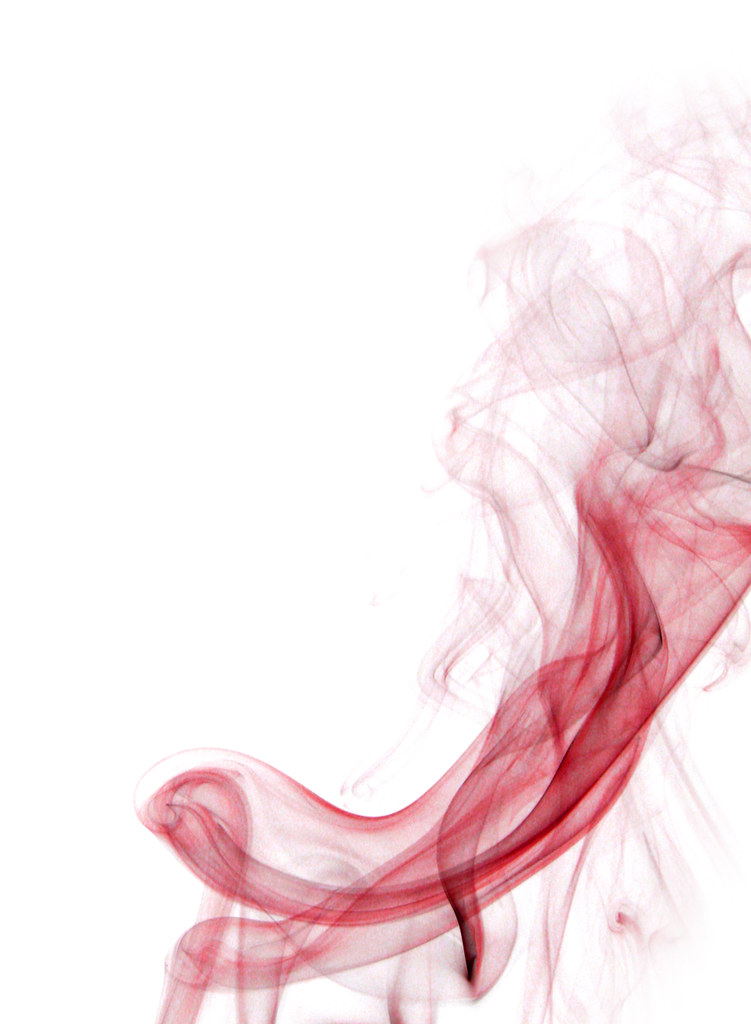
After reading this post by Nasyarobby, I decided I wanted to take a picture of smoke. Along the way, I ran into a whole lot of problems. Eventually though, I figured it out (at about 10:30 last night).

click to enlarge, or see it on Flickr
Aperture: f/6.3
Shutter Speed: 5 seconds
ISO: 80
Tripod
Here's a run-down of the process.
Set up your equipment in such a way that you have a pitch black background (one that the computer would see as #000000).
You'll need something generating smoke (incense sticks are recommended, but I didn't have any, so after many unnsuccessful attempts using a candle, I finally started burning paper in a small glass container). Your smoke-generating object should be out of the frame, but only just; you want smoke wafting up through your frame. The closer you can get to filling the frame with smoke, the better, but I used zoom instead of getting close to the smoke with my camera. The two don't mix very well.
An aperture of f/8 to about f/13 is recommended. I used f/6.3 because... I don't remember why. But it seems to have worked okay. I also set my white balance to both "Cloudy" and "Flourescent." "Cloudy" gave me a more lifelike smoke color, but it doesn't really matter if you're going to post process it like I did anyway.
You need lighting from the side. The best way to go is an external flash gun that is synched to your camera. I don't have one, so I figured out a workaround. This workaround actually solved my lack-of-speedlight problem as well as my lack-of-pure-black-background-object problem. I just shot in pitch blackness. Keep a flashlight handy! With zero light getting into the room, I could set the exposure to be really long, and then have my wingman (my brother in this case) fire his flash at the brightest setting from the side of the smoke after my shutter opened, but before it closed.
Before you can start shooting, you need to lock your focus. I just held the tip of the lighter directly over the smoke-generator (with the lights on), and in the center of the frame, autofocused on it, and then locked the focus by switching to manual. Any time that adjustments are made to the position of the camera or the smoke-generator, you will need to repeat this focusing process.
So basically, I would light a dense wad of paper (denser balls will smolder and burn more slowly, generating more smoke volume), let it go out on its own, and then wait for a relatively vertical plume of smoke. Then I would open my shutter, tell my brother to fire his flash, and wait for the exposure to finish. All I had to do was put in more paper balls as needed and re-focus every once in a while.
Nasyarobby's blog post (linked at the beginning of this post) has another link to a video description of how to do this if you have the gear. I think the main reason for my less optimal results are not so much that I had to use a bunch of workarounds as that I didn't have a very consistent source of smoke, and I haven't yet mastered the art of filling the frame tightly with smoke. Because I tended to only get about a quarter of the shot that was useable (or not just plain black), I ended up cropping a lot, which accounts for the grain in the expanded version of today's photo. I may have over-stretched my megapixels.
Next time I post about smoke photography, I'll include instructions on how to get the white background, the colored smoke, and a few other little tips I picked up from various videos. If you're not patient enough to wait, you can probably find a video on YouTube by the same guy as the one linked from Nasyarobby's blog that shows most of the PP tips.
Any linked photos, advice, etc. in the comments are welcome!