skip to main |
skip to sidebar
I had a shoot planned up Provo Canyon today, but the weather snuffed that idea. It snowed about an inch, then froze, making the roads an absolute nightmare. Needless to say, my urge to drive in the canyon dwindled quickly after that.
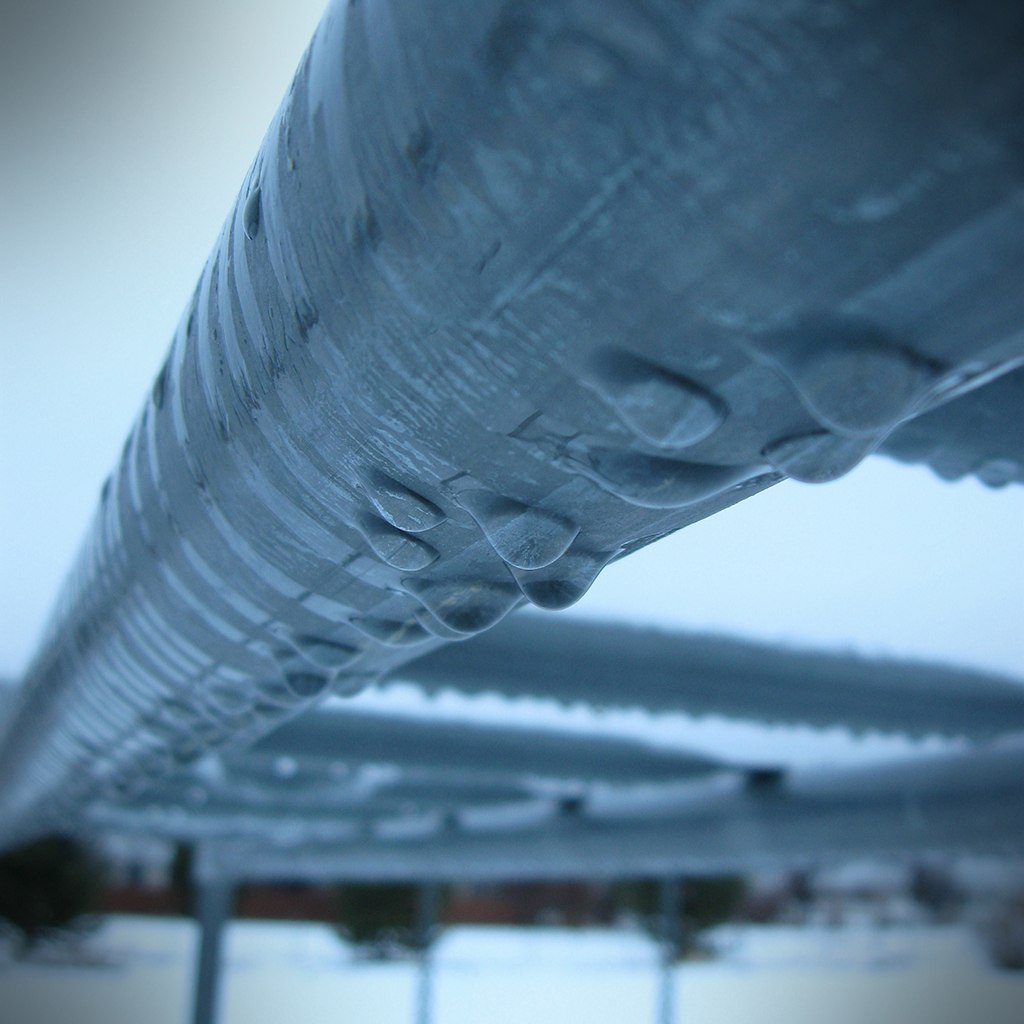
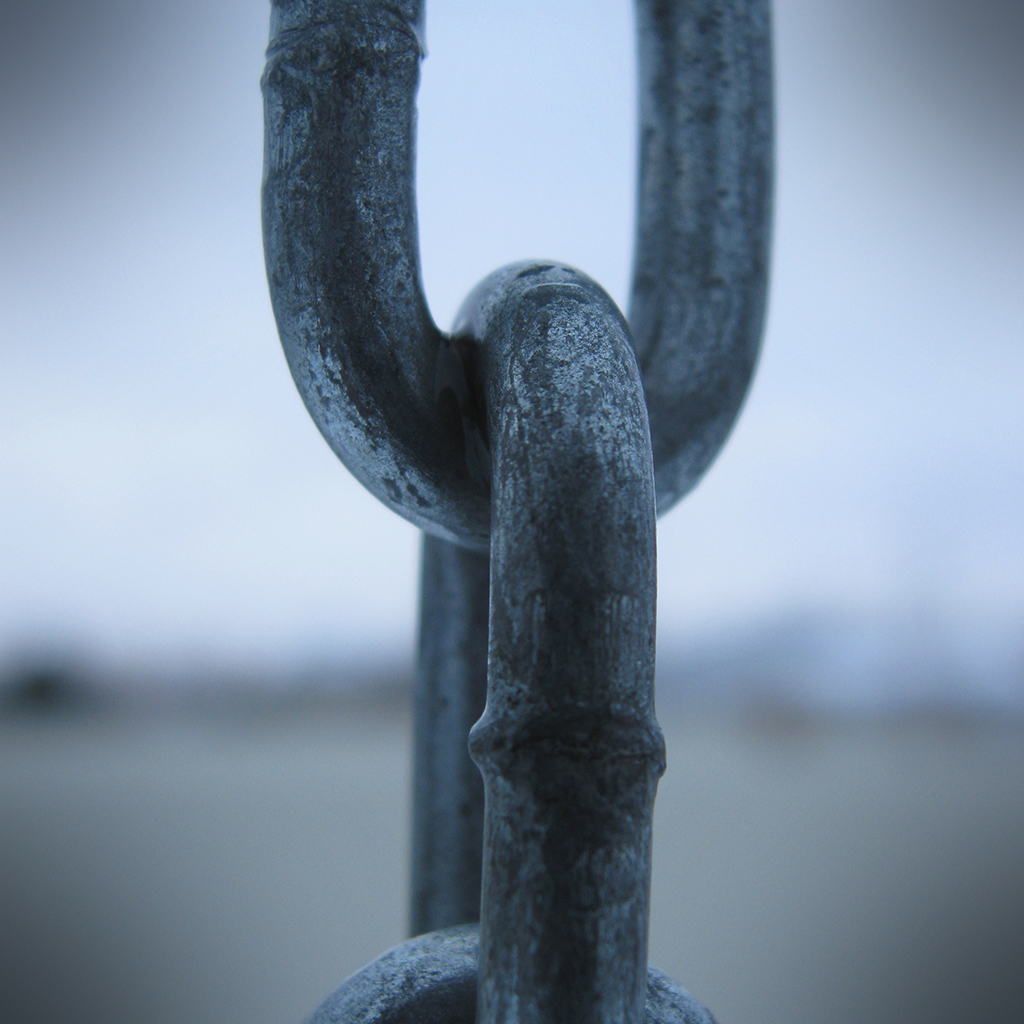
Instead, I went outside and took some photos of my swing set. The monkey bars had a cool line of water drops, and I thought the chain that the swings hang from would make a cool macro too. Since it was cloudy, and early in the morning, there was a very defined blue tint to the light. I set my white balance to "Cloudy," and my photos were still really blue. I probably should have set it to Tungsten or something to compensate, but I figured with "Cloudy," I would be getting an accurate representation of the light temperature.

click to enlarge, or see it on Flickr
Aperture: f/2.6
Shutter Speed: 1/40
ISO: 80
Tripod

click to enlarge, or see it on Flickr
Aperture: f/2.6
Shutter Speed: 1/60
ISO: 80
Tripod
The first photo was unadulterated as far as color goes. I didn't touch the levels, saturation, or anything else that affects color. I just added a bit of contrast and slapped on a vignette.
The second photo, which I'm much happier with, was played with more. I took some blue and a little green out and added a bit of red via the Levels box, and bumped the contrast down a little. It wasn't until after I cropped to square and added the vignette that I realized how close this looked to a Max Ash photo, whose effect I tried to copy in this post. Actually, I have a sneaking suspicion that his photos are HDR processed first, and THEN converted to monochrome, etc. I'll have to try that sometime.
Either way, not bad to have one and a half keepers from a shoot that consisted of 10 photos in my backyard. These will go into my "blue" mosaic, which will be similar to the "green" mosaic I did in this post, which is why I cropped to 1:1. I hope to do a lot of themed mosaics, as they're fun to put together.
I just discovered the photography of Max Ash. In short, it's spectacular. His photostream can be found here. Beware, only two sets are up right now—the one that inspired this post, called "Echoes," and another called "Sensuality" or something that's artistic nudes. So if you're not into that, stick with Echoes.
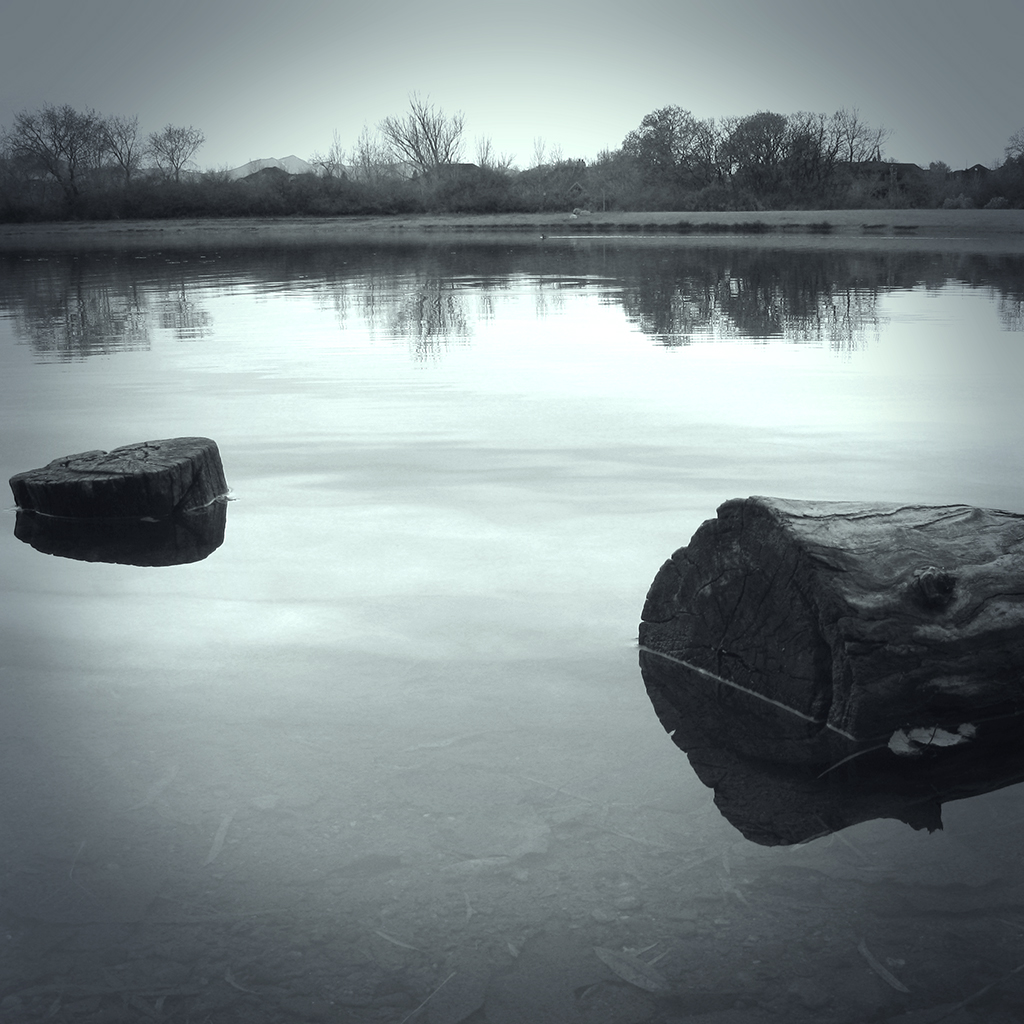
I decided I wanted to try to duplicate the effect. It quickly became clear to me that I would have to use a picture that would look good in B&W (or monochrome in general), and one that was a landscape. I didn't have any new photos that were unedited which fit that criteria, so I used an old one that you've already seen one flavor of. It's the lake scene from this post. I just dug up the original SOOC file and started over. Here's the result of my first attempt, followed by the steps I took to get it like that.

click to enlarge, or see it on Flickr
Aperture: f/4.5
Shutter Speed: 1/40
ISO: 80
Tripod
1. Cropped to square. I believe all of Max's "Echoes" photos are square.
2. Corrected color balance using a technique I learned today that I'll show you in some future post.
3. Black & Whited image using a technique I learned today that I'll show you in some future post. Yeah, I went on a DPS Post-Processing post archive binge.
4. Played around with some Orton Effect to try and get the mysterious, misty quality his photos have.
5. Realized that his photos have that quality because of actual mist in the shot, not tricky post-processing blurs.
6. Applied a Solid Color mask layer, and strove desperately to get the exact shade of blueish grayish greenish as well as the same opacity that Max uses. Failed, but continued anyway.
7. Applied a vignette. Max appears to use one that is moderately strong, and moderately large. I think mine is actually a little too intrusive in this image. Something to fix next time. Also, after a little head-scratching, I figured out that his vignette is color-cast as well, not black.
8. Applied a Levels Adjustment mask layer to fix my color and get it closer to his. Finally got the color pretty dang close.
9. Flattened and partially desaturated to get all qualities of my color cast matched up with Max's as precisely as possible. Got pretty close.
I think that's about it. A very difficult effect to reproduce, but for a first attempt, I'm quite happy. I think part of the reason his effect is so high-impact is that he uses it for every image in the series. So I think I'll shoot my own "Max Ash Effect" tribute series sometime. I've got a trip to Glacier National Park coming up in not too long, so hopefully I can get some good material from that.
If any of you want to try the effect, feel free. Hopefully you can get closer than I did. Post your results in the comments!