skip to main |
skip to sidebar
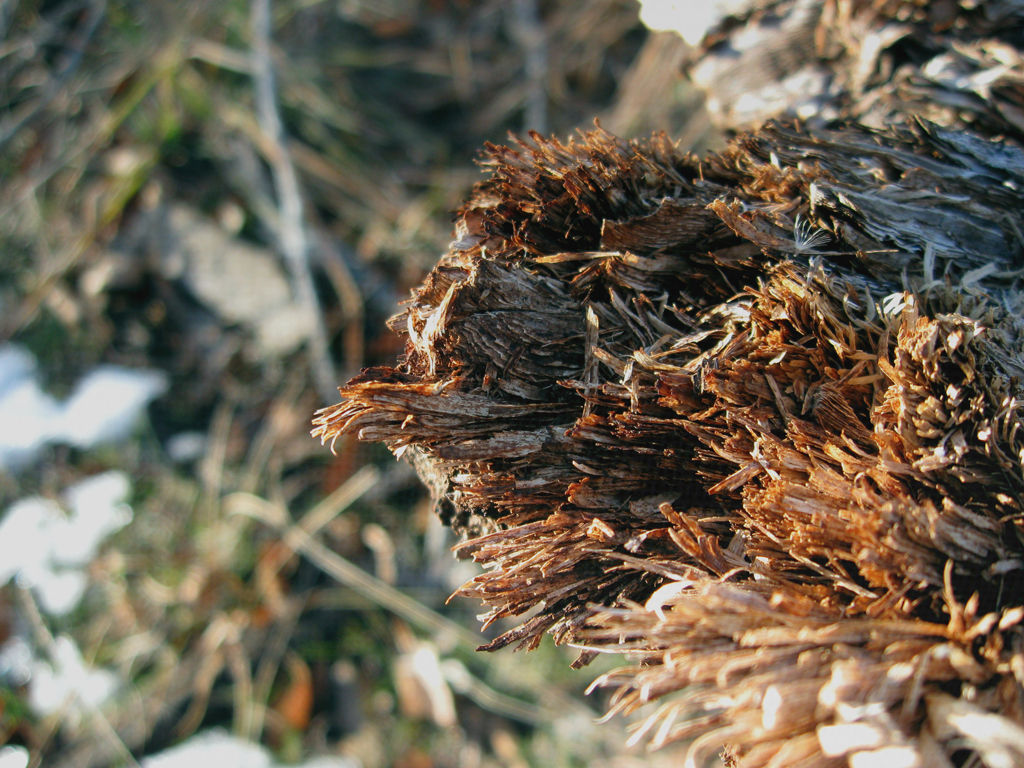
Textures are a great way to add a feel to a photo. They can take a relatively average photo and turn it into a great one. Here's a fairly boring picture I took today. It's a macro (just the camera's built-in setting though, I didn't have my macro lens attached) shot of some torn up bark. Because of the angle of the sun, it's quite contrasty, which I felt could be augmented by texturing a bit.

click to enlarge, or see it on Flickr
To utilize a texture, you must first have a texture. I would recommend doing what I did: spending about an hour wandering around somewhere, taking all the textures you can. I came up with quite the collection at the school. Good textures are everywhere. To expose a nice texture, you want it to be fairly uniform, and frame-filling, as well as uniformly lit. Generally, a nice neutral color is also desirable, although that depends on your taste. Also, you obviously can't use a texture taken with an 8 megapixel camera on an uncropped image taken by a 12 megapixel camera. So if you upgrade cameras... go on another texture rampage.
With a wide selection of textures at my disposal, I chose a very close-up shot of some linen. The fibers were individually visible. Here's how to apply the texture:
1. Finish any color corrections, cropping, etc. you want done on your image.
2. Open the texture file.
3. Copy it and paste it into a new layer over your image.
4. Size it to fit your image if it doesn't already.
5. Change the blending mode of the texture layer to "Overlay," "Multiply," etc. Whichever gives an effect you like for that image. For the above image, I used "Soft Light."
6. Play with the opacity. This is definitely a matter of personal preference. Mine is set to 60% in the above image.
7. Use a large, soft, low-opacity eraser to tone down any areas you think are a little overdone. I knocked some of the opacity off of the areas that were out of my depth of field (and therefore blurry) because they showed the texture a little too much.
8. Layer>Flatten Image
Have some good textured images? Post links in the comments.
Vignettes come in two flavors: real and fake. Real vignettes happen when a part of your lens blocks the imaging sensor in the corners, and in extreme cases, the edges, from being exposed. Fake vignettes happen when you wish there was a real vignette, but there's not. Just Photoshop.
Vignettes are nice because they draw your eye naturally to the center of the image. The biggest thing to remember with vignettes is that they can be easily overdone. A little goes a long way. Here's how I do them in Photoshop:
1. Do all edits on your image you want done. Vignetting comes last. For the image in this post, I did some minor rotating and cropping, and added a very subtle texture.
2. Make a new layer. Name it "Vignette."
3. Fill the Vignette layer with white.
4. Set the Vignette layer's blending style to "Multiply."
5. Use the elliptical marquee tool to select the area you want vignetted. I usually start dragging from one corner to the opposite to insure I get a symmetrical selection, then Select>Modify>Expand as desired.
6. Invert the selection.
7. Fill the new selection with black.
8. Filter>Gaussian Blur. I use 250 pixels (maximum).
9. Dial down the Opacity of the Vignette layer. I used 50%.
10. Flatten your image. Voila!

click to enlarge, or see it on Flickr
Let's see it: post links to your well-vignetted images in the comments.
Last post I discussed what you should do when you're somewhere that you can't bust out a camera, but the good ideas in your brain are reproducing like rabbits. Today's post will be about the exact opposite of that: what to do when you're holding a camera, but can't think of anything to take a picture of.
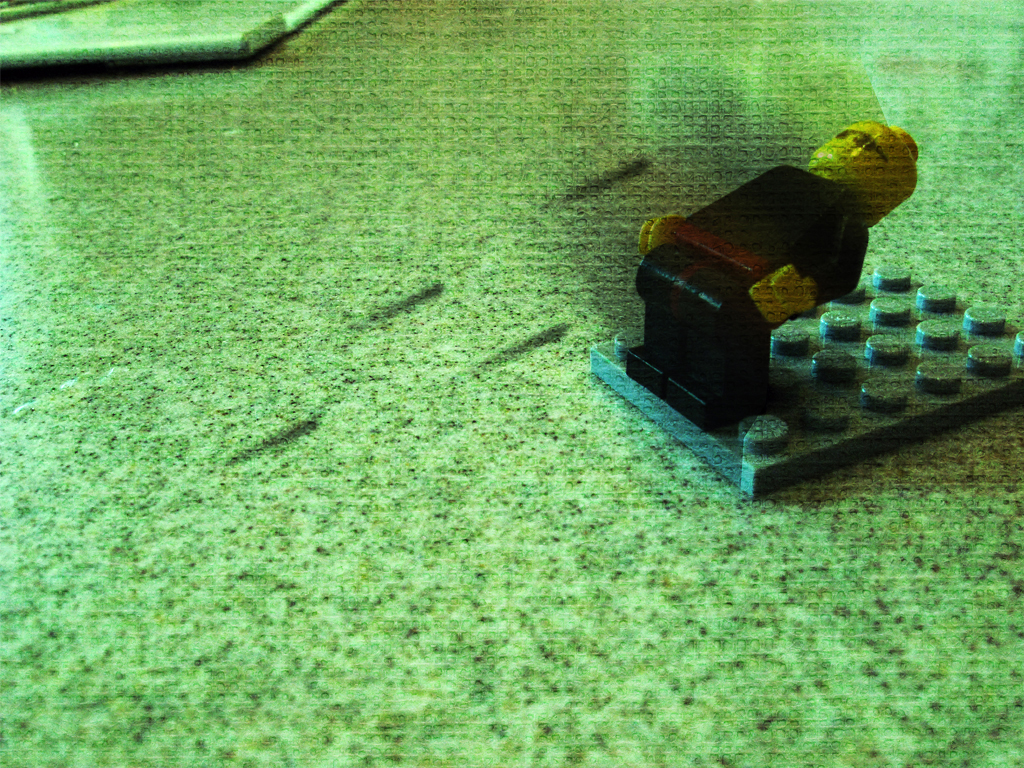
The answer is fairly obvious. If you write down the ideas you have as you have them, and carry a list around with your camera, you'll always have some to fall back on. For instance, one of the ideas I had yesterday in Calculus was an album entitled "The Matrix in Still Life." Today I got started on it. Here's the first completed picture of the set:

I used a rather gritty texture I exposed myself (I'll write a tutorial on how to get your own textures later, but for now, this one from Digital Photography School is excellent), gave the photo a greenish tinge, and added some motion-blur bullets for effect. Is it a little overdone? Perhaps. But if that's the reaction I get from the general community, I'll know to tone it down for the rest of the pictures that will be in the set. More to come!