skip to main |
skip to sidebar
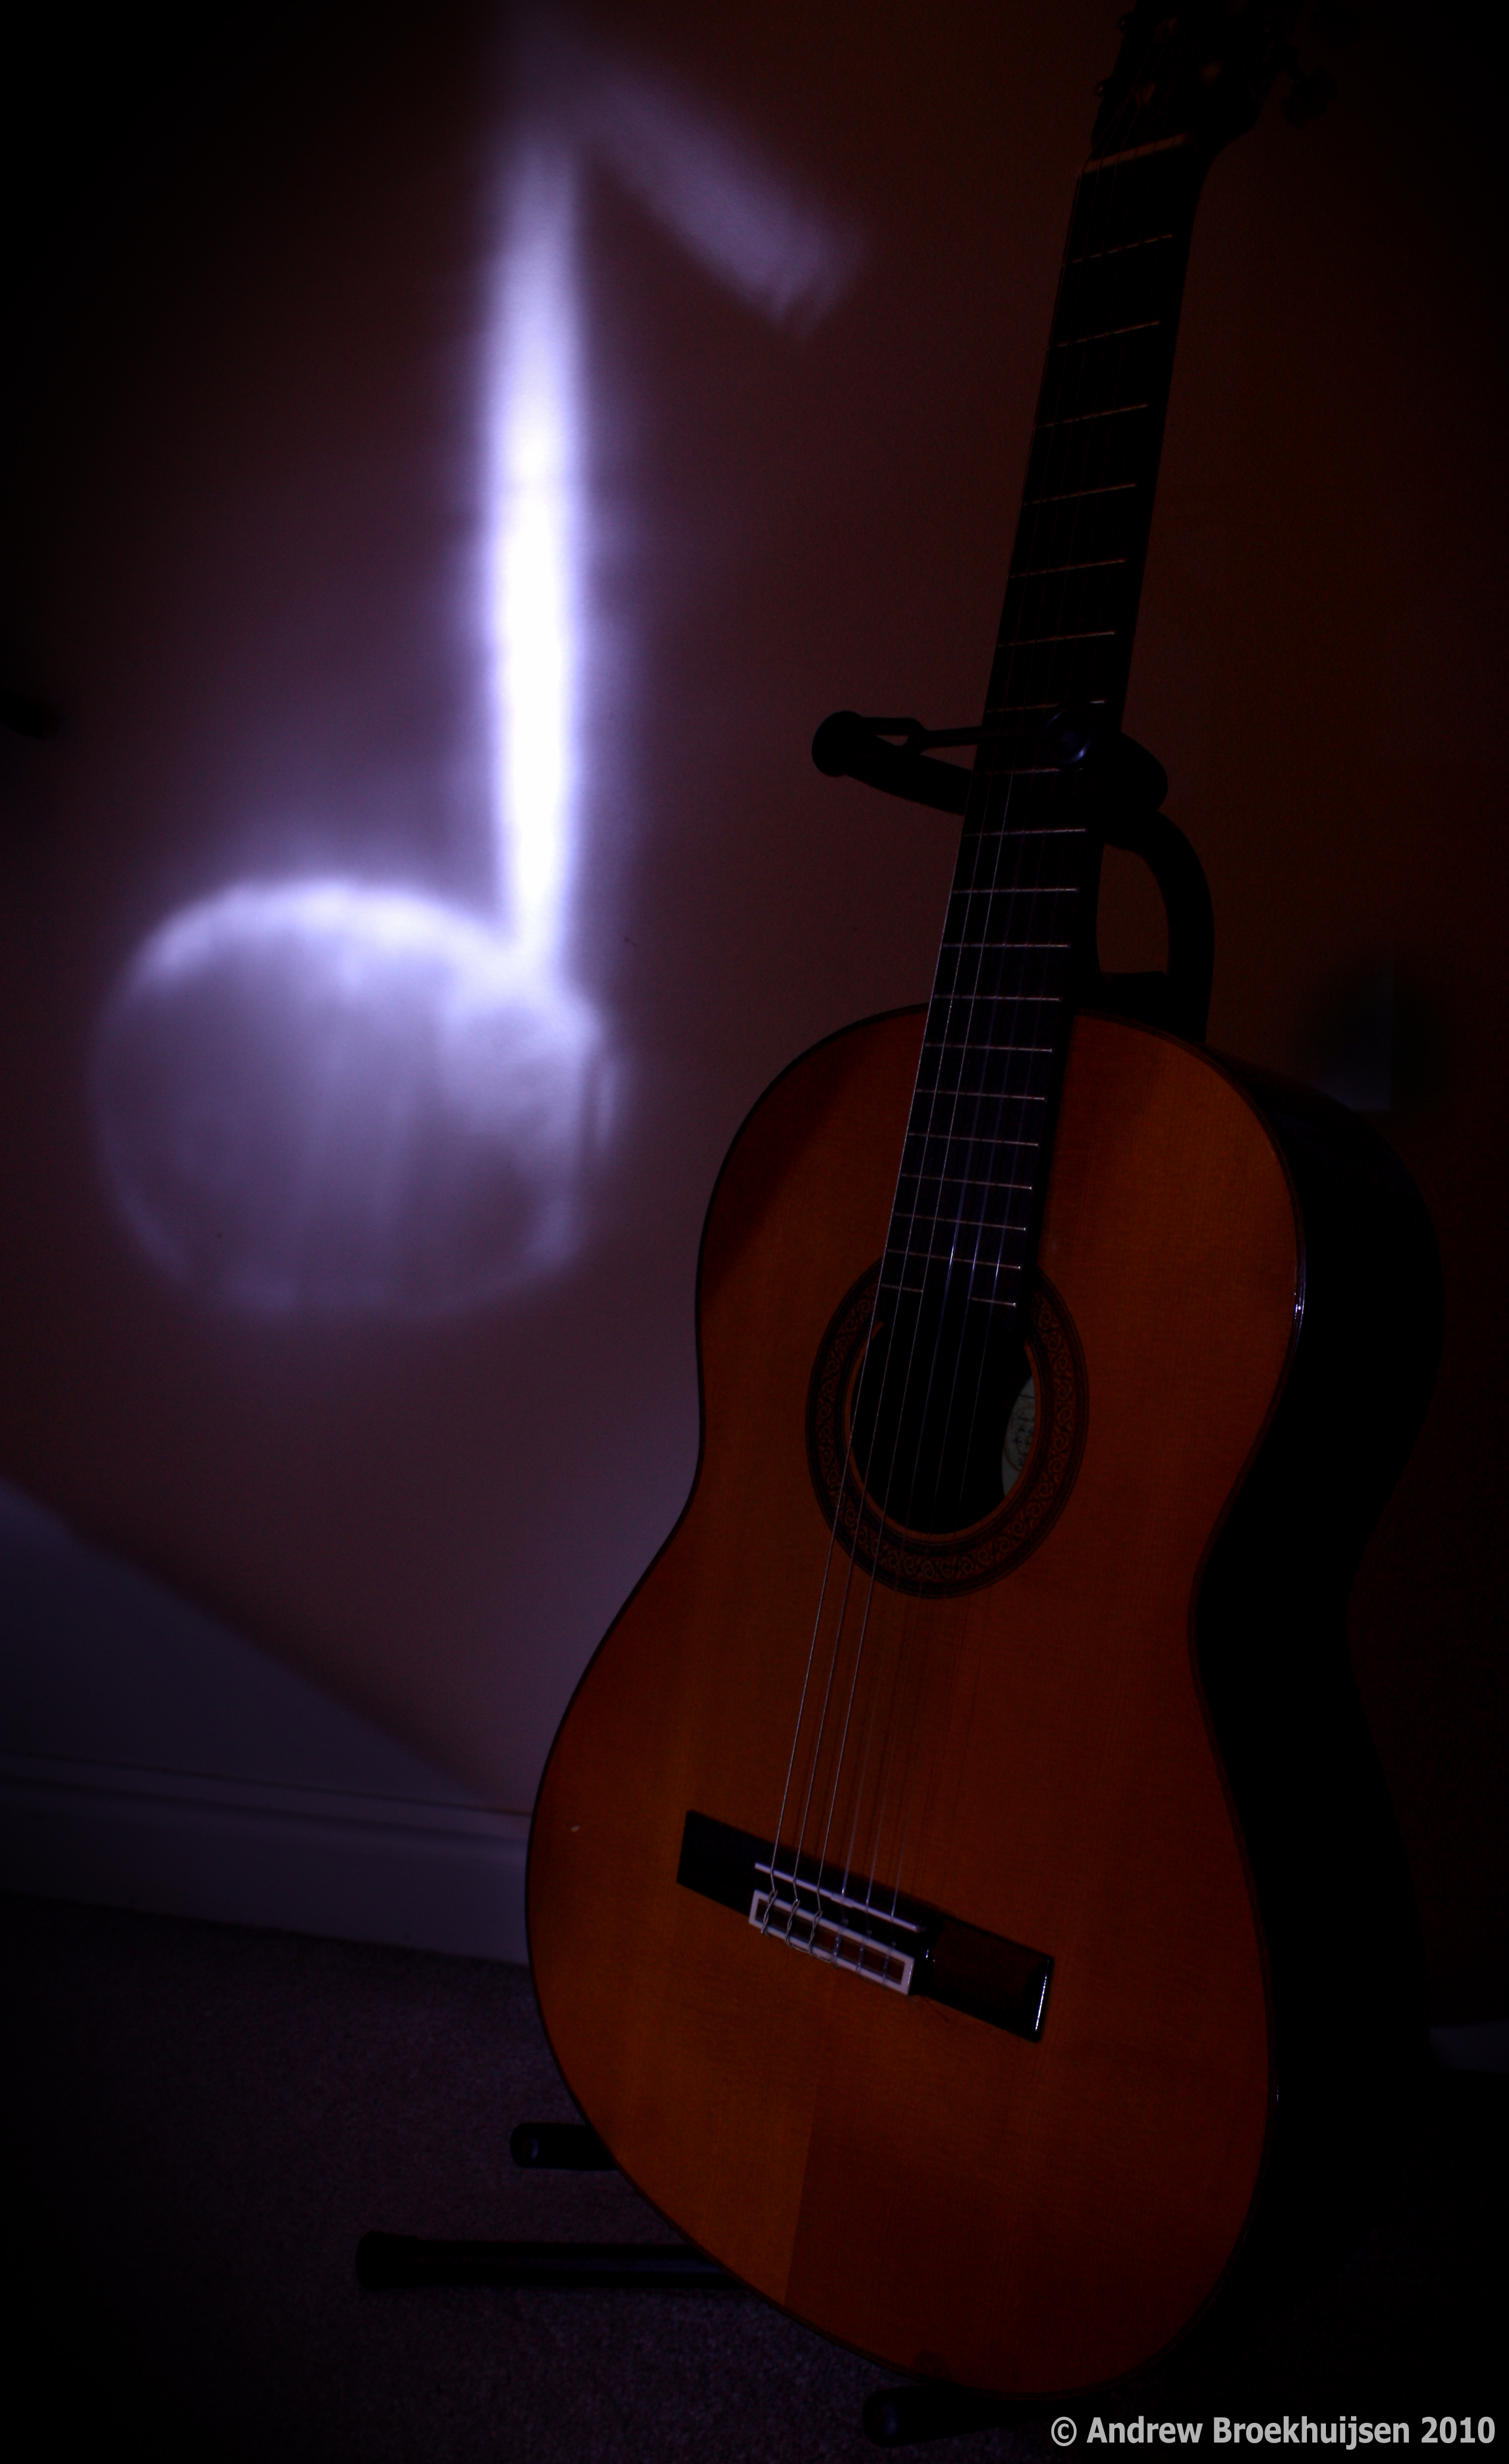
Today I was able to make use of all my new equipment, namely my new tripod head and my remote shutter release. I was trying a technique called a "light stencil." It's a form of light painting that involves the use of a stencil cut out of paper to shape the light. It seems quite simple but is in fact difficult to execute. It took me the better part of an hour and lots of experimentation to get this one, and it's not even that great.
When light painting, the aperture has less to do with the depth-of-field, and is really used only as a deciding factor for how bright your various light "paintbrushes" will look. Shutter speed can be as long as you need, and I use ISO primarily to balance out distance between me and a flash, if I use one.

click to enlarge, or see it on Flickr
Aperture: f/7.1
Shutter Speed: 26 seconds
ISO: 100
Focal Length: 18mm
Tripod
More to come as I improve on my methods here. I will say light painting is infinitely more fun when I don't need to worry about fitting everything in in 15 seconds.
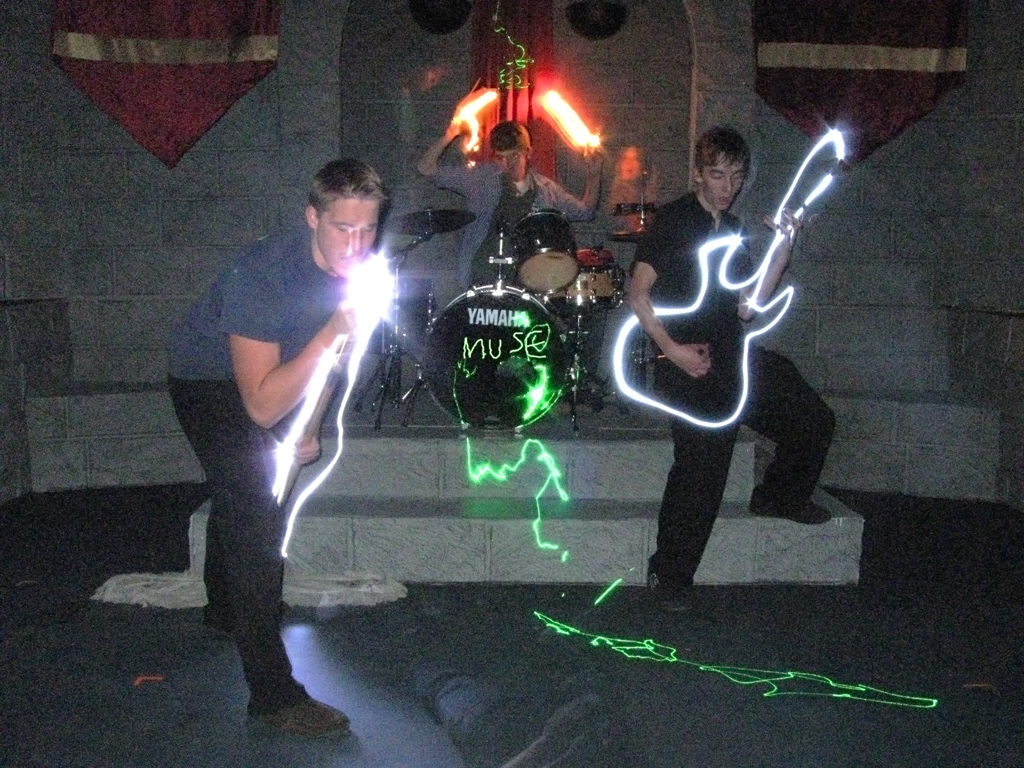
Here, as promised, is my awesome planned light-painting shot. To heighten the suspense, I'll put my process before I post the photo.
As I stated before (I think), my maximum shutter speed is only 15 seconds. So for a project of this magnitude, I substituted sheer manpower in place of a bulb setting. For the center subject, I had two "painters" with lighters. For the left subject, there was one painter, and for the right subject, I ran over and started painting after firing the flash. Also, one painter was laying on the ground firing the laser everywhere. If you look carefully, the ambient light outlined his legs somewhat, as well as the faces of the two center subject painters.
Step 1: Pose three subjects.
Step 2: Herd painters out of the frame, and tell them to close their eyes to avoid temporary flash-induced blindness (which wastes precious seconds of exposure).
Step 3: Close eyes, open shutter, fire flash.
Step 4: Open eyes, shout "go" to painters.
Step 5: Painters and I sumble forwards in the pitch black darkness, trying not to step on feet, drums, or people.
Step 6: Use remaining 12 seconds or so to simultaneously paint instruments in thin air.
Step 7: Crowd around the LCD screen on the tripod to see the photo (after about 10 seconds of processing).
Step 8: Combine best elements from each exposure into one image in Photoshop.
Step 9: Try fruitlessly to eliminate noise from shooting at 800 ISO; long for a DSLR with a larger imaging sensor.
Step 10: Flickr. Blog.
Here it is, in all its glory:

click to enlarge, or see it on Flickr
Got any good light paintings? Post links in the comments!
One photography technique I feel is overlooked is light painting. For those of you who don't know what light painting is, allow me to fill you in (photography pun alert). Light painting is accomplished by shooting in (ideally) a pitch black room. You set your camera's focus with the lights on and your subject in place, then turn the lights off. Your subject poses, and you begin a long exposure, starting with a flash. The flash captures the pose of your subject, and then someone (usually the subject) spends the rest of the exposure time with a lighter, LED, flashlight, or some such device, painting in the air. You can write words, draw pictures, etc.
I was with a few friends tonight, and we were starting to get really creative with our ideas. One friend suggested that we try posing him in a "scared" position, fire the flash, and then have another person step into the frame. We then drew lines all over BEHIND the second subject, outlining him like an ominous ghost. Here's the result:

click to enlarge, or see it on Flickr
This image has been rather heavily processed (darkened a bit, lowered the contrast, and removed most of the color). Pretty cool. An interesting lesson I learned from this is that even something you would think was a mistake can make a shot better. In the last two seconds or so of exposure, someone opened the door (to the left and behind), letting in light from the outside. I thought this would wash out the shot, but it only gave a little light to my background and subject, and cast a better shadow of the second subject.
The second subject had a great light-painting idea on our way out of the building. I won't tell you what, but when we take the image, I'll be sure to do a post about it. If we bring it off, it will be awesome in epic proportions.
Go out there and start painting! Link to your good images in the comments.