
Anyway, turns out stadiums are perfect fodder for applying fake tilt-shift. I like my New York shot better from a purely photographic standpoint, but as far as faking the tilt-shift effect, this picture turned out quite a bit better.
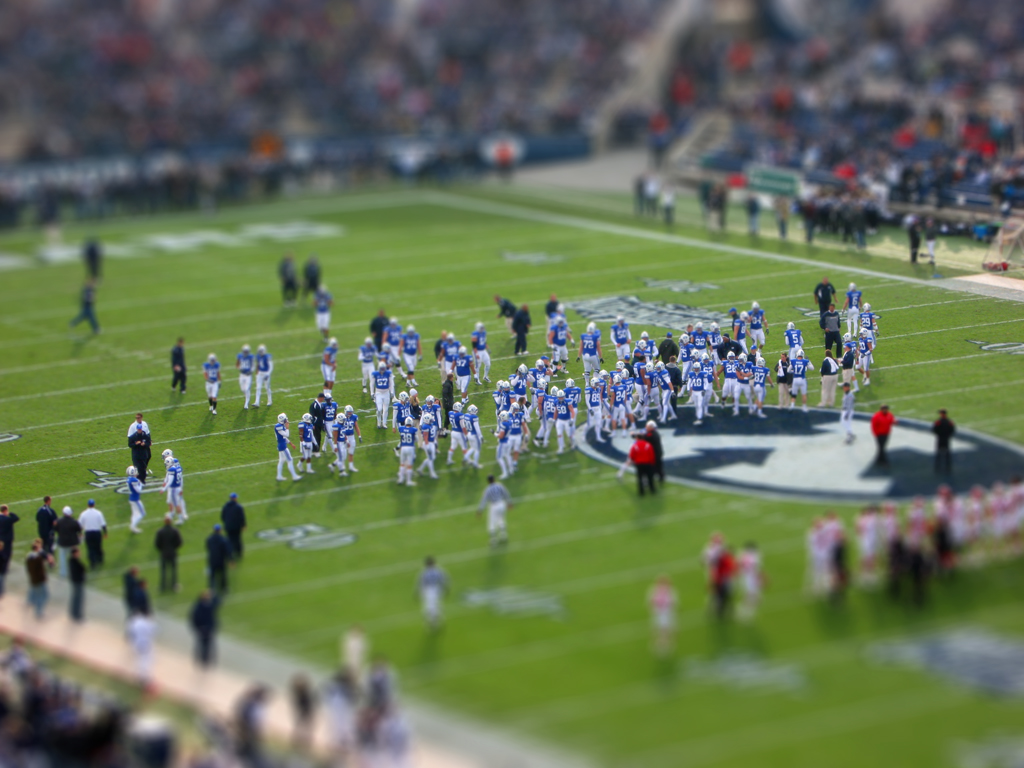
click to enlarge, or see it on Flickr
This photo is slightly too busy to view in such a small size, so I highly recommend the larger view.
Anyway, I decided to go ahead and give a quick-and-dirty tutorial on how to fake tilt-shift in Photoshop.
1. Get an appropriate photo. Big shots taken from high up of large amounts of landscape tend to work best, as they are cool to see in "miniature."
2. Do any cropping or editing you wanted to do before you apply the tilt-shift effect. I would recommend leaving the color corrections out; as that is changed while applying the effect anyway.
3. Go to Quick-Mask mode.
4. Select the reflected (cylindrical) gradient tool.
5. Make sure your foreground and background colors are set to default (black and white).
6. Click and drag, starting from where you want the in-focus part to be, out to the edge of the photo. Follow the natural "line" of the photo. In most cases, this line should be pretty close to vertical. In the above photo, I tilted it a bit to the left. In any case, once you're done, you should see a red gradient covering your photo
7. Get out of Quick-Mask mode. This converts your gradient to a selection.
8. Apply a Filter>Blur>Lens Blur with whatever setting you feel appropriate. I think mine was set to about 90% strength. If you have an earlier version of Photoshop, a Gaussian blur will do (you just won't get that kind of "bokeh" look). This blur simulates a very narrow depth of field which your brain associates with macro photography. It's what tricks your eyes into thinking the shot is of a miniature.
9. If you don't like the way the blur turned out, undo it and try again. Otherwise, boost the saturation on your image by quite a bit. This makes the subject(s) look plastic-y, and contributes to the "scale model" feel. Do the same with contrast. If you have "toys" in mind as your desired result, you shouldn't have a problem finding the right saturation and contrast.
Congratulations! I would love to see some of the tilt-shifts you guys make. They're a lot of fun. Post links in the comments.

These are incredible detailed miniatures. Did you create them?
ReplyDeleteNice effect with the Tilt Shift, it makes them appear even more real.
Wow!! I wasn't joking. I really thought they were miniatures. This makes it even cooler. I'll have to give it a try on some of my photographs. Thank you for the lesson.
ReplyDeleteOk, here's one that I tried.
ReplyDeletehttp://sg-photo.blogspot.com/2009/12/tilt-shift-simulation-of-bridge-in-rome.html
The tilt-shift on the stadium is cool! Here are some of mine... http://giovannidcunha.wordpress.com/2009/11/21/tilt-shift-photography/
ReplyDeletehate this fake tilt shift. what a cheap way to make "interesting pictures"... that will be quickly forgotten.
ReplyDeleteSaid the person who was too insecure to insult anyone without internet anonymity. If you don't like my work, then don't look at it. Constructive criticism is one thing. Hating is just pathetic. Go play with your Nikon Coolpix on Automatic.
ReplyDeleteThis comment has been removed by a blog administrator.
ReplyDelete