
click to enlarge, or see it on Flickr
Aperture: f/2.6
Shutter Speed: 1/30
ISO: 80
Monopod
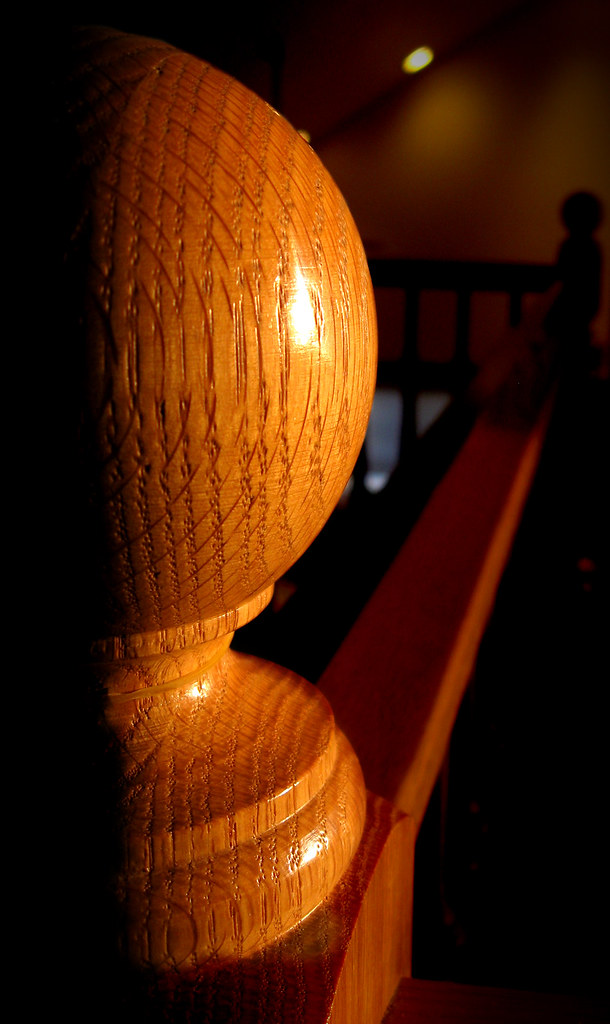
The side lighting (due to the fact that this was taken at sunset) gives the banister some nice dramatic lighting. I cranked the contrast up in Photoshop a little, but not a lot.
To darken the background, I just masked out the parts I wanted to keep at original brightness using Quick Mask mode and a relatively hard brush, then duplicated the selected area into its own layer. It wasn't perfect; if you look at the top right "corner" area of the base (below the large sphere part), you'll notice some odd ghosting that happened from using too soft of a brush in that area.
Once I duplicated out the foreground, I really took down the darkness on the rest of the photo (in the original layer). Then I flattened and added a vignette.
Pretty easy, but I'm happy with how it turned out.

No comments:
Post a Comment
Like what you see? Have a question? Leave me a comment!