
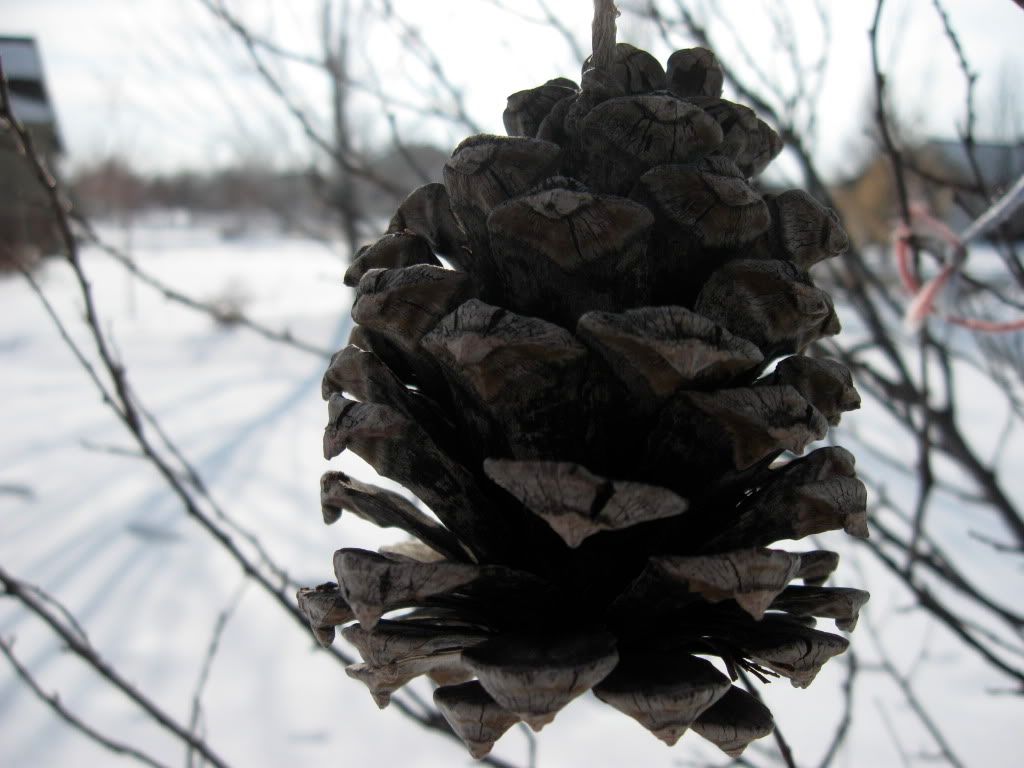
click to enlarge
Luckily, I had just read a tutorial on using masks to do partial corrections in Photoshop. Here's how it works:
1. Make a duplicate copy of your background layer.
2. On the duplicate layer, make changes based on the area you want to correct. For example, the pine cone was too dark in this photo, so I upped the brightness, and adjusted the shadows until the pine cone looked good. The background was out of wack by then though.
3. Add a mask to your duplicate layer.
4. Use the paintbrush tool with black and white to paint out the area you want to show through. Remember "black conceals and white reveals." I used a soft brush with an appropriate size to paint away the background that was overexposed show that the original photo in the background layer showed through.
Here's my final result:
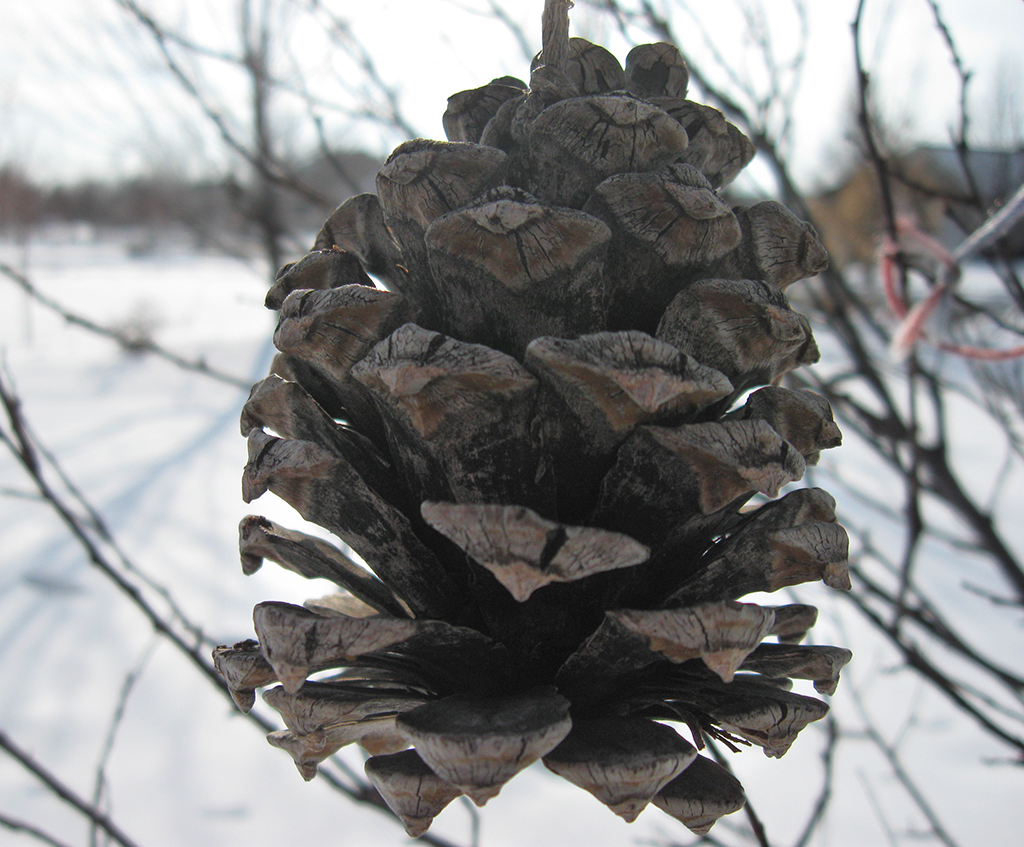
click to enlarge, or see it on Flickr
Aperture: f/2.6
Shutter Speed: 1/800
ISO: 80
Handheld

Very nice job on the exposure correction! Great tuturial as well! I think that once I get a new computer I will be doing more with PP and Photoshop. This is all good stuff :) I like the pinecone - nice macro!
ReplyDelete